Mark Making Things

Laptop Stand
2022-10-12
Over two and a half years ago, like many people, we suddenly had to work from home. And I know I'm not the only one who sat their laptop on an Amazon box for the ergonomics. I finally ditched the cardboard box and made a stand out of scraps.
You will need:
First step was to copy the side profile template into a word document. I shrunk the margins and printed it out at maximum size. This worked great for my laptop, but you might need a few goes to get it to fit well.
I used a utility knife & a metal ruler to cut out the template.
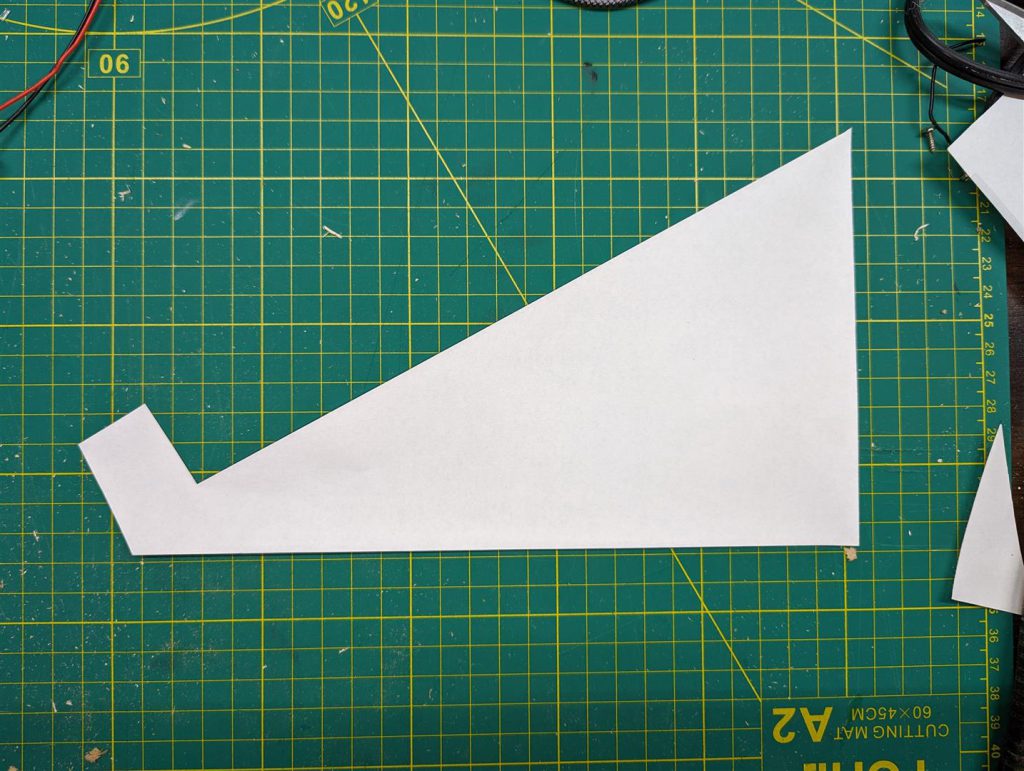
The most important step is next. I stuck 2 pieces of MDF together with double sided tape, and transferred the template pattern over to them. By sticking the wood together, you get the same cut regardless of any mistakes you may make.
Once I cut & sanded the wood, I then found some scraps to use as horizontal supports. I measured them so the entire project would result in about 1/2 an inch overhang from the laptop once complete. Given the sides are 1/2 inch, the length is:
Length of horizontal supports = Length of laptop - 2 inches
Cut these together to make sure you get the same length.
Pre-drill the screw holes & allow for countersinking, so you can fill to a smooth surface. Apply wood glue to each end then screw to attach.
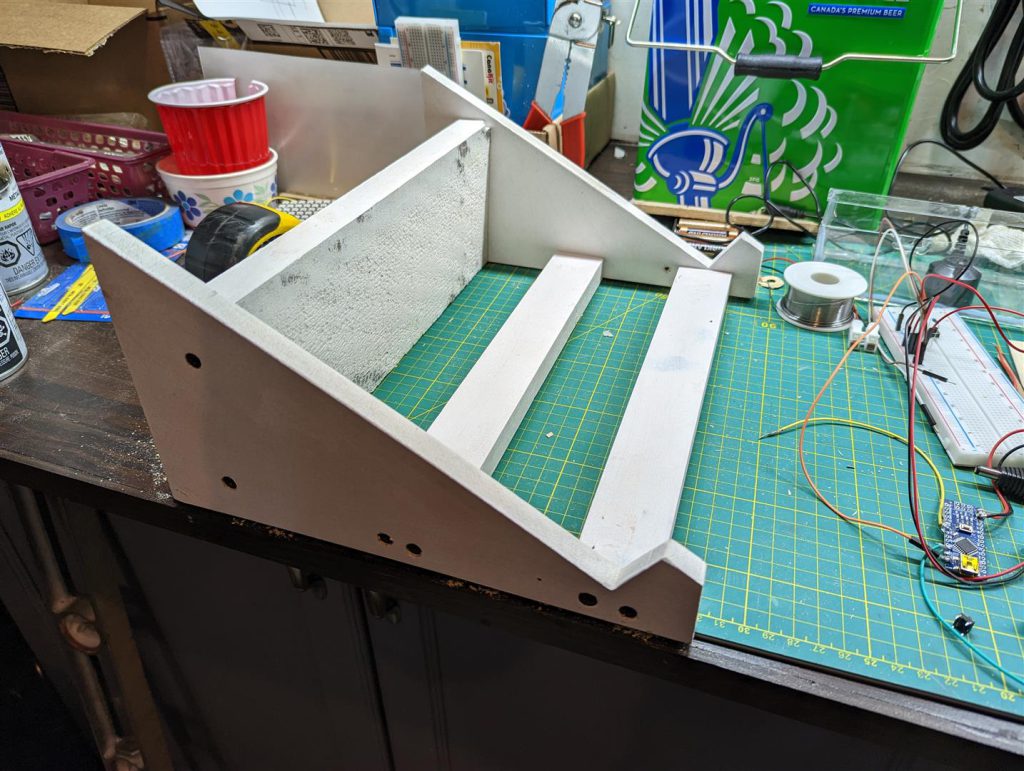
I primed the pieces separately before drilling and attaching. I find it easier this way as you can use a roller to do the bulk of the work, however it means you do have to come back to it when you fill and holes.
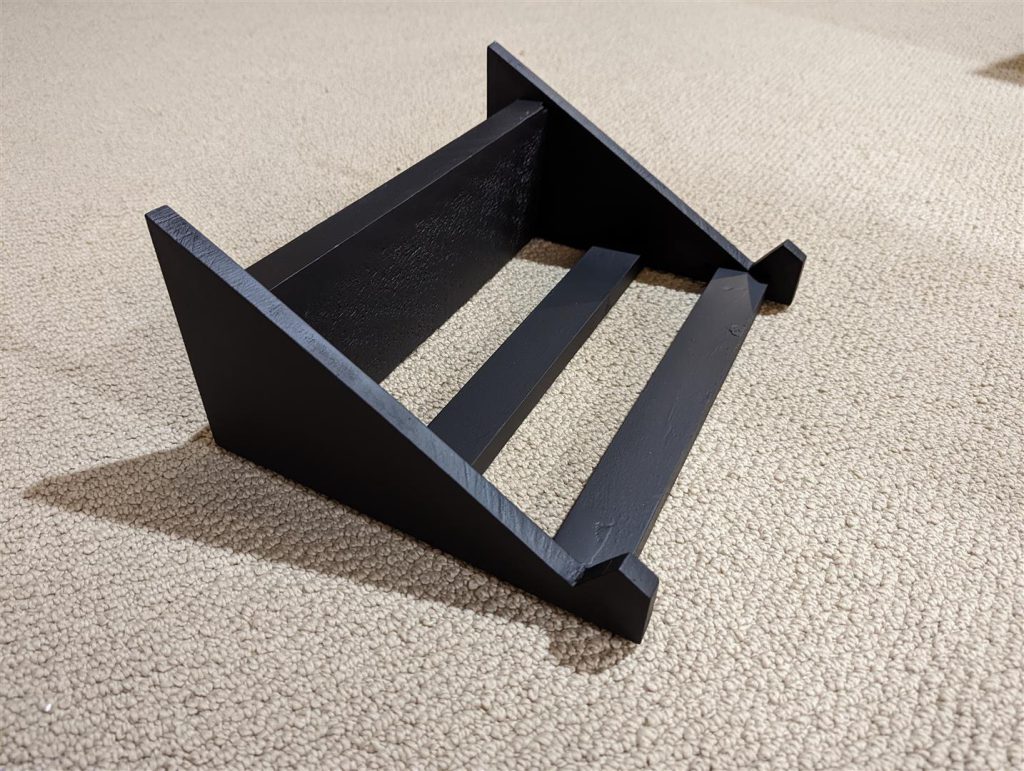
Once you have filled & primed the holes, give it a light sand with a 120 to 150 grit sandpaper, then grab your spray can color of choice. Apply many very light coats over the course of a few hours, allowing about 20 minutes between each coat. This will give you a really nice, thin but complete paint job without runs and bubbles.
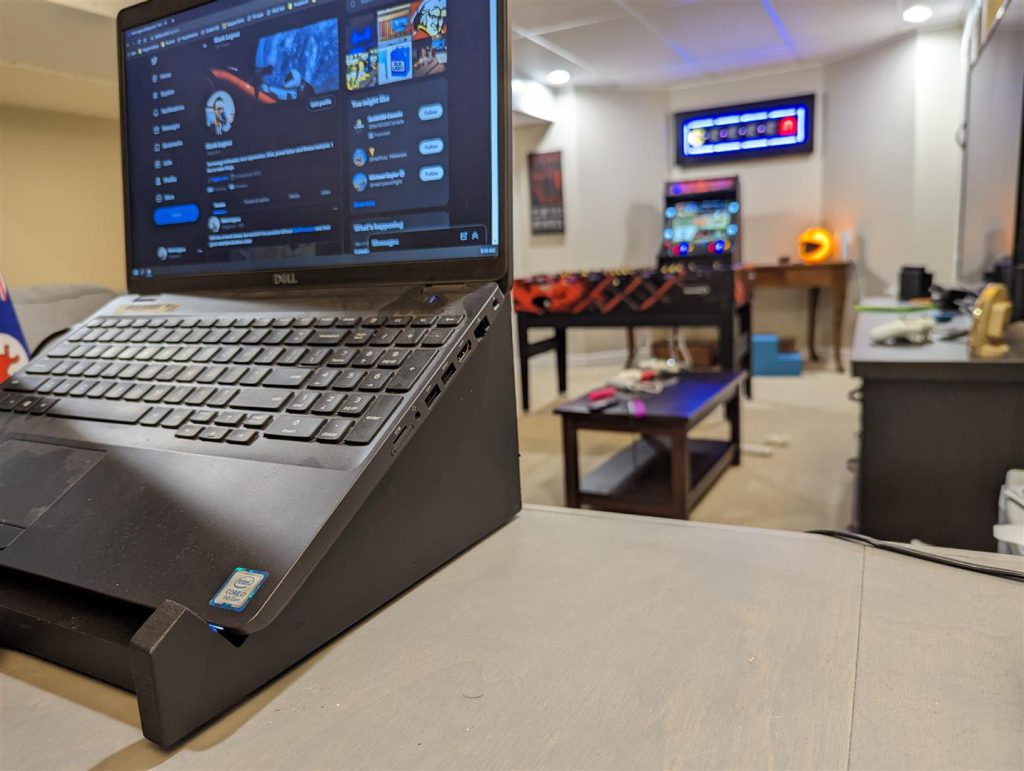
The final step of any project is to take some nice glamor shots. So I made sure to turn on all my man-cave awesomeness & stage the laptop screen, along with a mess of controllers thanks to my kids.