The on and off lockdowns during the pandemic lead to us turning the garage into a neighborhood bar. Nothing fancy. Some outdoor chairs, some propane heaters (Canadian winter), and a small fridge, Once summer rolled around, we didn’t need the old garage as much, due to the better weather & also easing of restrictions. But I felt like the garage needed to be recognized.
I was falling down the YouTube rabbit hole and I found the NerdForge channel. They did a nice and relatively simple comic book art wall sign, and I thought it looked really good. You can watch it below:
Then I got stuck in their channel. There are some awesome ideas there (some of which I have drawn inspiration for other projects in the works), But then I saw this video, which I thought was perfect for the garage.
So I started working on it myself.
Design
I started by googling generic comic book action words and signs, to see what style I liked. I snipped some clip art online and used paint to overlay them together, giving me the design. I then found a comic book font generator website and used it to generate the words “The Garage”. I messed about in paint until I was happy with the design:
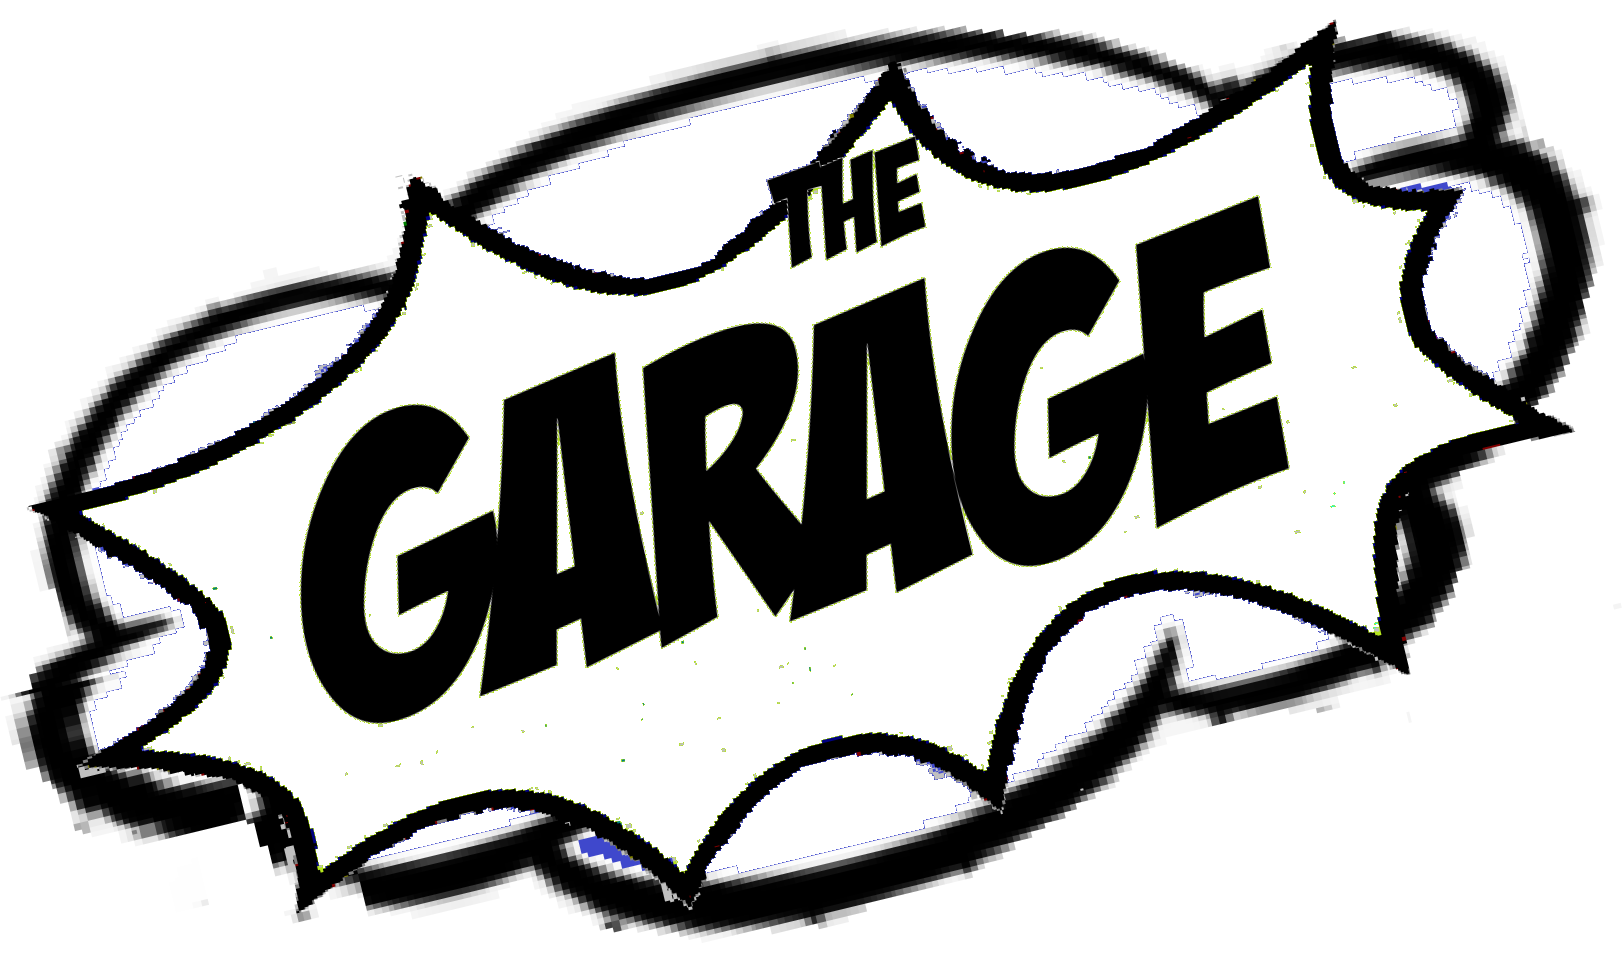
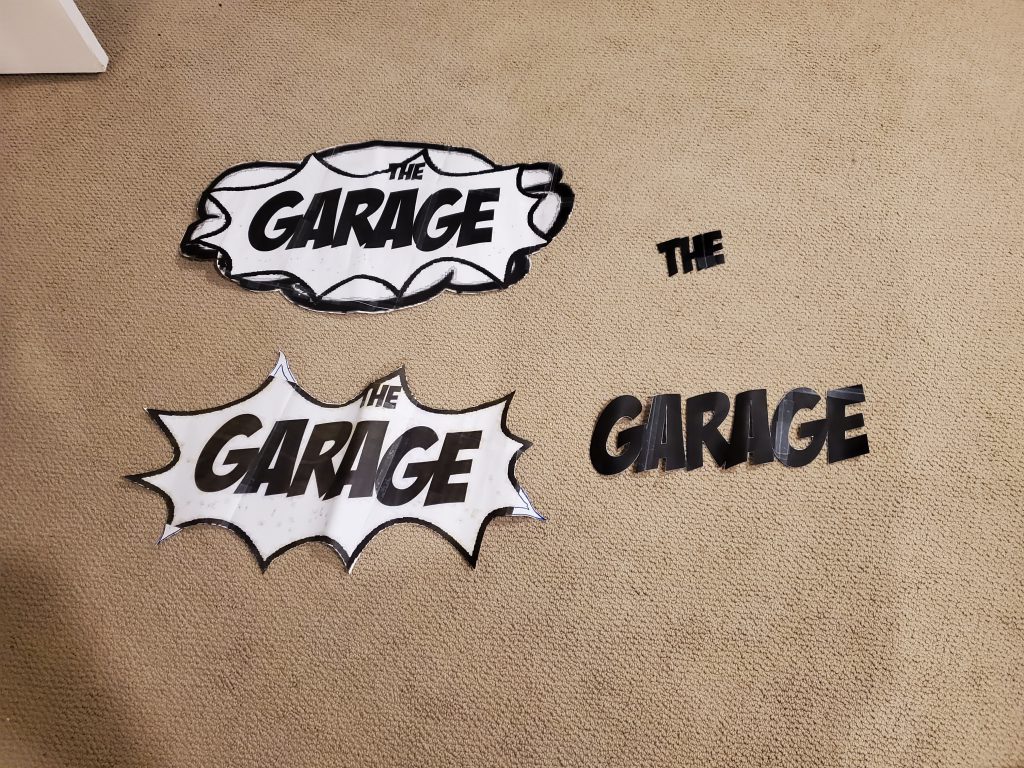
Next step, saved this into a word document, landscape, the printed it as a PDF. I then opened in Adobe Acrobat, and used the ‘poster’ print option to print the template out at the size I wanted. I did this three times, once for each layer, and cut them out.
Building
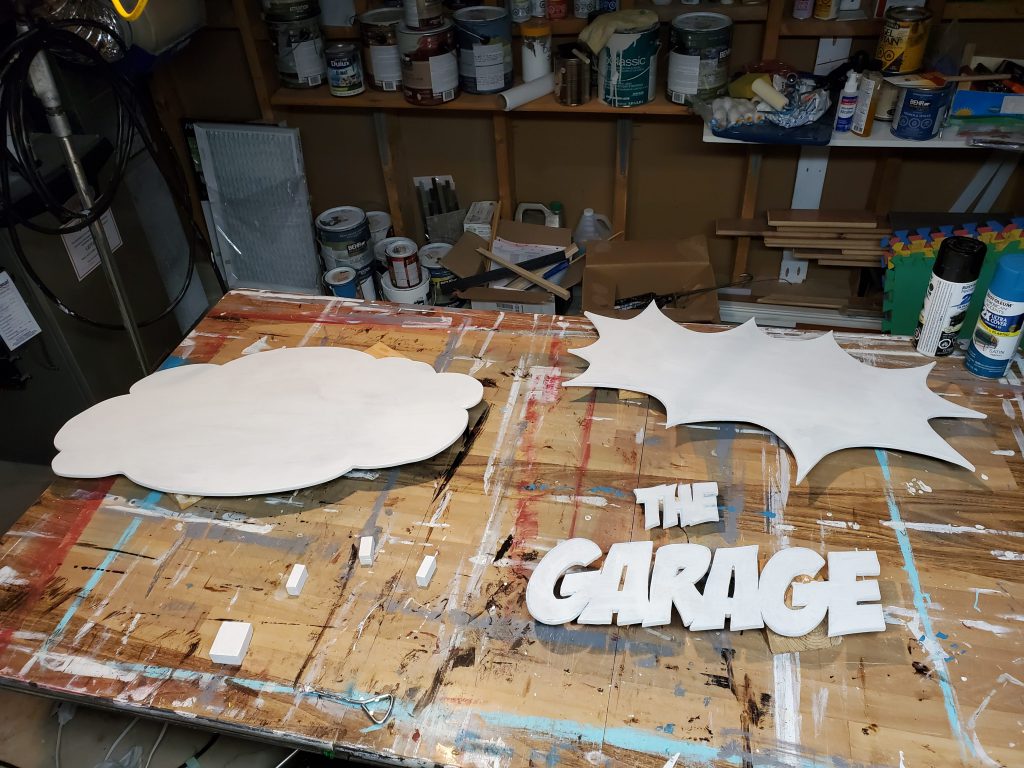
Next step I traced these onto 1/4 inch thick MDF board, and borrowed a jigsaw and cut out along the edges. The larger ones were much easier as their lines are well spaced and curvy, making mistakes harder to spot. To be honest, I’m still not perfectly happy with the letters, but the rest of the process hides many imperfections.
Next step was to sand all the edges, then prime all pieces.
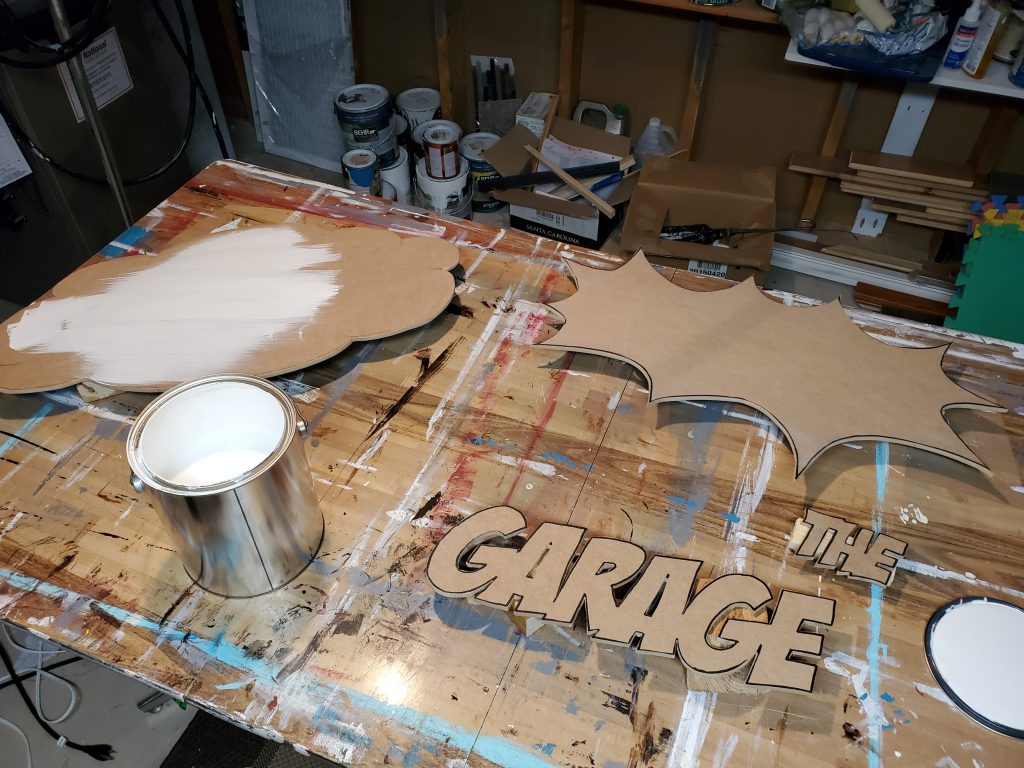
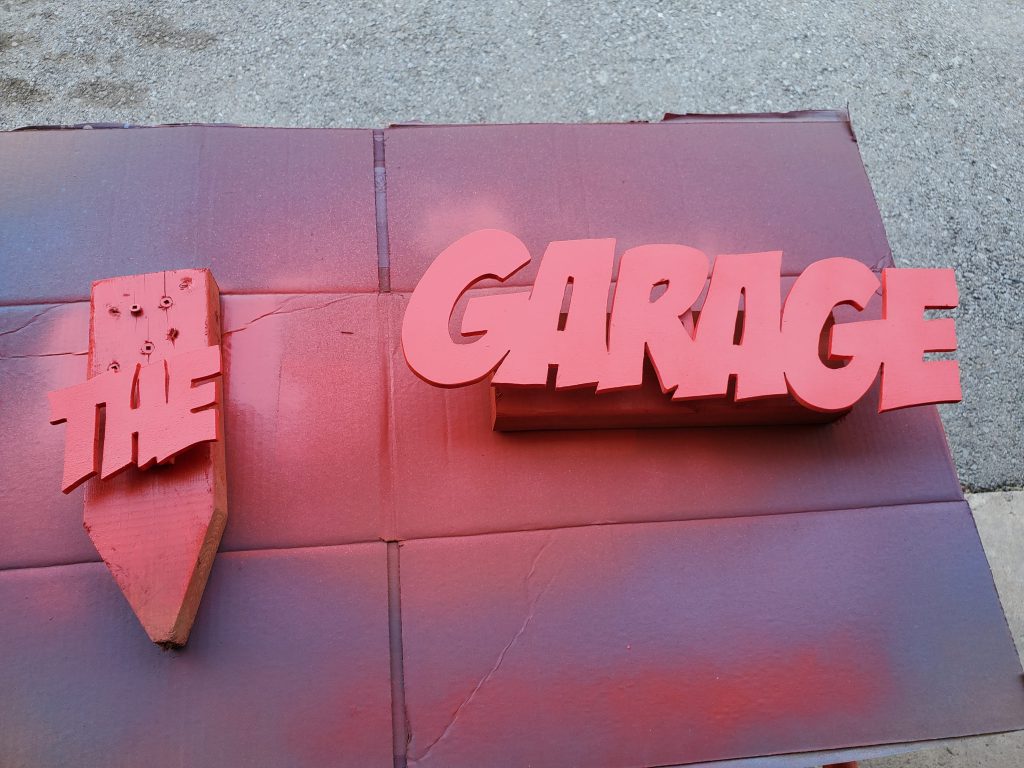
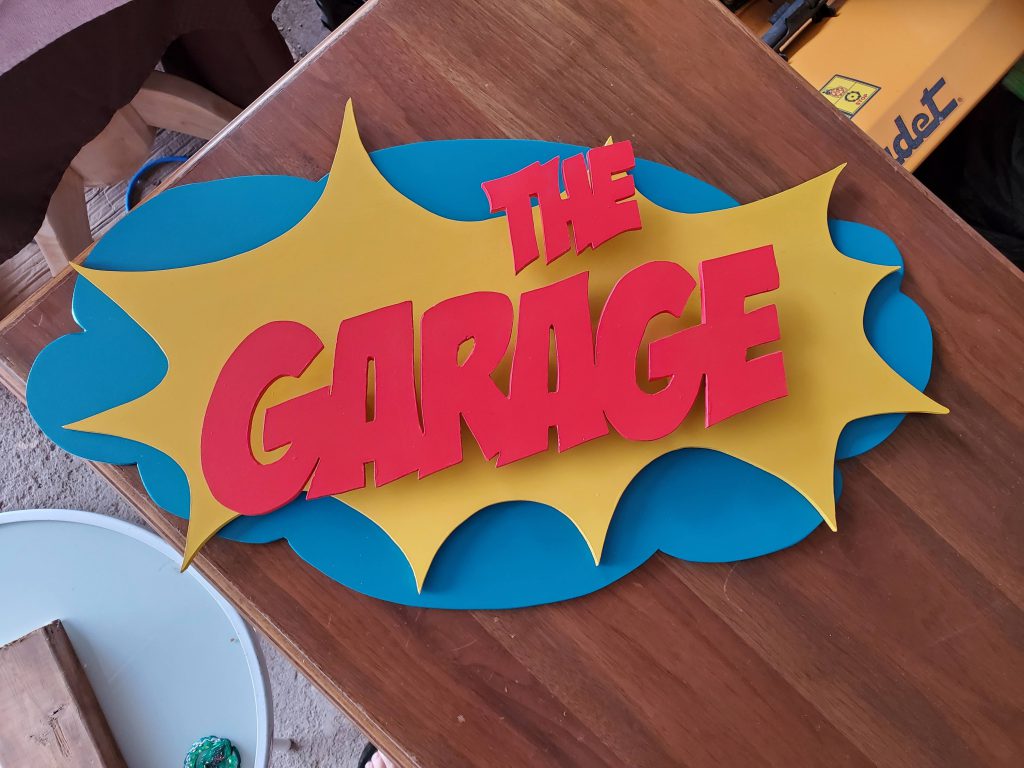
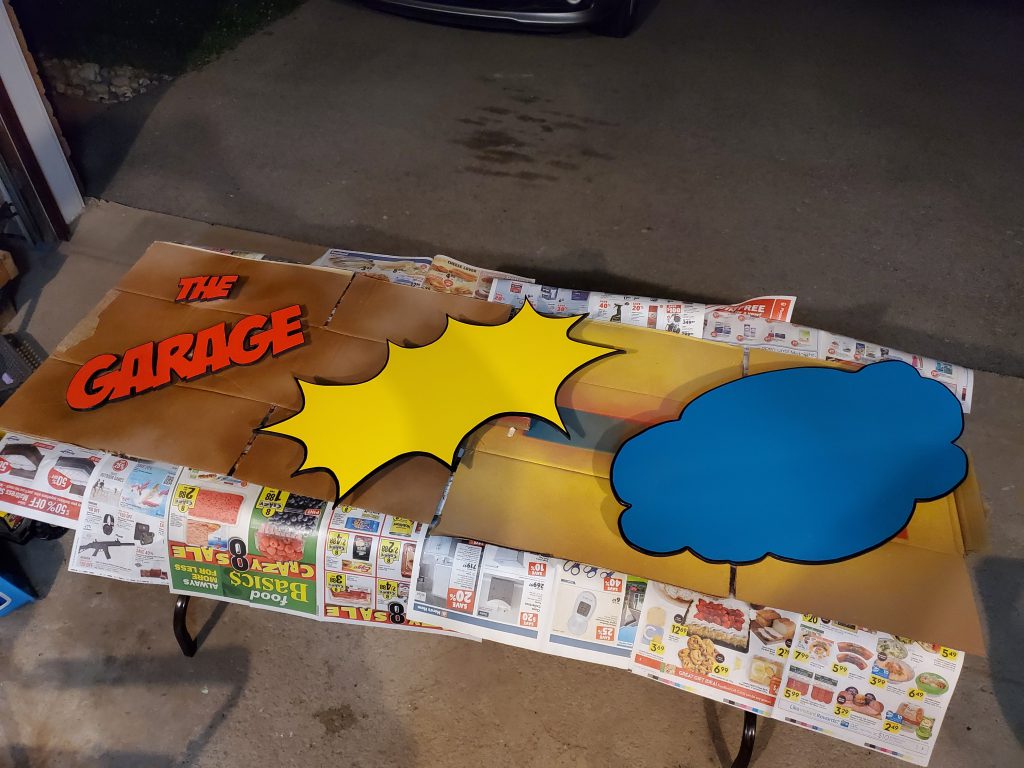
With the pieces now cut, sanded and primed, it was time to take out my spray paints and see what I could do.

I stacked them together to get a good look.
But I thought something was missing. I used MS Paint on the computer to outline the edges in black to see if I’d like that look any better.
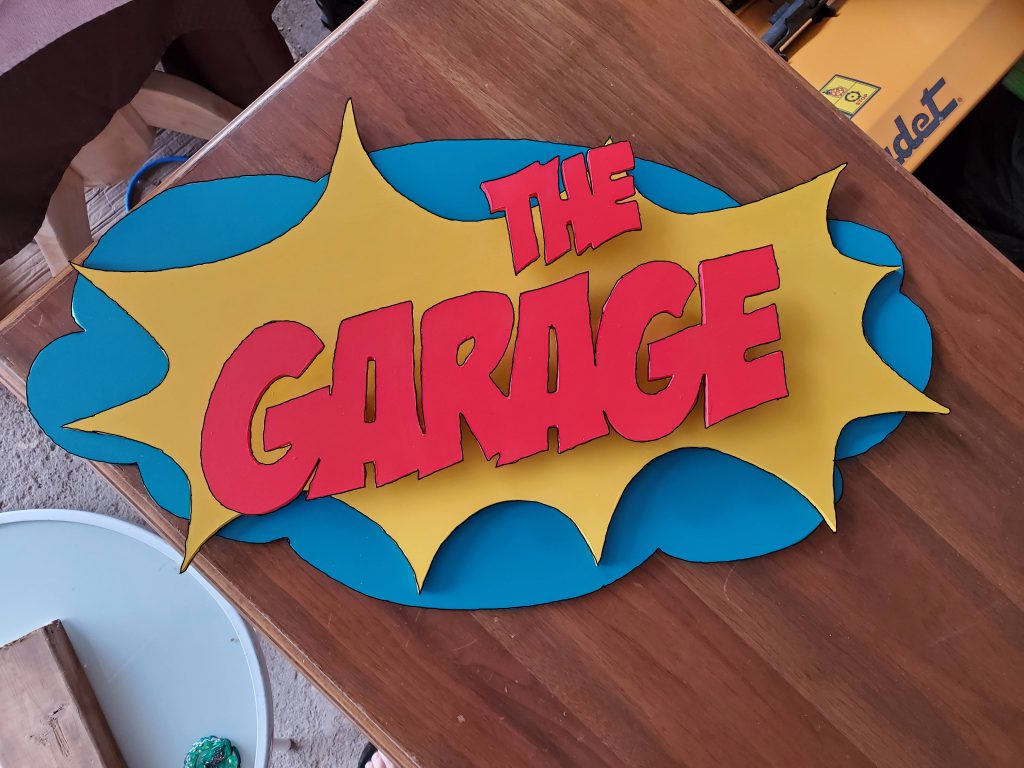
After seeing this I knew I had make this happen. I used a thick sharpie to outline the edges, wedging it between the wood and my finger to get a consistent outline. A thinner sharpie or gloss black paint with a small brush was used for the small areas.
Next I added some support mounts to the letters (painted yellow to blend in), then applied the LED strip lighting to the back. You can get them here from Amazon.
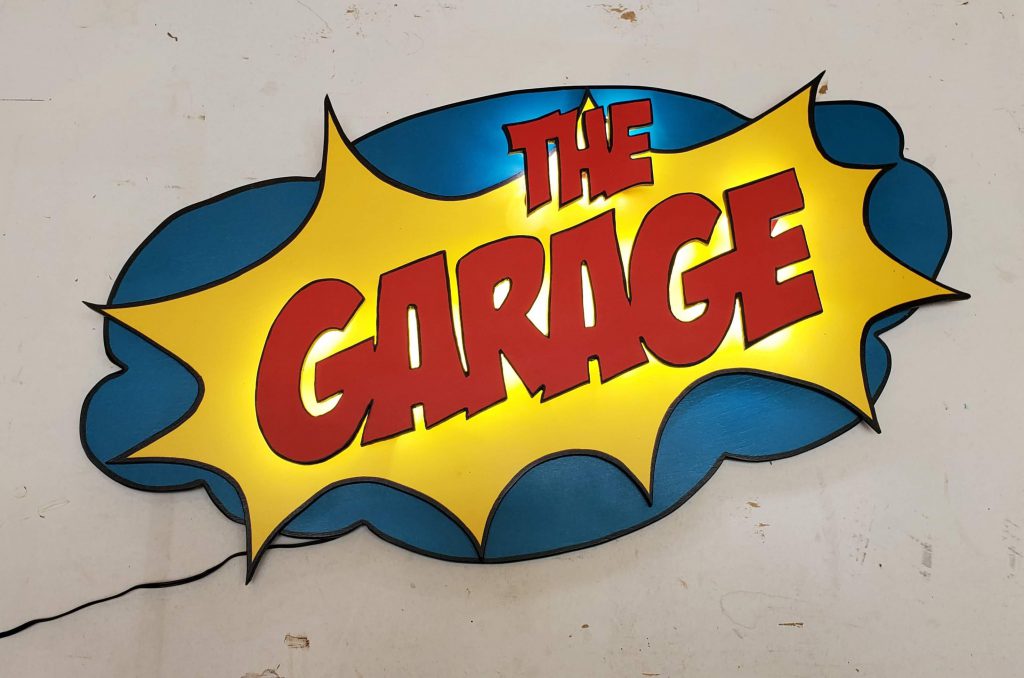
The Finished Product
The only step after that was to put it all together, and turn it on!