I had seen this done a few times online, so I thought I would try my hand at it. It may be one of my easiest builds yet and definitely the quickest, yet it looks great on my desk.
Note: This project requires some electrical work. Always consult an electrician as doing this incorrectly could cause injuries or death.
This is more of an assembly project than a building project, but here are the parts you’ll need.
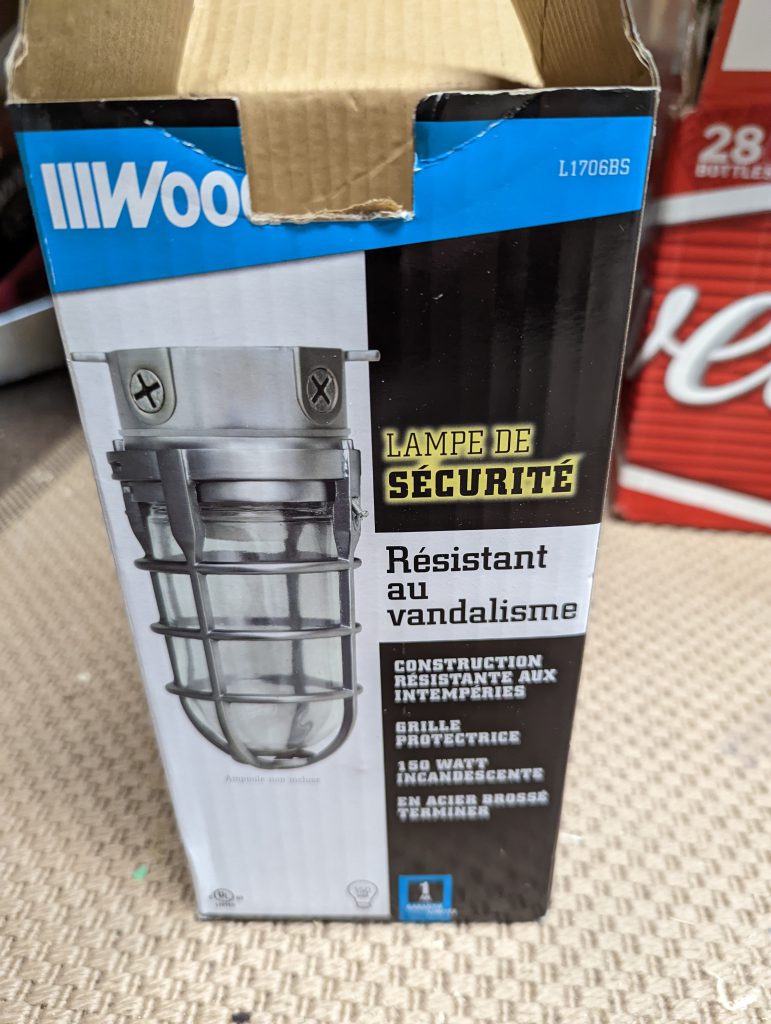
- Security lamp
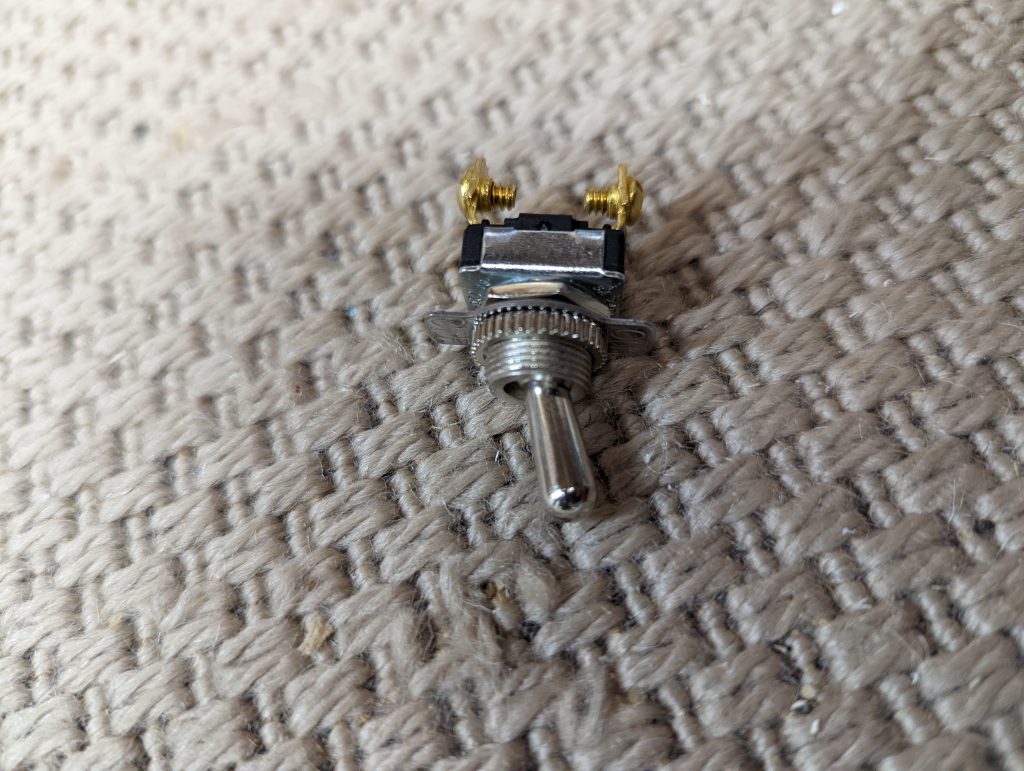
- 120v rated on/off switch
- Replacement lamp cord
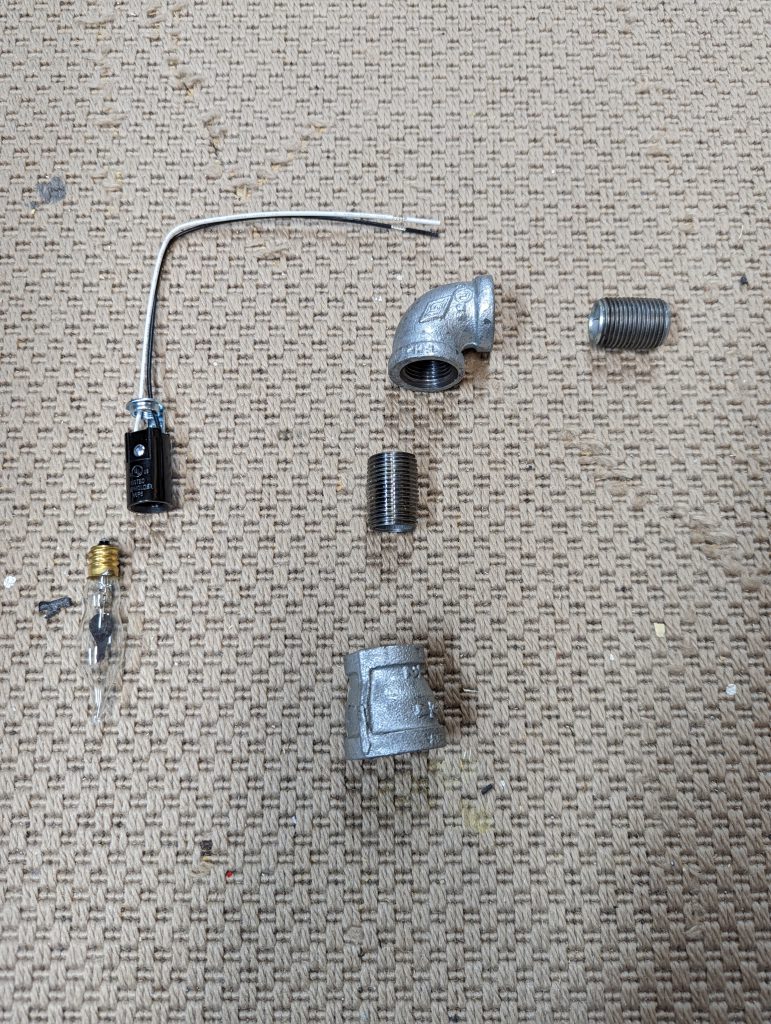
- Candelabra light base holders
- Flicker bulbs to suit
- A walk around your hardware store to find the 1/2 inch connectors, 45 degree angle pieces, and the 1/2 to 3/4 inch adapter plus pieces to raise & display it
- 8 to 12 inch wooden base
Getting started
Take your lamp to the hardware store, or just buy it there. Wonder over to the fitting section and just start seeing what fits. The general standard is 1/2 inch but I have seen 3/4 inches too. You will need
5 x 1/2 inch 45 degree angled pieces – 4 for the rocket boosters and a 5th for top of the stand.
9 x 1/2 inch threaded nipples to join the bottom of the booster to the top angled piece, joining the angled piece to the base, and joining the base to the top angled piece.
4 x 1/2 to 3/4 inch adapter piece, for the bottom of the booster.
1 x 1/2 inch 30% angled piece for the bottom of the stand
1 x 1/2 inch straight piece to hold up the lamp, between the 30 and 45 degree parts. Length to your choosing
1 x 1/2 inch plate to attach to the base of the lamp
The best part is you can test fit all these pieces while you are there.
Next step
Bring all your stuff home, and screw all the metal pieces together. Disassemble the lamp & remove any rubber protective pieces you may find, as these are for water proofing & you won’t be needing those.
Next, test fit the candelabra holder into the 1/2 to 3/4 inch adapter piece. Depending on size, you may be able to wedge it inside the nipple that screws in, or you may need to adjust how far you screw it in so it does not protrude out. Alternatively you may be able to remove some excess metal from the base of the candelabra depending on the make/model. However be careful to not damage the unit & risk danger to yourself, your home & others you live with.
Some assembly required
Start by drilling a hole in your base for the cord to run through. Cut a trench on the underside of the base so the finished lamp will sit flat.
Cut a hole in the base of the lamp for your switch to be installed into. Alternatively, you could buy a cord with a built in switch and skip this step.
Attach the base bracket, 30 degree piece, and the straight pipe, and run your cable through. Then, attach your 45 degree piece & nipple to the base of the lamp.
Boosters
Once you have figured out how the candelabra will fit in the 1/2 to 3/4 adapter piece, use hot glue or another adhesive product to secure it in place. Heat may be an issue here depending on the figure of choice which would make hot glue not the best product to use.
Attach the top of the booster to the base of the lamp, then add the booster, feeding the wires in.
Wiring
I didn’t take any pics of the wiring process, partly because I forgot, and partly because if you don’t know how to do it, you shouldn’t be doing it. Needless to say, its not difficult, but its easy to get wrong or do something dangerous.
Final assembly
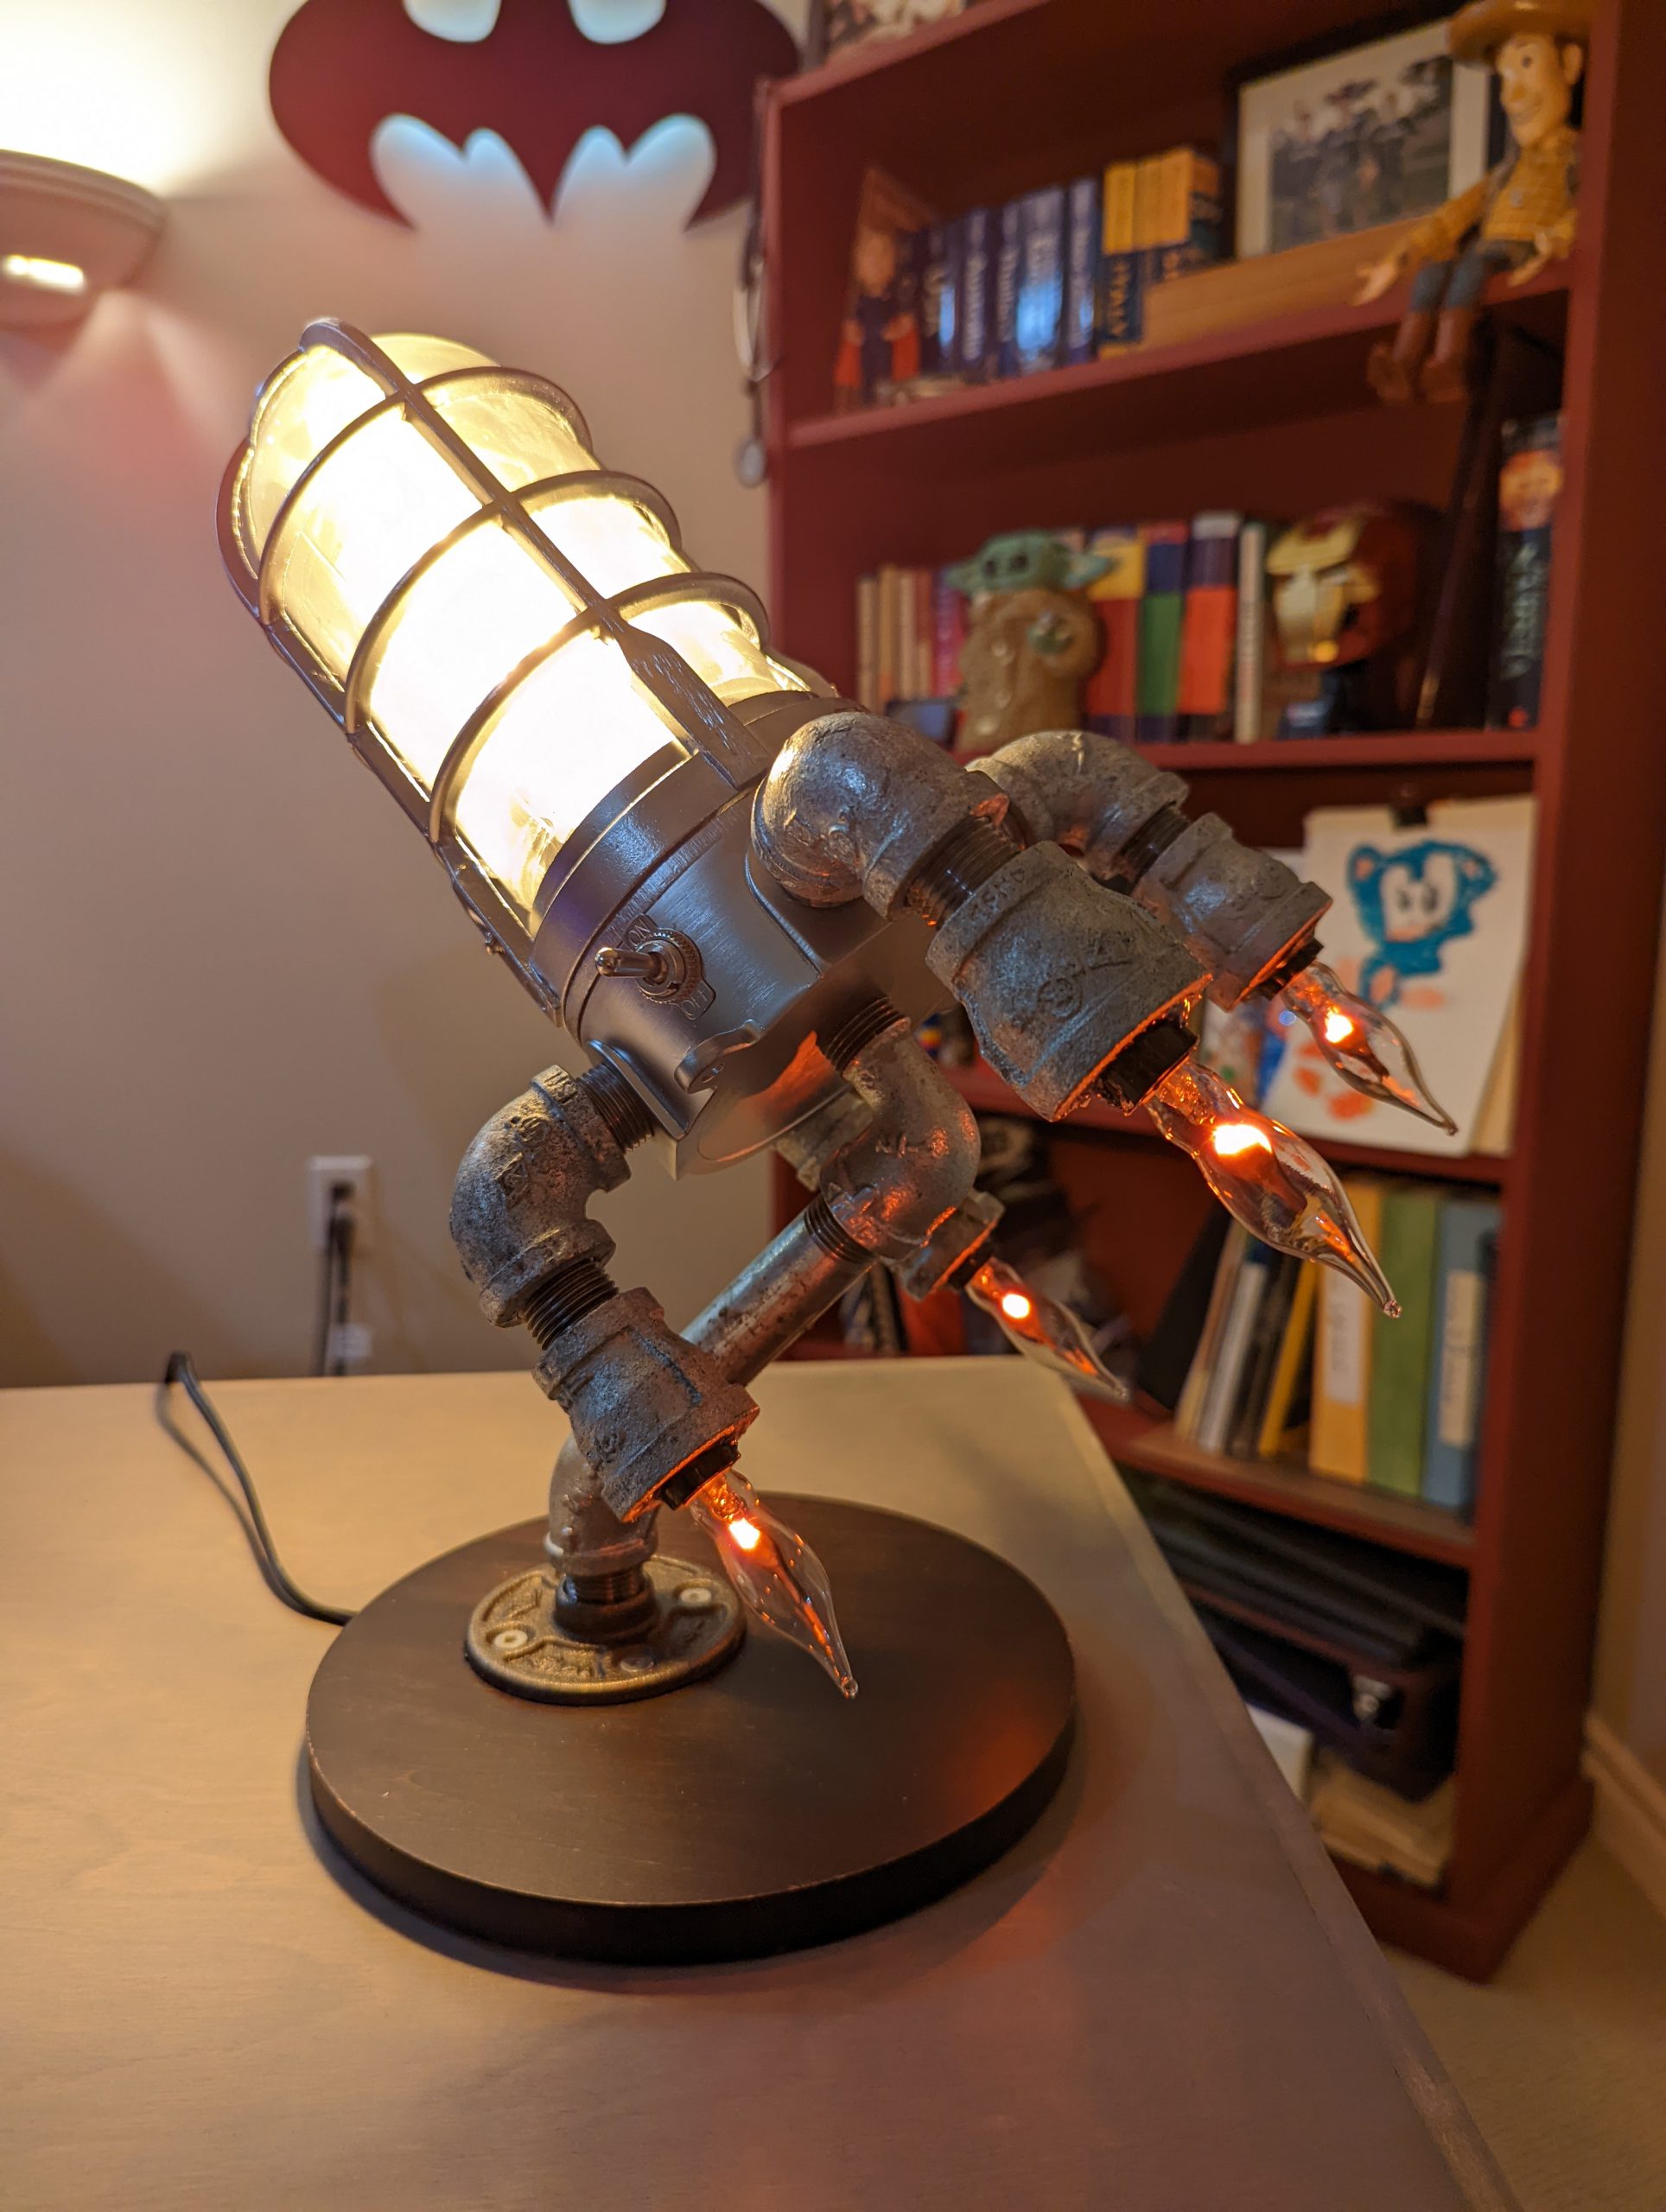
After that, its a simple matter of putting it all together. I got a fancy light globe to really make it pop. Its hard to see in a pic when its on, but here it is with the package.
And without further ado, here is the finished product: