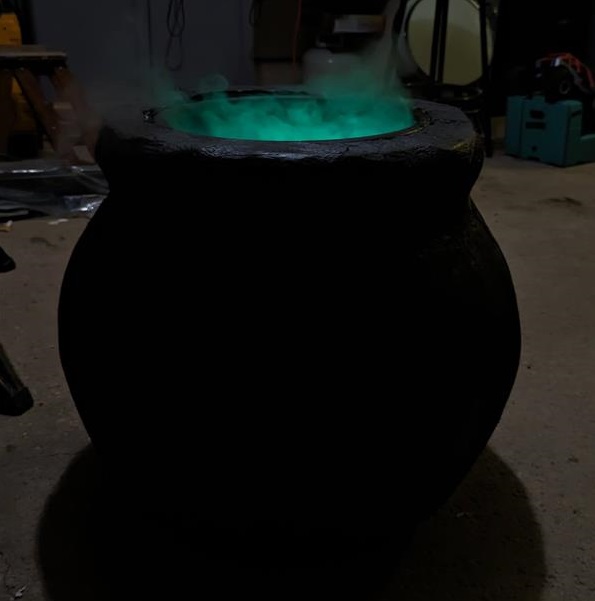
Witches standing over a cauldron may be one of the most iconic scenes when we think of Halloween. We use a bucket, cardboard, scrap wood and off the shelf LEDs & an ultrasonic mister to make this build.
Materials Used
- Large clear bucket
- Thick cardboard
- MDF scraps
- Scrap lumber
- Glue Gun
- Duct tape
- Paper towel or newspaper
- Craft glue
- Plastic brush
Design the Template
While there are nay possible designs for a cauldron, they are all really the same at the end of the day. Minor details make them all look a little different, but when its dark outside & its Halloween, they really don’t matter too much. Choose something simple.
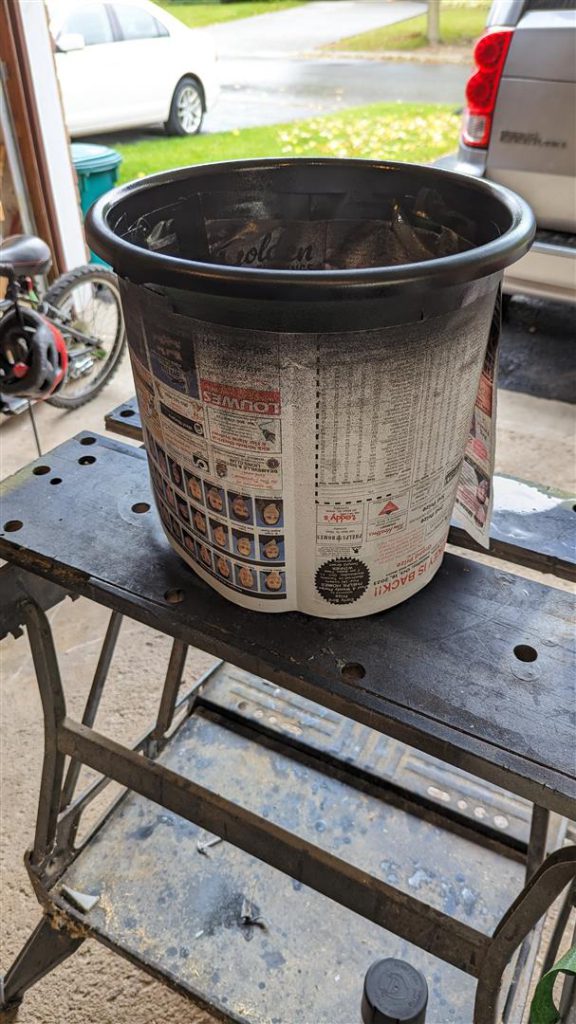
Be sure to use your bucked to vet the template against. You will want to leave plenty of extra room, as the stand we will be making adds rigidity to the structure and also leaves a water free space for the electronics. Note the taper on the bucket allows for extra space at the bottom for the LEDs to be easily attached.
Building the stand
Cut 2 round discs out of MDF, making them slightly larger than the lip of the bucket. This will allow a small amount of room for getting the bucket in and out of the cauldron. Next using some scrap lumber, turn the 2 discs into a small stoll/stand so the final height lines up with the top of the bucket.
You can optionally choose to encircle the bottom with cardboard. This will give extra surfaces for the cardboard templates to stick too.
Making the Cauldron Shape
This next step is 1 out of 2 very tedious steps. Here, we will use the template to cut as many copies as possible. Ultimately you will want the gap between the cardboard to be as small as possible, as you will likely see them appearing as ‘ribs’ through the papier-mache & paint. I did about 25 & had a 1 1/2 inch gap , which was a little too big for my liking. I would recommend no more that 3/4 inch gap.
Attach these to the stand.
At this step you can optionally cover the cardboard with duct tape. I did this to add some additional lateral strength to the ribs, however now that the project is complete, this step can be skipped if the template ribs are close enough together & well secured.
Paper Mache
This is tedious step number 2 – paper mache. You will want to do a minimum of 3 layers, allowing 12 to 24 hours drying time between. After the first 2, you may be able to do 2 layers at one time, but the drying time does increase. I ended up with about 6 layers in total.
This is one layer over the duct tape
Painting
I chose a matte finish for painting, as this will hide many of the imperfections. You will want to spray the top half of the bucket.
Final Touches
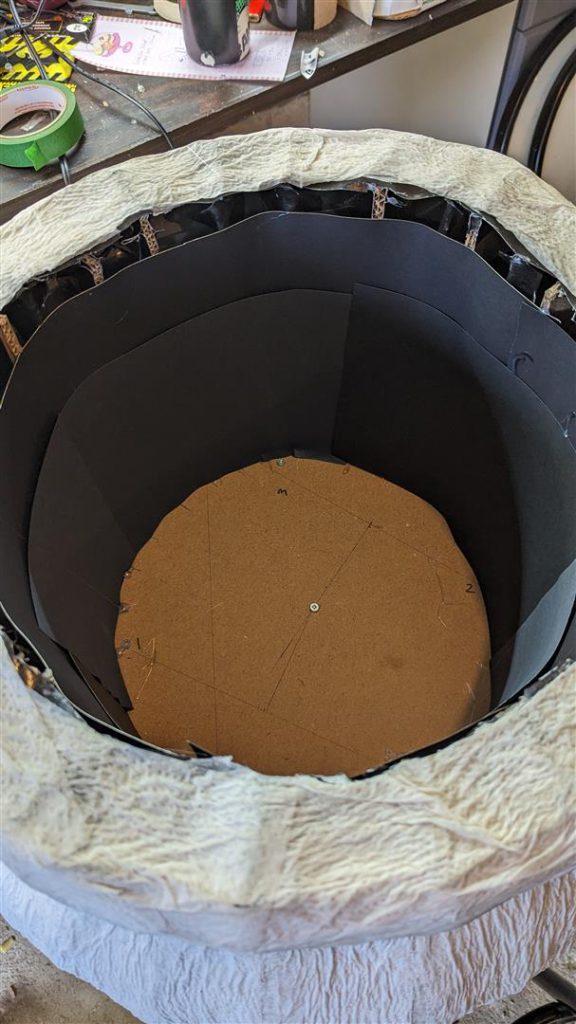
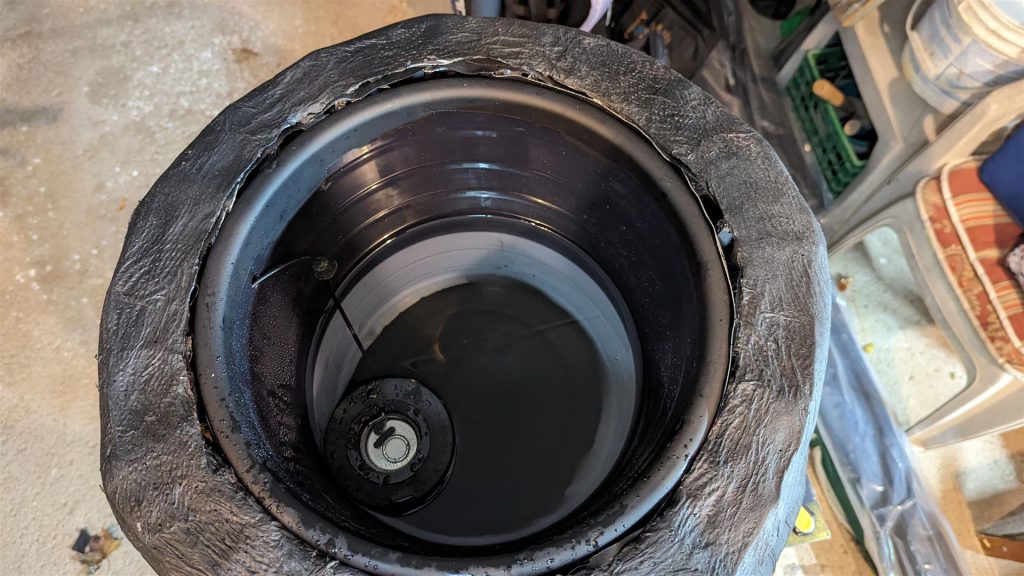
Line the inside of the cauldron with black paper or thin cardboard. This will help keep the light form illuminating the insides of the frame. The LEDs can then be attached to the inside of the cauldron at the bottom, and wires fed trough. Cut a hole at the bottom for power cords to enter/exit.
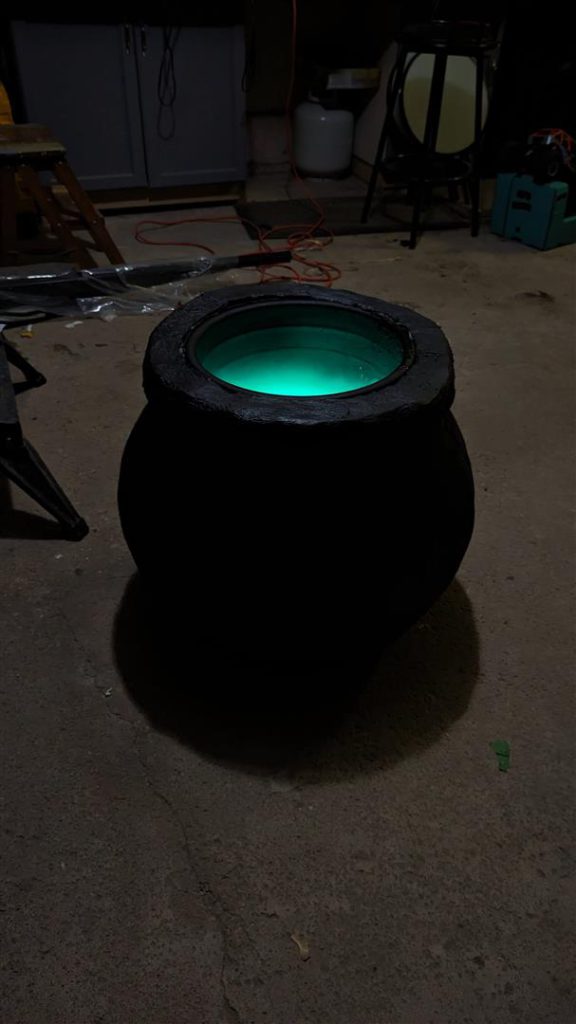
Its Finished!
Now its the fun part. Choose your LED color!