Transform your gaming space into a retro paradise with our DIY LED Pac-Man display sign tutorial. Inspired by the iconic arcade game, this project merges nostalgia with modern technology to create a captivating centerpiece for any arcade enthusiast.
This step-by-step guide walks you through how I crafted a wall-mounted LED frame that brings Pac-Man to life with a mesmerizing animation. Without a firm design, this guide will show you the mistakes I made, and lessons learned. From gathering materials to programming the display, we’ve got you covered, whether you’re a seasoned maker or just dipping your toes into the world of DIY. Elevate your arcade experience with this unique project that pays homage to gaming’s golden age while adding a touch of vintage charm to your gaming sanctuary.
Design
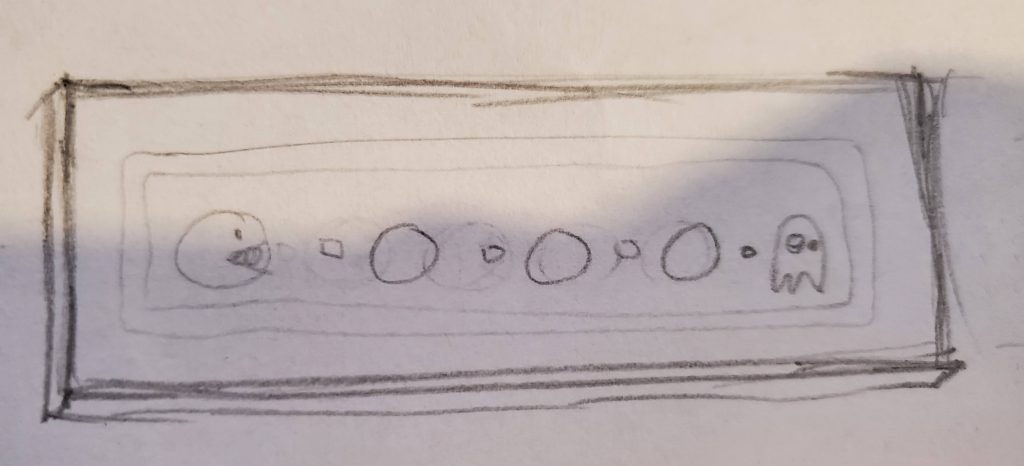
I started by sketching out the general look an feel of the sign, and did some Google-fu to see exactly what the basic art looked like. We all remember it, but I wanted to be sure I remembered it correctly.
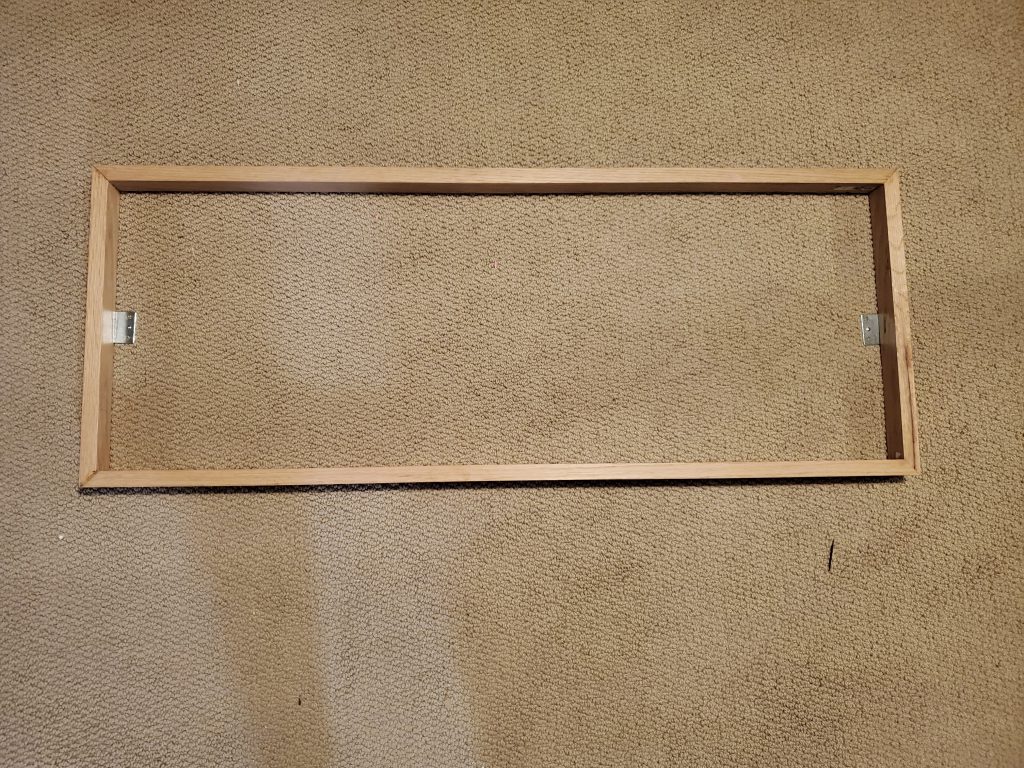
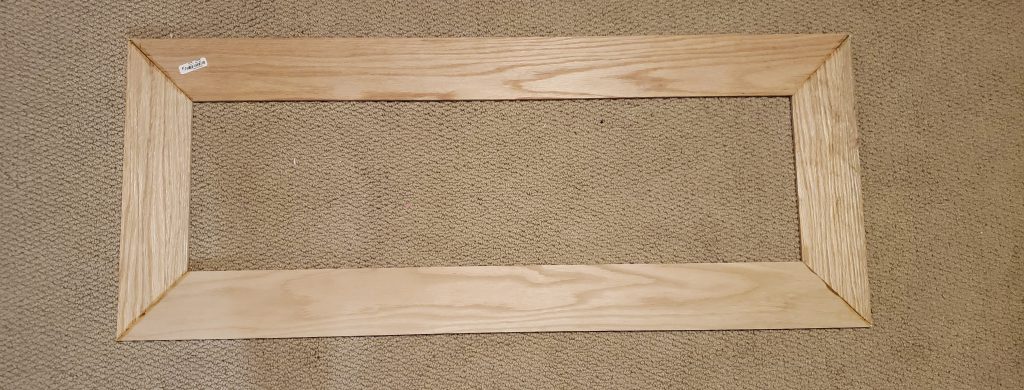
After deciding on the dimensions, I went to work and built a frame out of oak, and a backing out of 1/4 inch MDF. In hindsight I should have just gone to Michaels and bought something off the shelf.
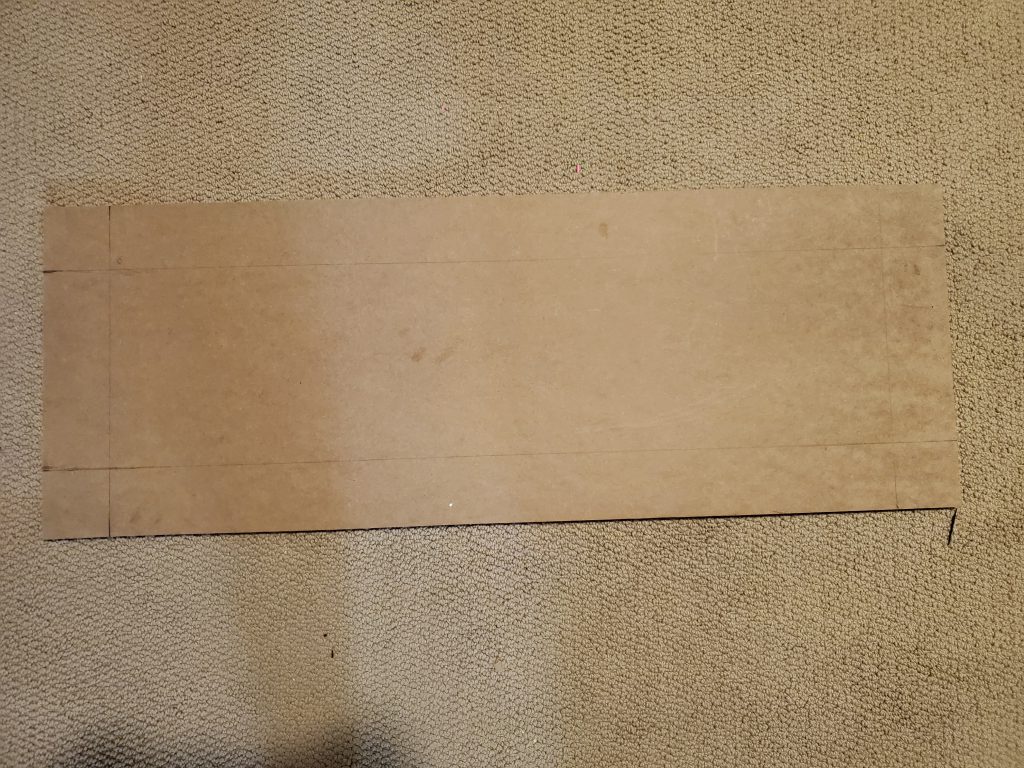
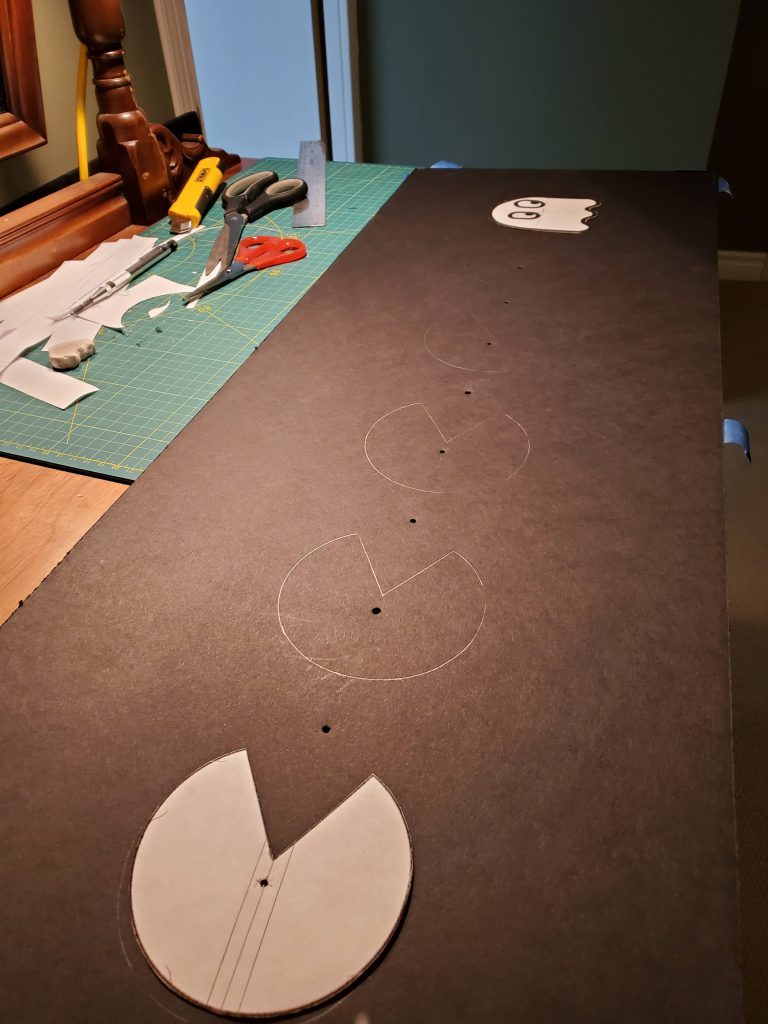
With these pieces in pace, I then designed the usable area of the backing board, allowing room for the electronics to be hidden under some trim which will cover it.
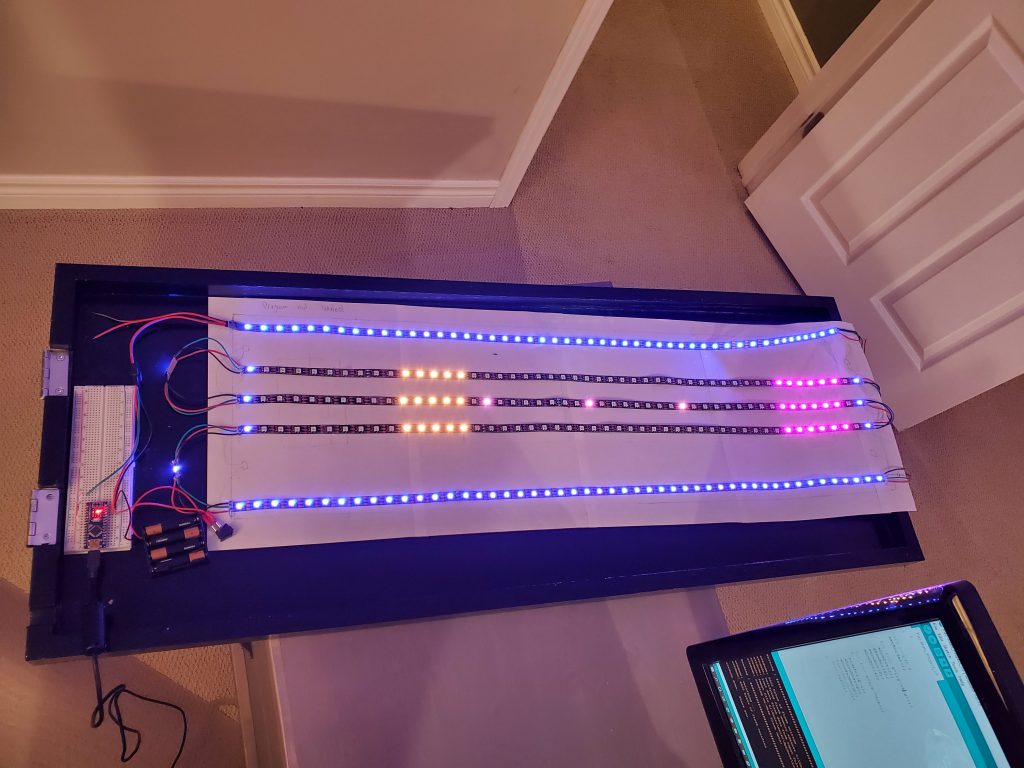
Next I took my programmable LEDS & laid them out to see how many will fit in my usable area. I figured I can fit 49 across each direction. Based on the length of the strips, I could have made about 6 different lines, but I decided to stick with 5 as it gave me 2 lines for the border, and 3 lines for the animated features.
I then started to draw out how the lights would like up on the board itself. I used Excel to represent the pattern, as it starts at one end, then comes back from the other. I then simply coloured in the cells for whatever shape they represent:
Pac-Man himself, the ‘dots’ that appear on the board & the ghost at the end.

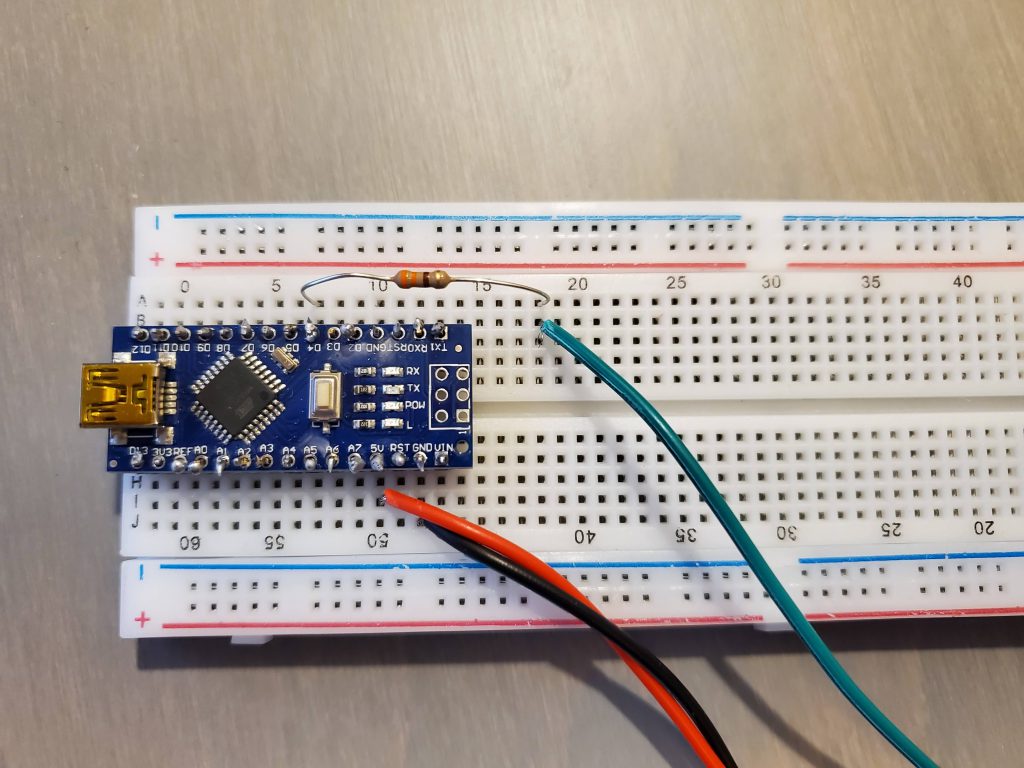
I then used an Arduino Nano to connect the controller, and plugged in via USB.

Coding
I first set out with some really basic coding examples that I found in the below video. Simple loops, etc.
After getting comfortable with this, I started out coding myself. I decided that I would declare each ‘object’ on the sign as an array (list) of LED locations:
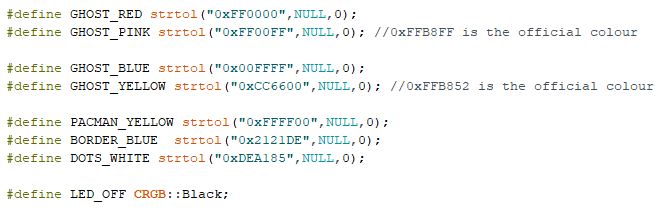
Then I went online and got the exact values of all the Pac-Man colors from https://www.schemecolor.com/. Specifically the general game colors, and the colors of the ghosts. Don’t worry about the code here, I will include the entire complete code at the end of the article. After holding some paper in front of the LEDs, I made some changes to the colors based on how they looked in real life.
I then wrote a number of functions to do the work:
showPacman() – this will show a Pac-Man in a given position ( the strip holds 8) while hiding any other Pac-Pan that may be actively shown. Calling this in sequence will then give the look of it moving along the page.
showPacman(1);
showPacman(2);
showPacman(3);
...
showPacman(8);
showDot() and hideDot() – similarly to the Pac-Man function you can easily show or hide a given dot. Being as they only disappear as Pac-Man moves along, you need to show them all at once, then hide them gradually. Putting them together looks like this:
showPacman(1);
hideDot(1);
showPacman(2);
hideDot(2);
etc...
showGhost() – this shows the ghost at the end. As there is always a ghost, the function takes a number from 1 to 4 to identify which color you want to show.
void showGhost(int color){
  for (int l = 0;l<5;l++){
    if (color==1) { leds[ghostLEDs[l]] = GHOST_RED;}
    if (color==2) { leds[ghostLEDs[l]] = GHOST_PINK;}
    if (color==3) { leds[ghostLEDs[l]] = GHOST_BLUE;}
    if (color==4) { leds[ghostLEDs[l]] = GHOST_YELLOW;}
  }
}
showGhost(1) will show a Red ghost, showGhost(2) will show a pink ghost, etc.
That’s the basics of the code. Find the whole thing at the bottom of this page.
Build Continues
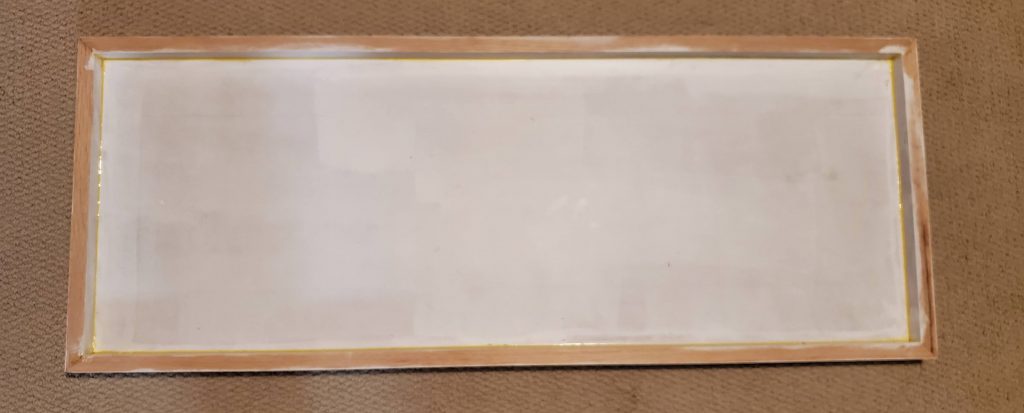
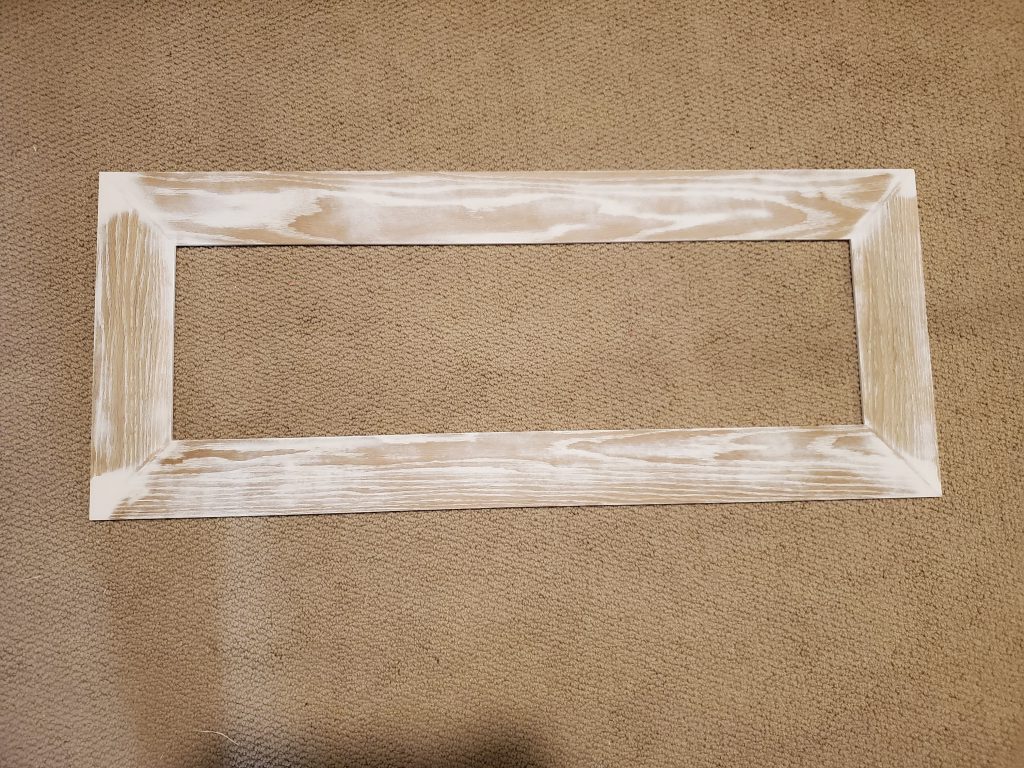
Next step is to secure the backing to the frame, then prime and paint. I used wood glue around the edges to help secure it, along with some small brackets on the back. Then sanded & painted.
Next I began work on a larger front frame, which will actually hinge and act like a door to allow access to the components. This will be filled, sanded and primed before being painted black, along with the sides of the main base.
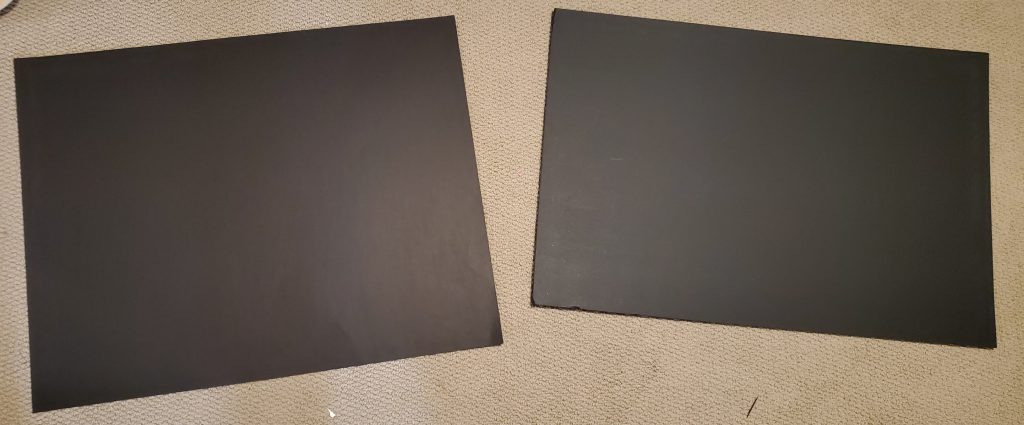
More on materials, I picked up some thin card stock and foam board from the dollar store. I intend to use these to fill in the backing and the inner frame.
Work continues on the outer frame. Filling & sanding the corners, then priming and sanding to best fill the grain. You should use a grain filler if you want to completely hide the grain, vs just suppressing most of it.
Refining the LEDs
After some playing around, a change was needed to the LED layout. Bigger light configuration & fewer Pac-Mans. Additional LEDs for border & then some soldering.
Version 3.0
After some time away from the project, I revisited it by starting to figure out how to do the front of the display. Having the LEDs horizontal unfortunately did not diffuse well, or at least not to how I wanted it. Using LED matrix for each would have been ideal.
The LEDs for the ghost & Pan-Man are mounded sideways under the front display in small wooden frames. While it looks worse on video, you get the idea:
The next step was to complete the frame. This is dollar store foam with the Pac-Man and ghost hand cut out. Attached from the rear are small pieces of sanded plexiglass cut to size.
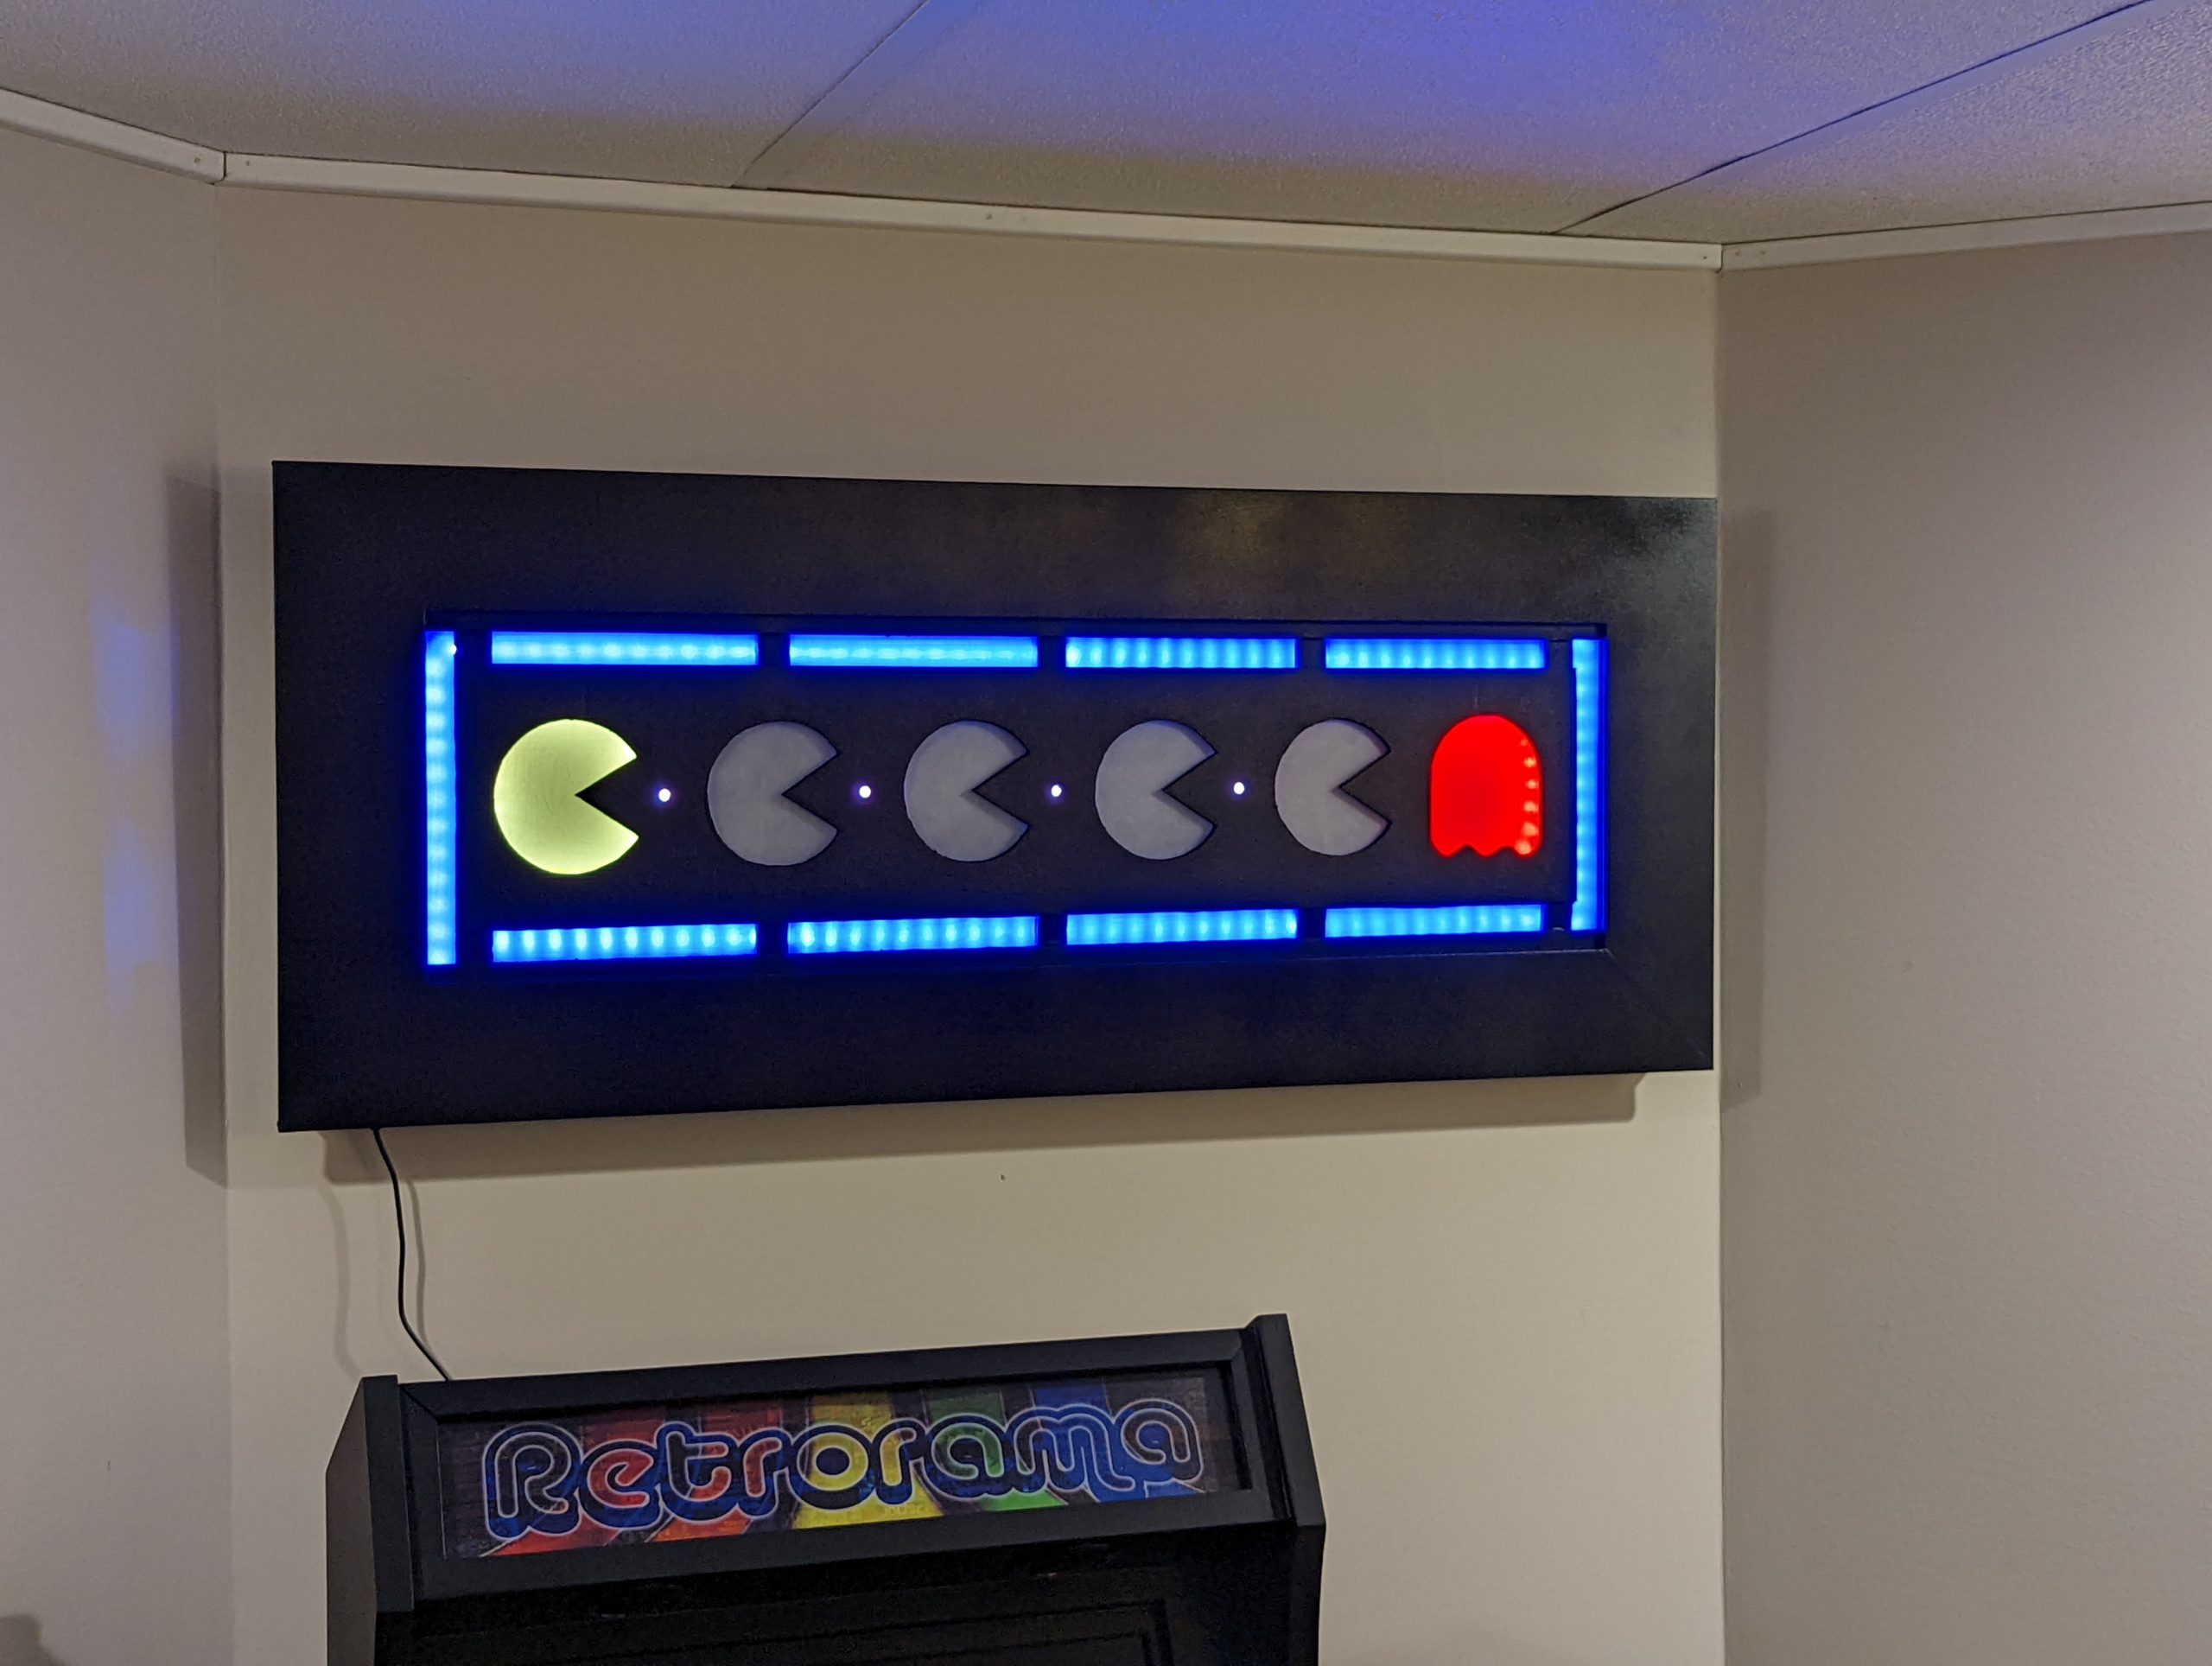
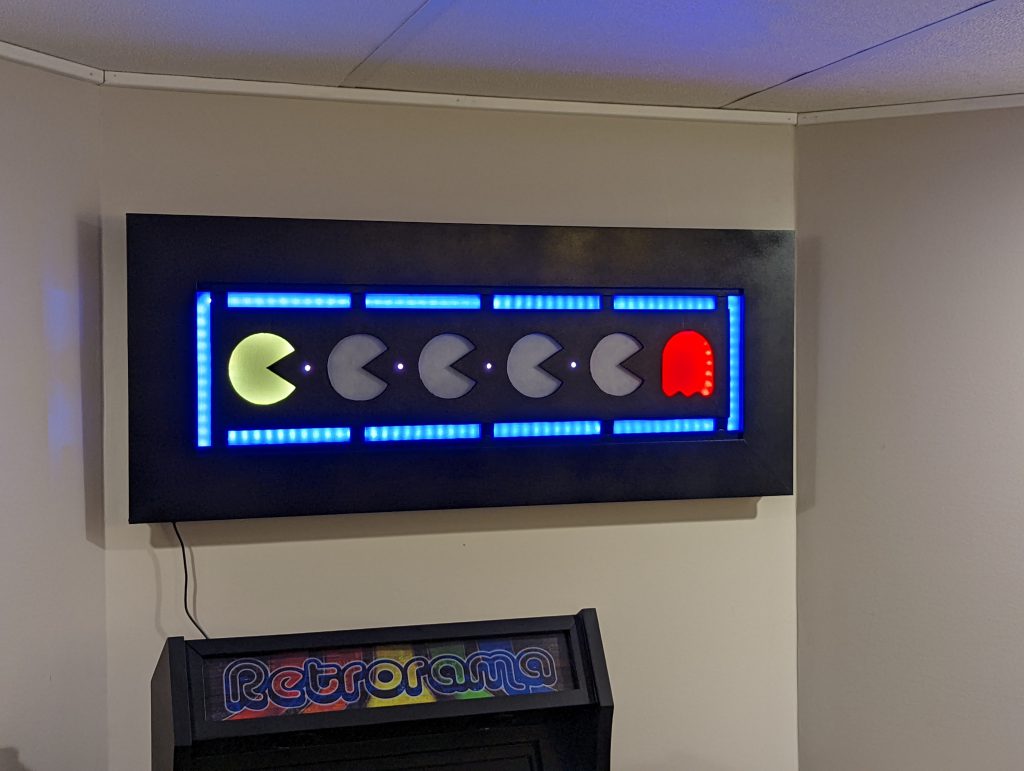
Finished Product
Here is the finished Pac-Man sign in all its glory
and of course the YouTube video in action: