I decided to build an arcade cabinet to play games on. After doing research online, arrived at the components I would need. There are many great video tutorials that will cover this in much more info & I will link some of my favorite resources below.
- Raspberry Pi – Although the Pi 4 was available, most images and certainly the software “RetroPie” did not support it, and the 3B+ model was the best you could do. That has since changed, and the Pi 4 is now well supported for RetroPie. Raspberry Pi 3B+ or Raspberry Pi 4 (note the Pi 4 has a number of models with differing levels of memory).
- Buttons and controllers – if you are a casual gamer, then you will do well with a basic set from Amazon. EG Starts is what I used & they come in a variety of types and colors, and the connect via USB. EG STARTS 2 Player Classic Arcade DIY Kit USB Encoder
- HDMI to VGA adapter. The Pi has only HDMI output. Since I was using an old 4:3 screen, I needed a VGA adapter. Make sure you get a powered one. VicTsing HDMI to VGA Adapter, 1080P Gold-Plated Active HDMI HDTV to VGA Adapter
- Speakers – cheap PC speakers for sound. No need to go crazy here as most old games a beeps and boops anyway. AmazonBasics Computer Speakers
- Power button (soft) – The Pi unit itself does not have a power button. Sure it will boot when it gets power, but shutting it down cleanly has to be done through the menu. Adding a button to do this for you is great. Twidec / 19mm Waterproof Red Metal Shell Momentary Flat Push Button Switch
- Power button (hard). Inside the cabinet are multiple devices that need power. The Pi, monitor, speakers, HDMI adapter & LED lights. Sure USB is useful, but power requirements as usually greater than what is output from the Pi or the monitor. I plugged everything into a power board, and tied that into a physical switch on the back of the unit. ARQQ 15A 250V Rocker Switch Power Socket Inlet Module Plug
- LED strip lights to light up the marquee ( and the inside of the box). RGB LED Light Strip Kit,16 Colors Dimmable Flexible TV USB Backlight Kit
Ordered a Raspberry Pi 3B+ and controller kit from Amazon.
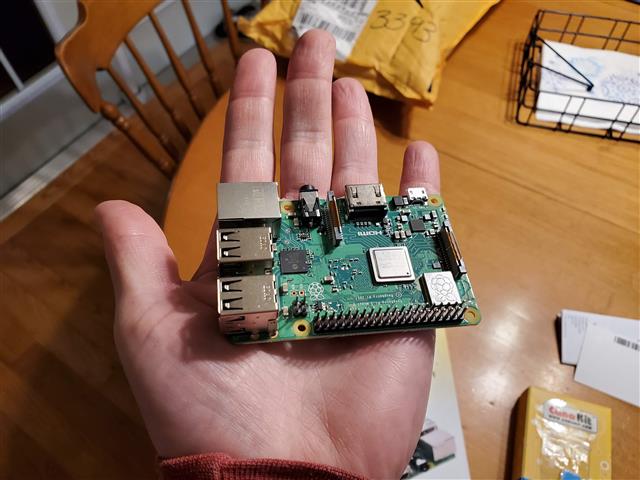
Raspberry Pi 3B+ 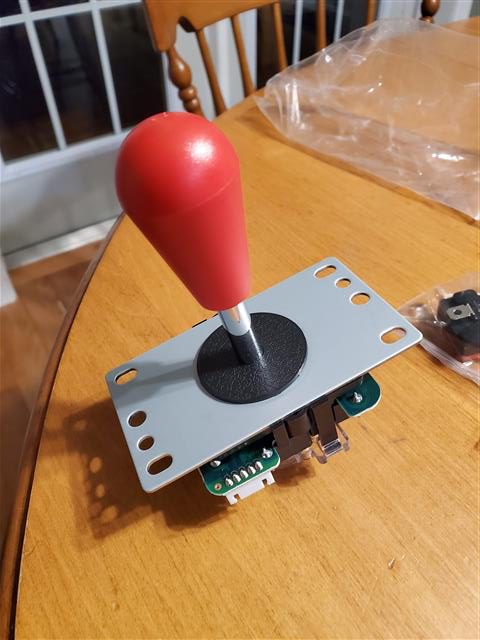
Ready Player 1 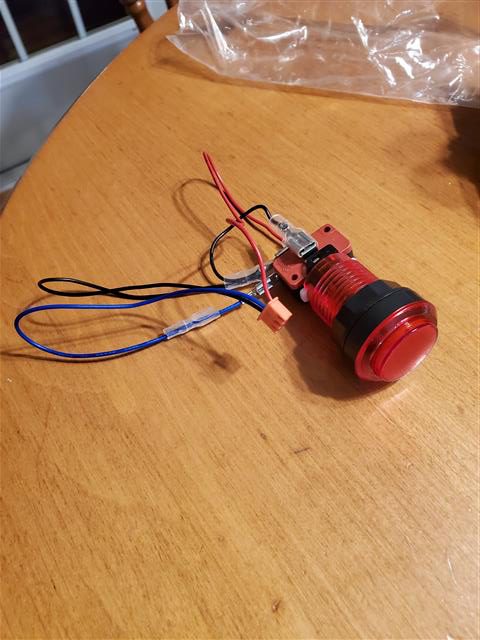
Button 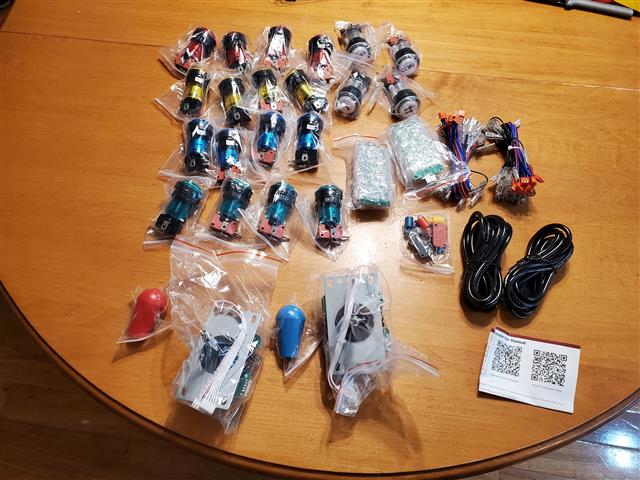
All the stuff
Note that when you wire these things up, you will see that P1 has a controller board and P2 has its own. Make sure that when you wire it together, that the button you want to be X on Player 1 is in the same slot as the X on Player 2, and so on. If you do not do this, you will have problems mapping buttons in RetroPie. Additionally, always plug the controller board into the same USB slots on the Pi.
SD card flashed with Retrorama Rampage, bare bones up and running with a temporary control panel.
It is very important that you get everything working before you start construction.
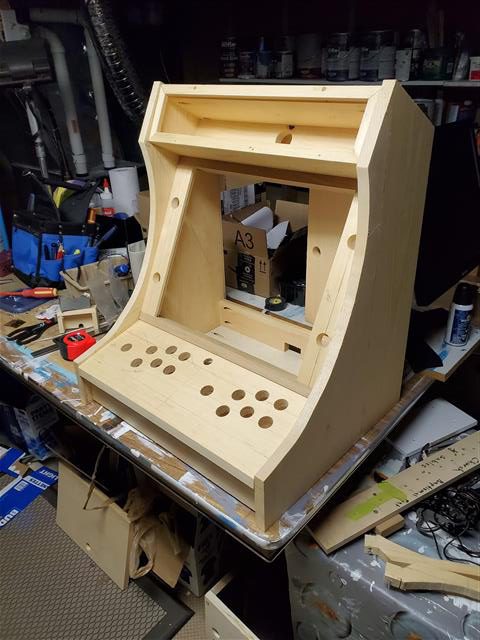
For the cabinet itself, I followed this guide here almost exclusively 2-Player Bartop Arcade Machine
Started building the cabinet proper and getting some other components ready, including a proper plug and power switch.
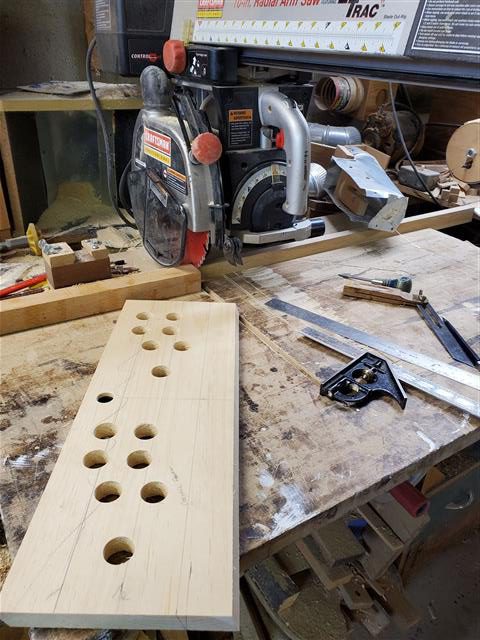
Drilling some holes for the control panel 
The power switch 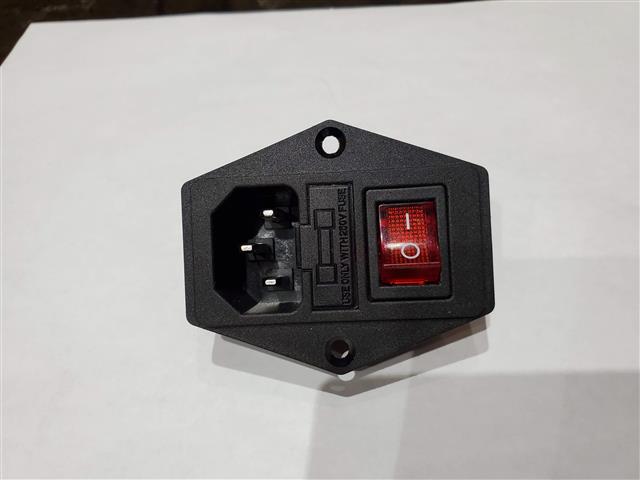
Switch
Assemble the cabinet, make sure everything fits
Prep the cabinet for priming & painting
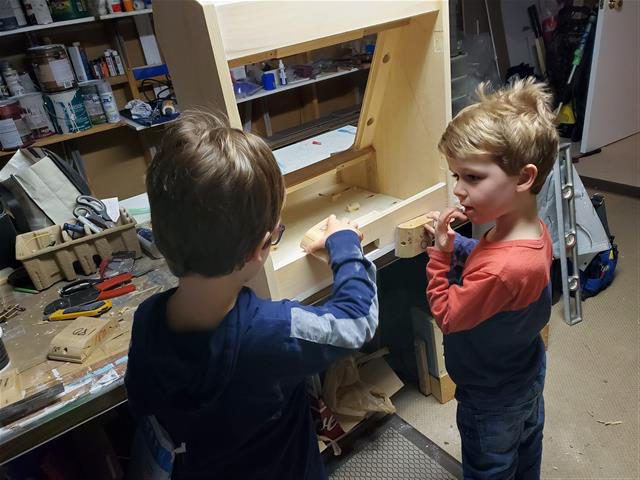
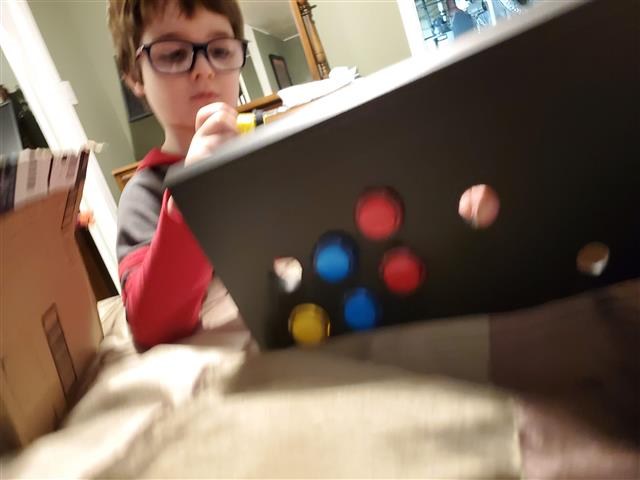
Child labor 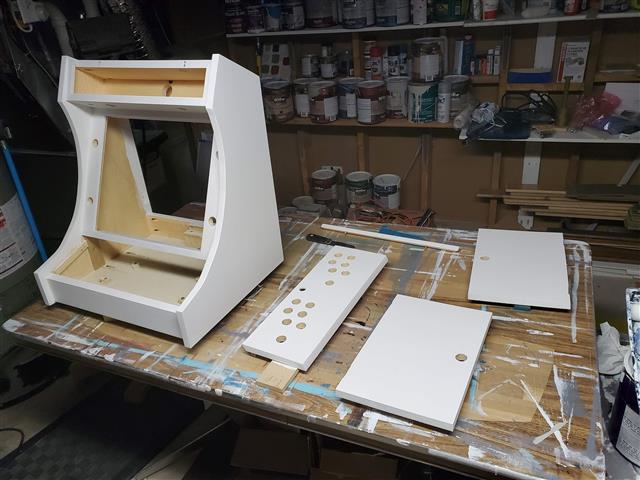
Primed 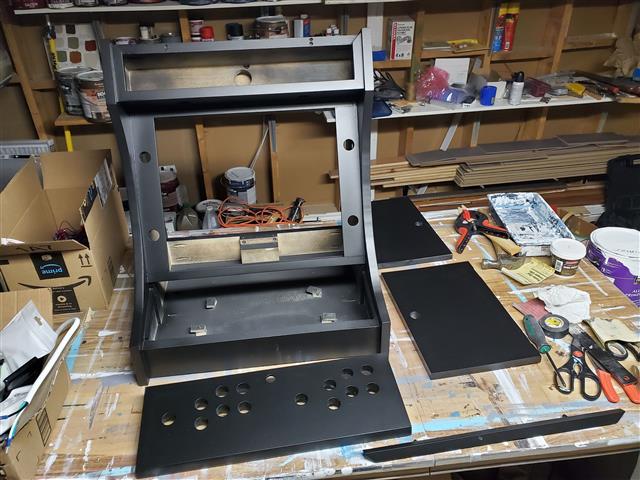
Spray painted 3 cans, dozens of coats
Start putting all the pieces together
Screwing in the buttons 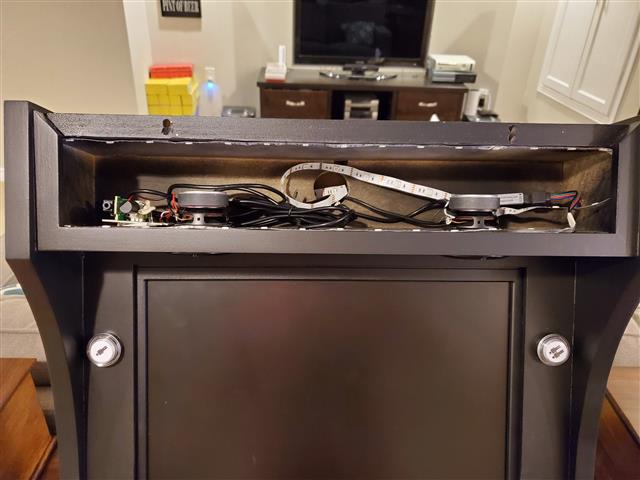
Behind the marquee – speakers and LED strip lights 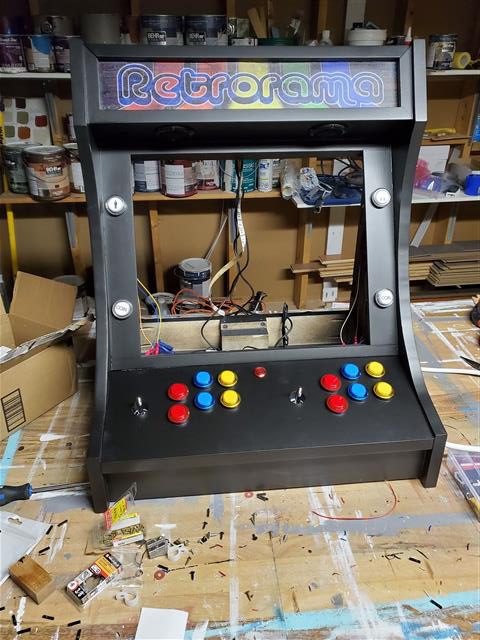
Starting to come together
Configuring the “soft” power button was relatively straight forward thanks to great work already done by the online community. This article from HooCoo lays it out great. How to Add a Power Button to Your Raspberry Pi.
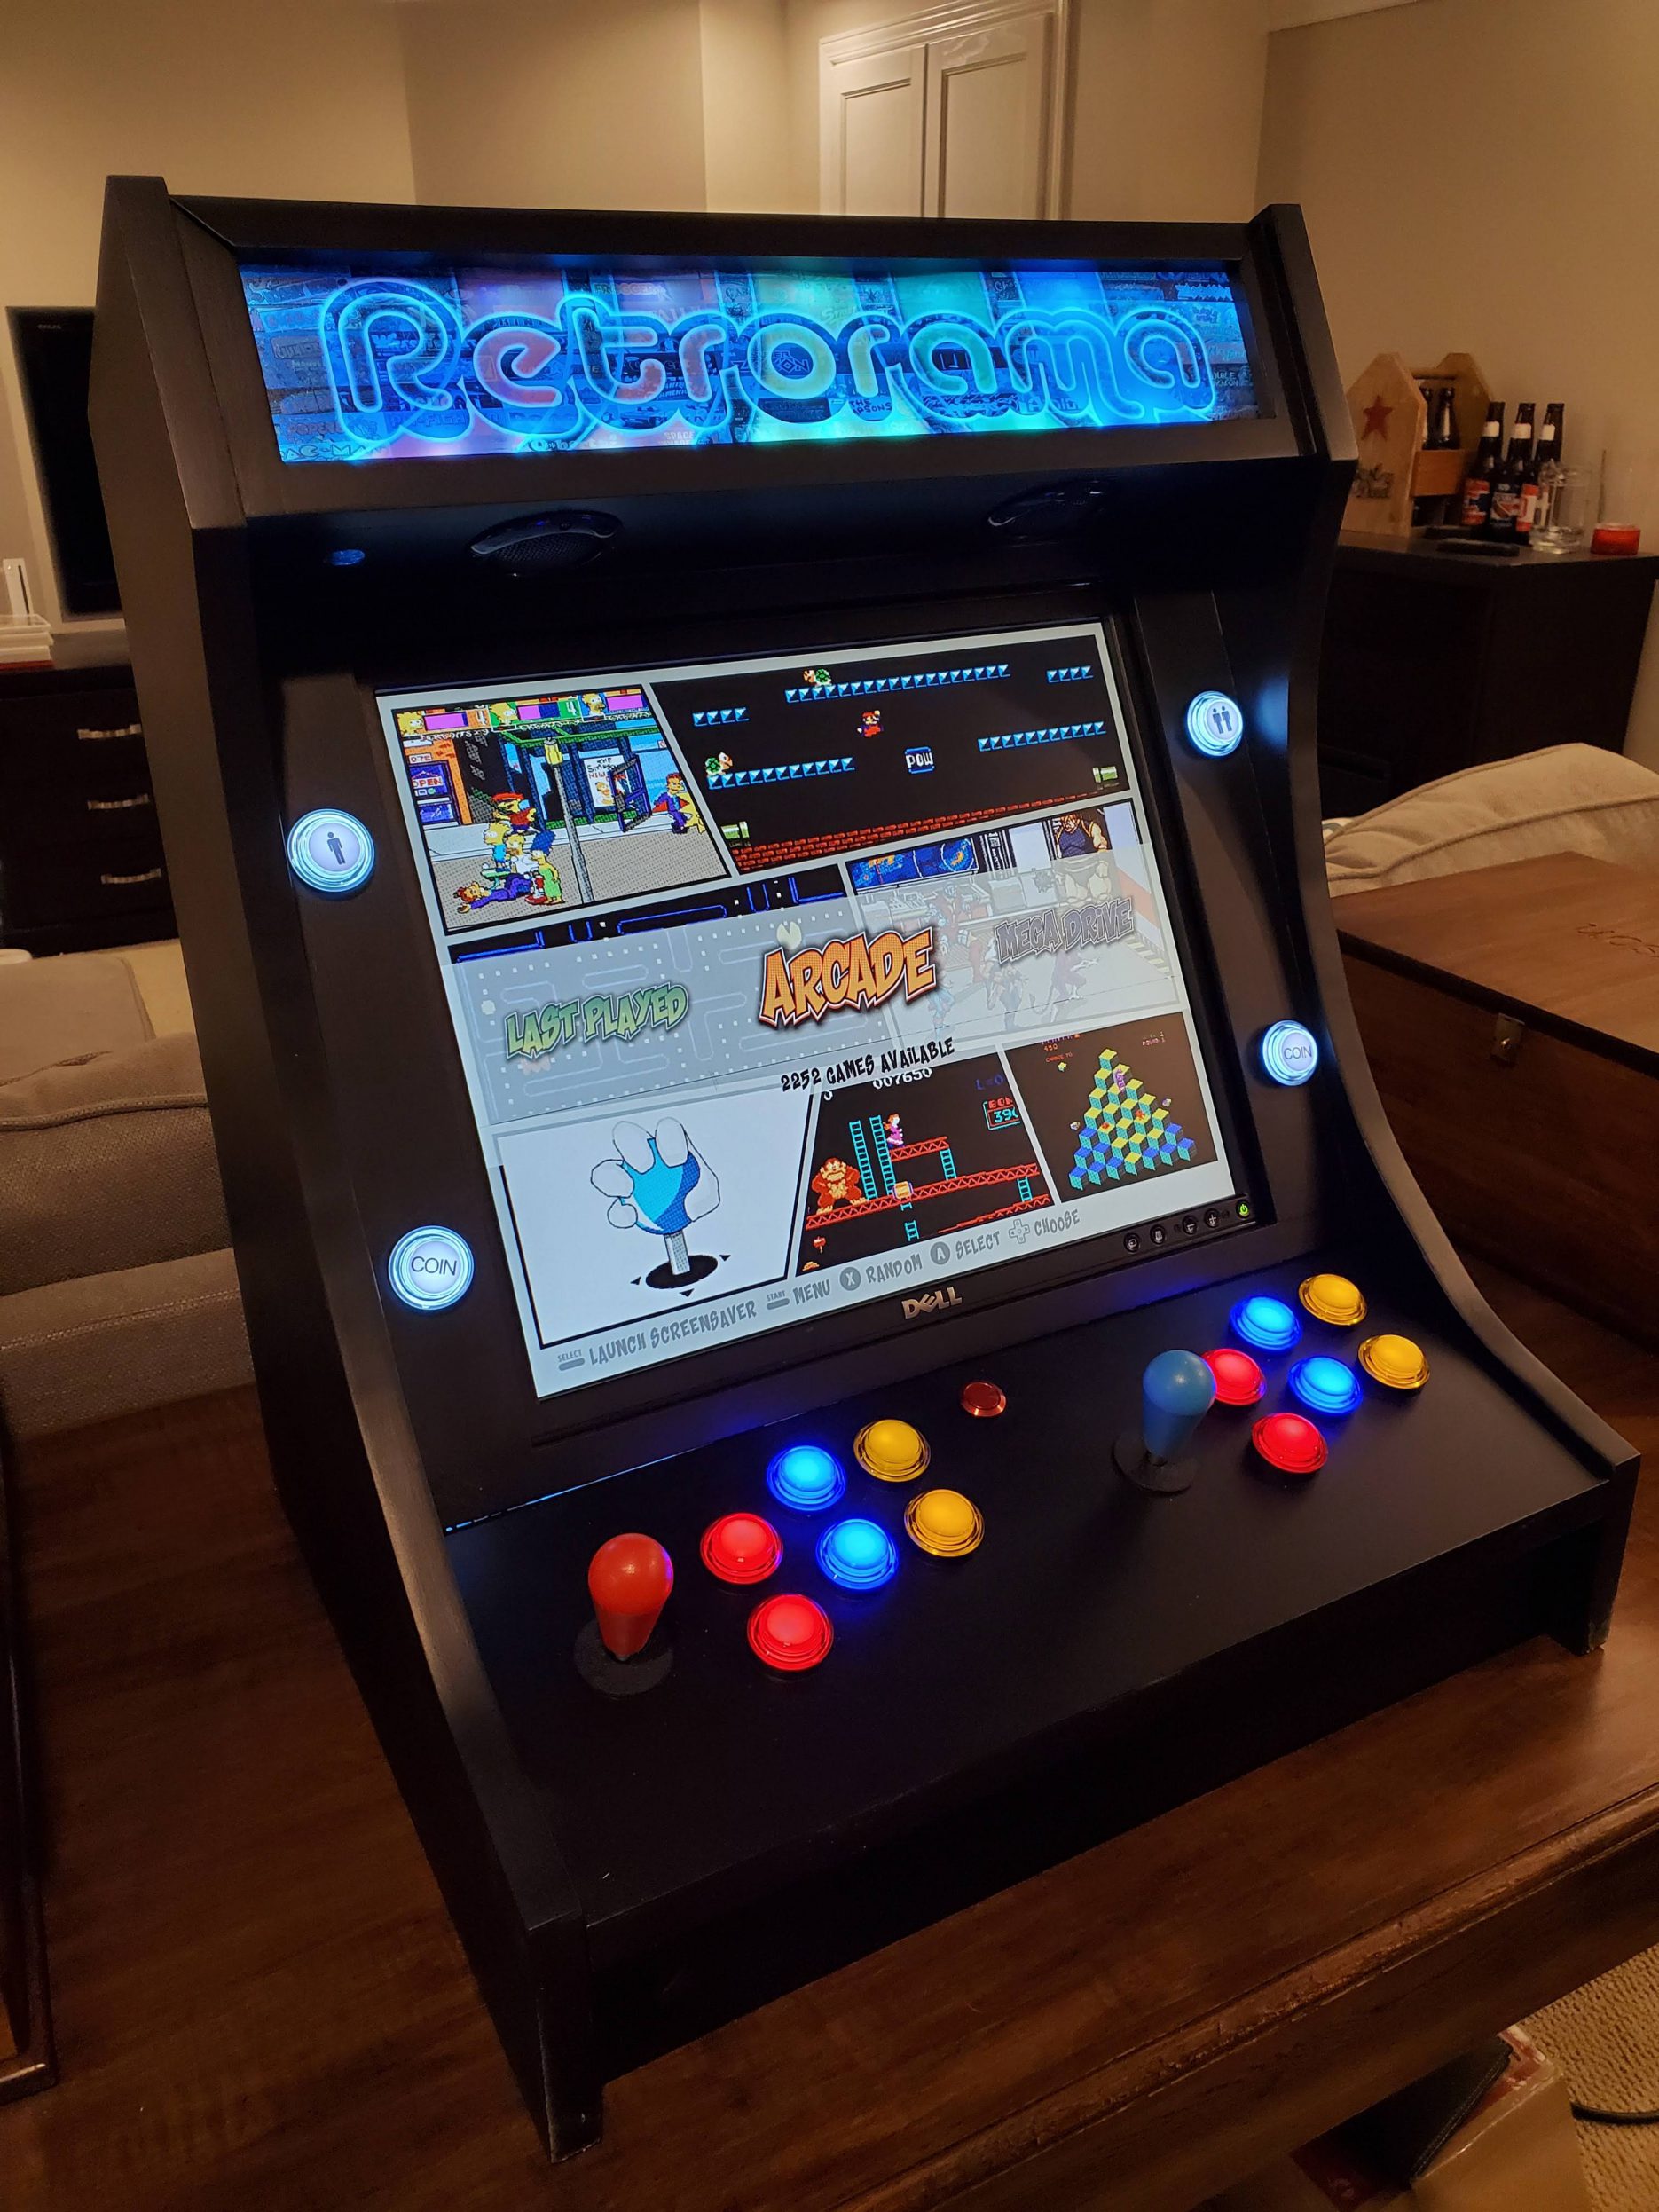
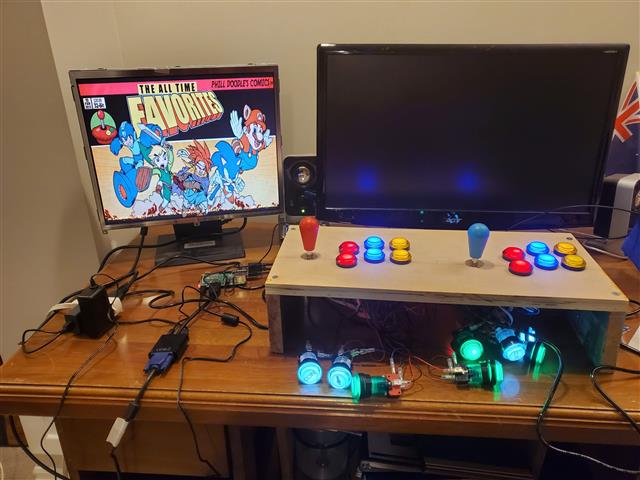
Done!

Running RetroPie with Comic Book theme 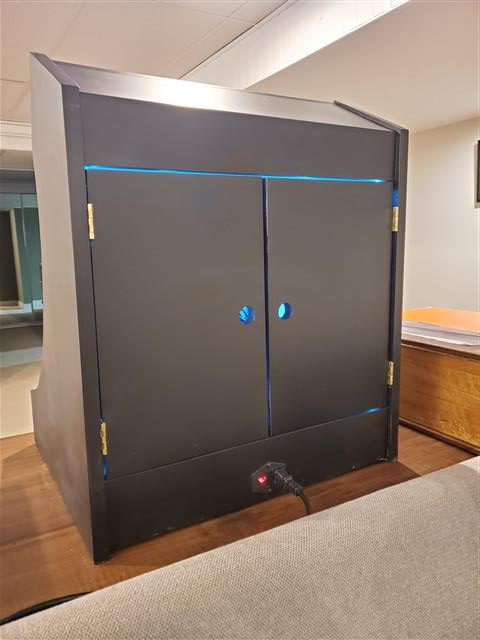
The back 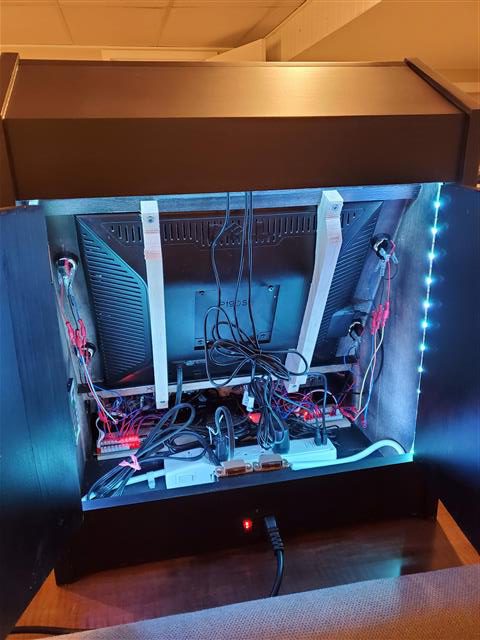
When you have lots of leftover LED and think it would be cool, only to find out that it really helps to see inside!
One thought on “Retro Arcade Cabinet Build”
Comments are closed.