This may be one of the most satisfying builds I’ve done, and just because its Batman. Its simple, easy, quick to put together & ultimately looks great.
Here are the materials you’ll need:
- Sheet of MDF, I recommend 1/4 inch
- Batman logo template
- AAA or AA batteries. I recommend 4 to get adequate voltage.
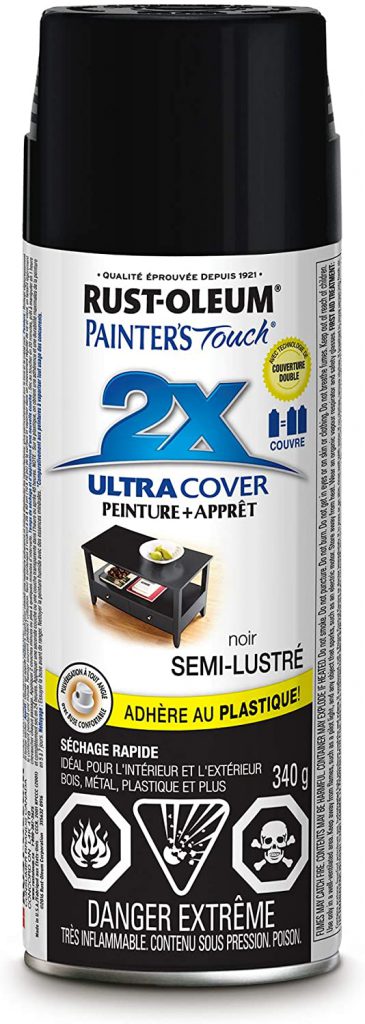
- Black Semi gloss paint. I use spray paint because the finish is much nicer than brush or roller.
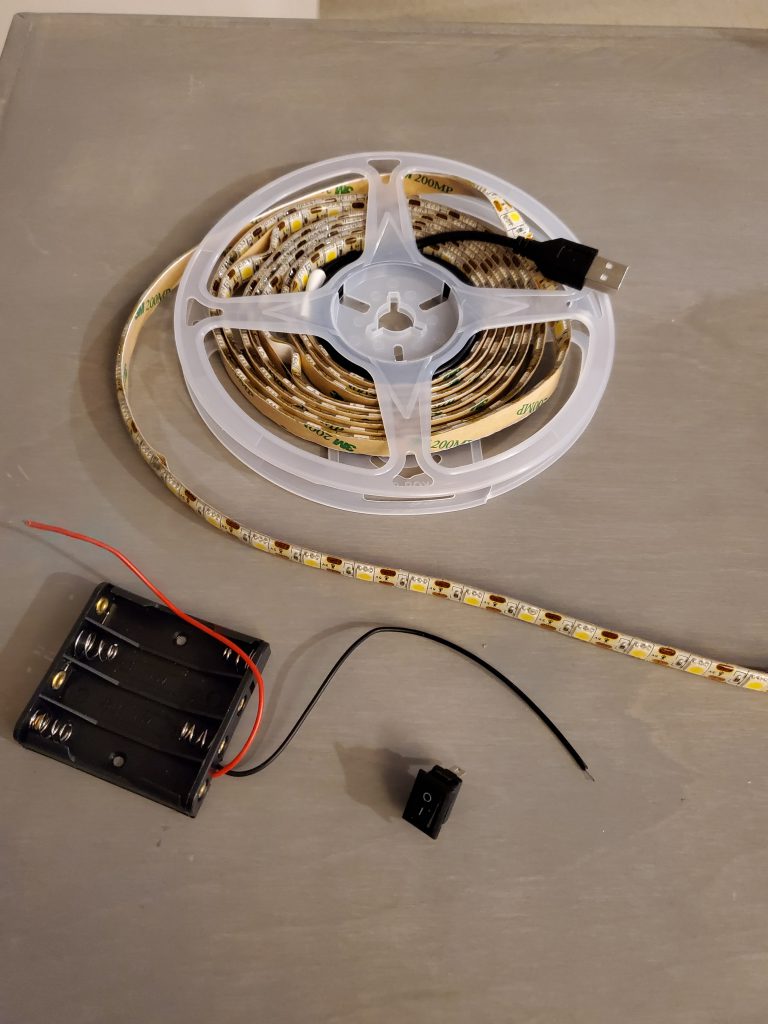
- Battery holder
- LED lights. For battery use you are going to want 5v. If you plan to plug this in, I suggest 12v lights.
- Switch
Choose your design
There are no shortages of Batman logo designs. Whether you’re Adam West classic, right though to Keaton’s 80s design or something newer The Dark Knight era or Bat-flek. Simply find your design, pasted it into a Word document, scale it up & Print to PDF.

The in Adobe, use the poster function to stretch your image over a number of pages, This will give you the ability to get a bigger template size than just A4 or letter.
Stick your template together, then cut it out & transfer it to your sheet of MDF.
Wood work
Using a jigsaw or coping saw, cut out your design. Take your time, no need to rush. If you are using 1/4 inch MDF you may be able to get away with using a sharp utility knife & lots of time & patience. But be careful, if you cut yourself it will bleed for a long time. I recommend buying a coping saw if you don’t have one. Sand the edges when you’re done.
Next you are going to want to paint it. I recommend priming the surface first, however it’ll work fine otherwise, just need more paint. When spraying, move the can at a medium speed, starting the spray next to the piece, and let go of the nozzle once you have passed the opposite end. This will prevent blobs and blotches of paint from the nozzle landing on your work. Apply only very thin coats, this will give you a much nicer and smooth finish. Not uncommon to need 5 to 7 coats using this method. You may use a little more paint but its worth it.
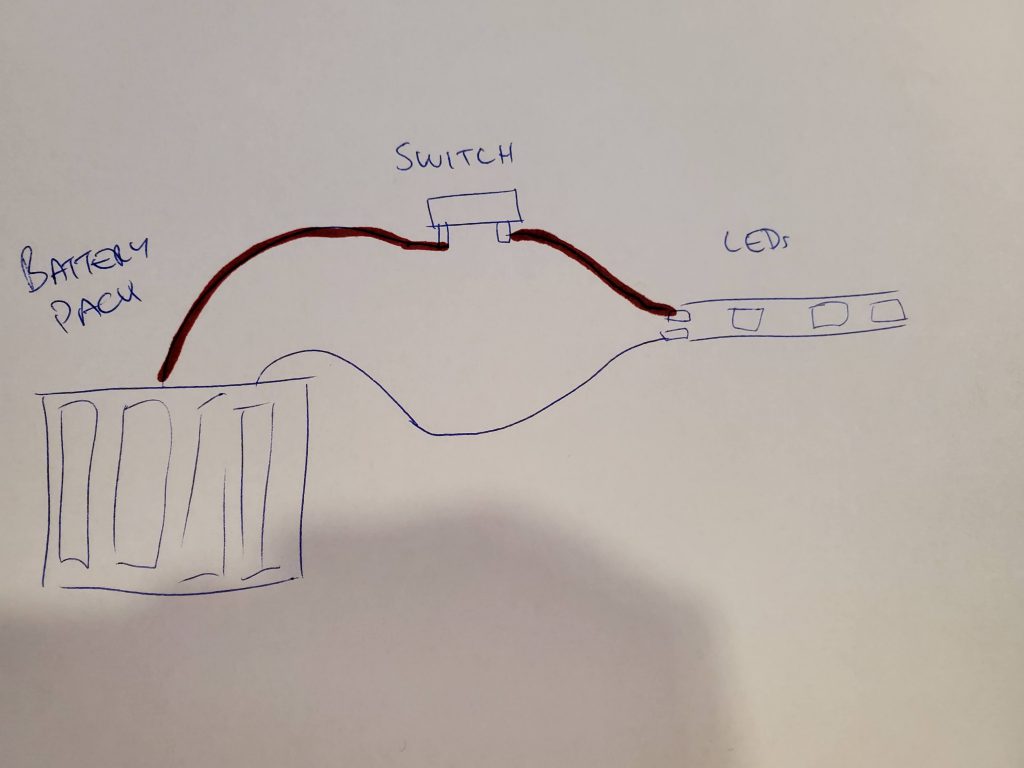
Electrical
As far as circuits go, this is primary school science level design. Battery > Switch > Lights. You could put the switch on the live side or the ground, up to you.
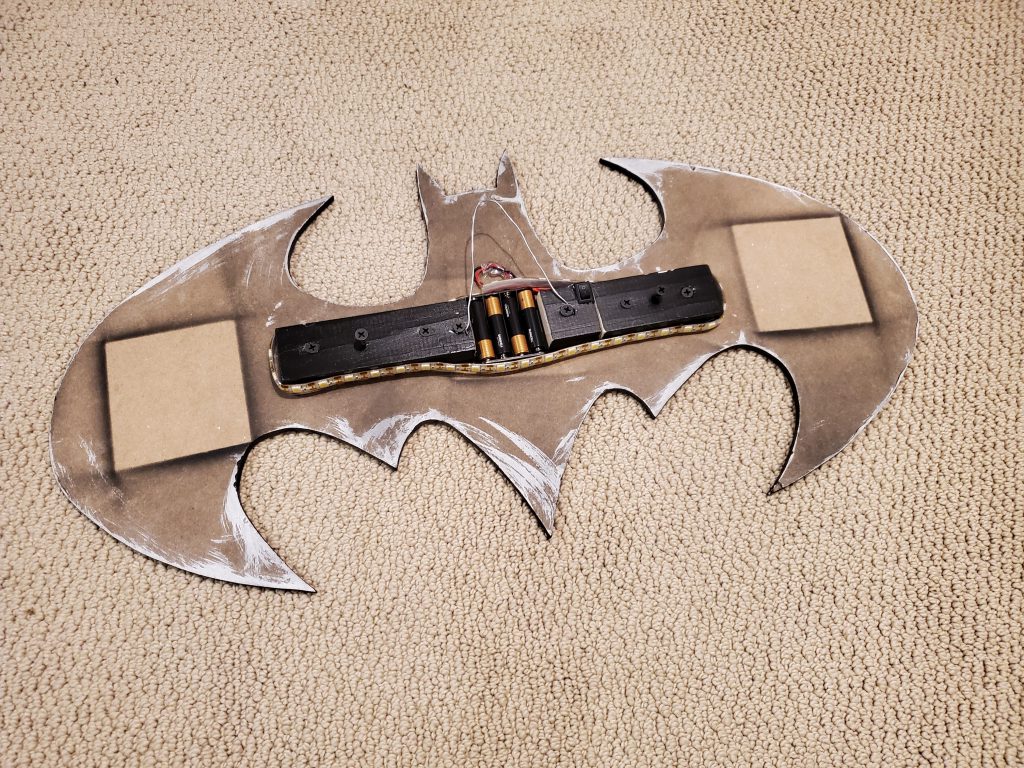
Assembly
To better hold things in place, I mounted some wood to the back to wrap the LEDs around. I would recommend coming closer to the edge than I have, by about half as much again. Find a way to secure the switch (hot glue works) and you’re done.
I added some wire to the back so it can easily hang on some hooks. I have 2 screws also standing out from the block on the back to help keep it more flat & level on the wall.
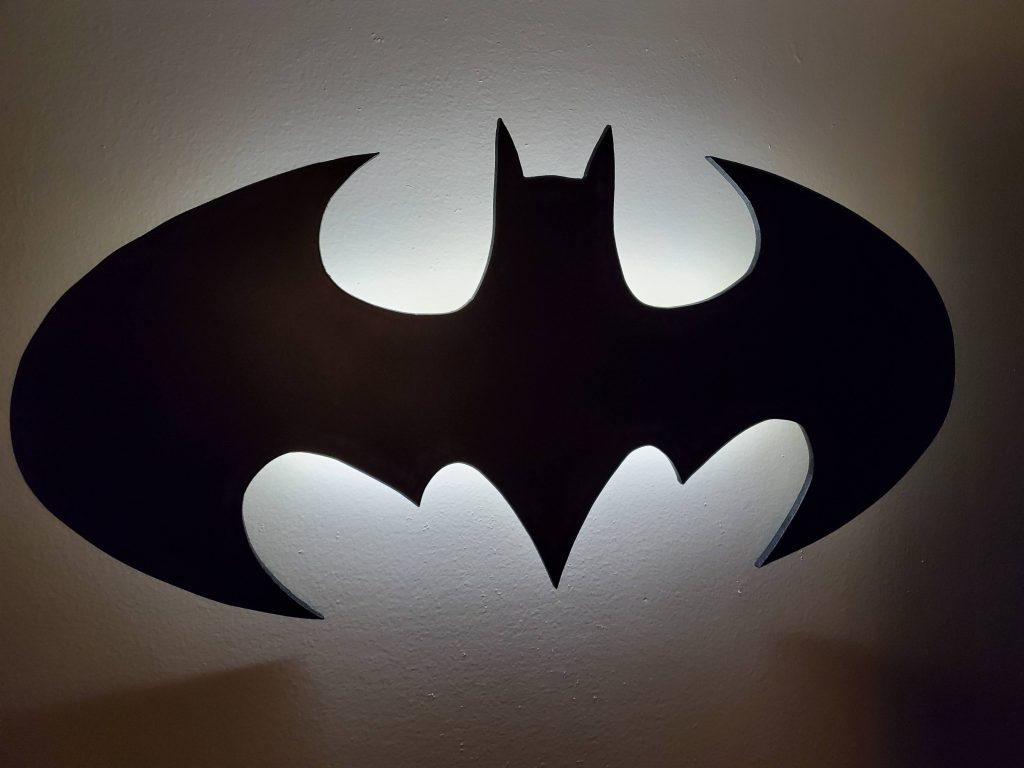
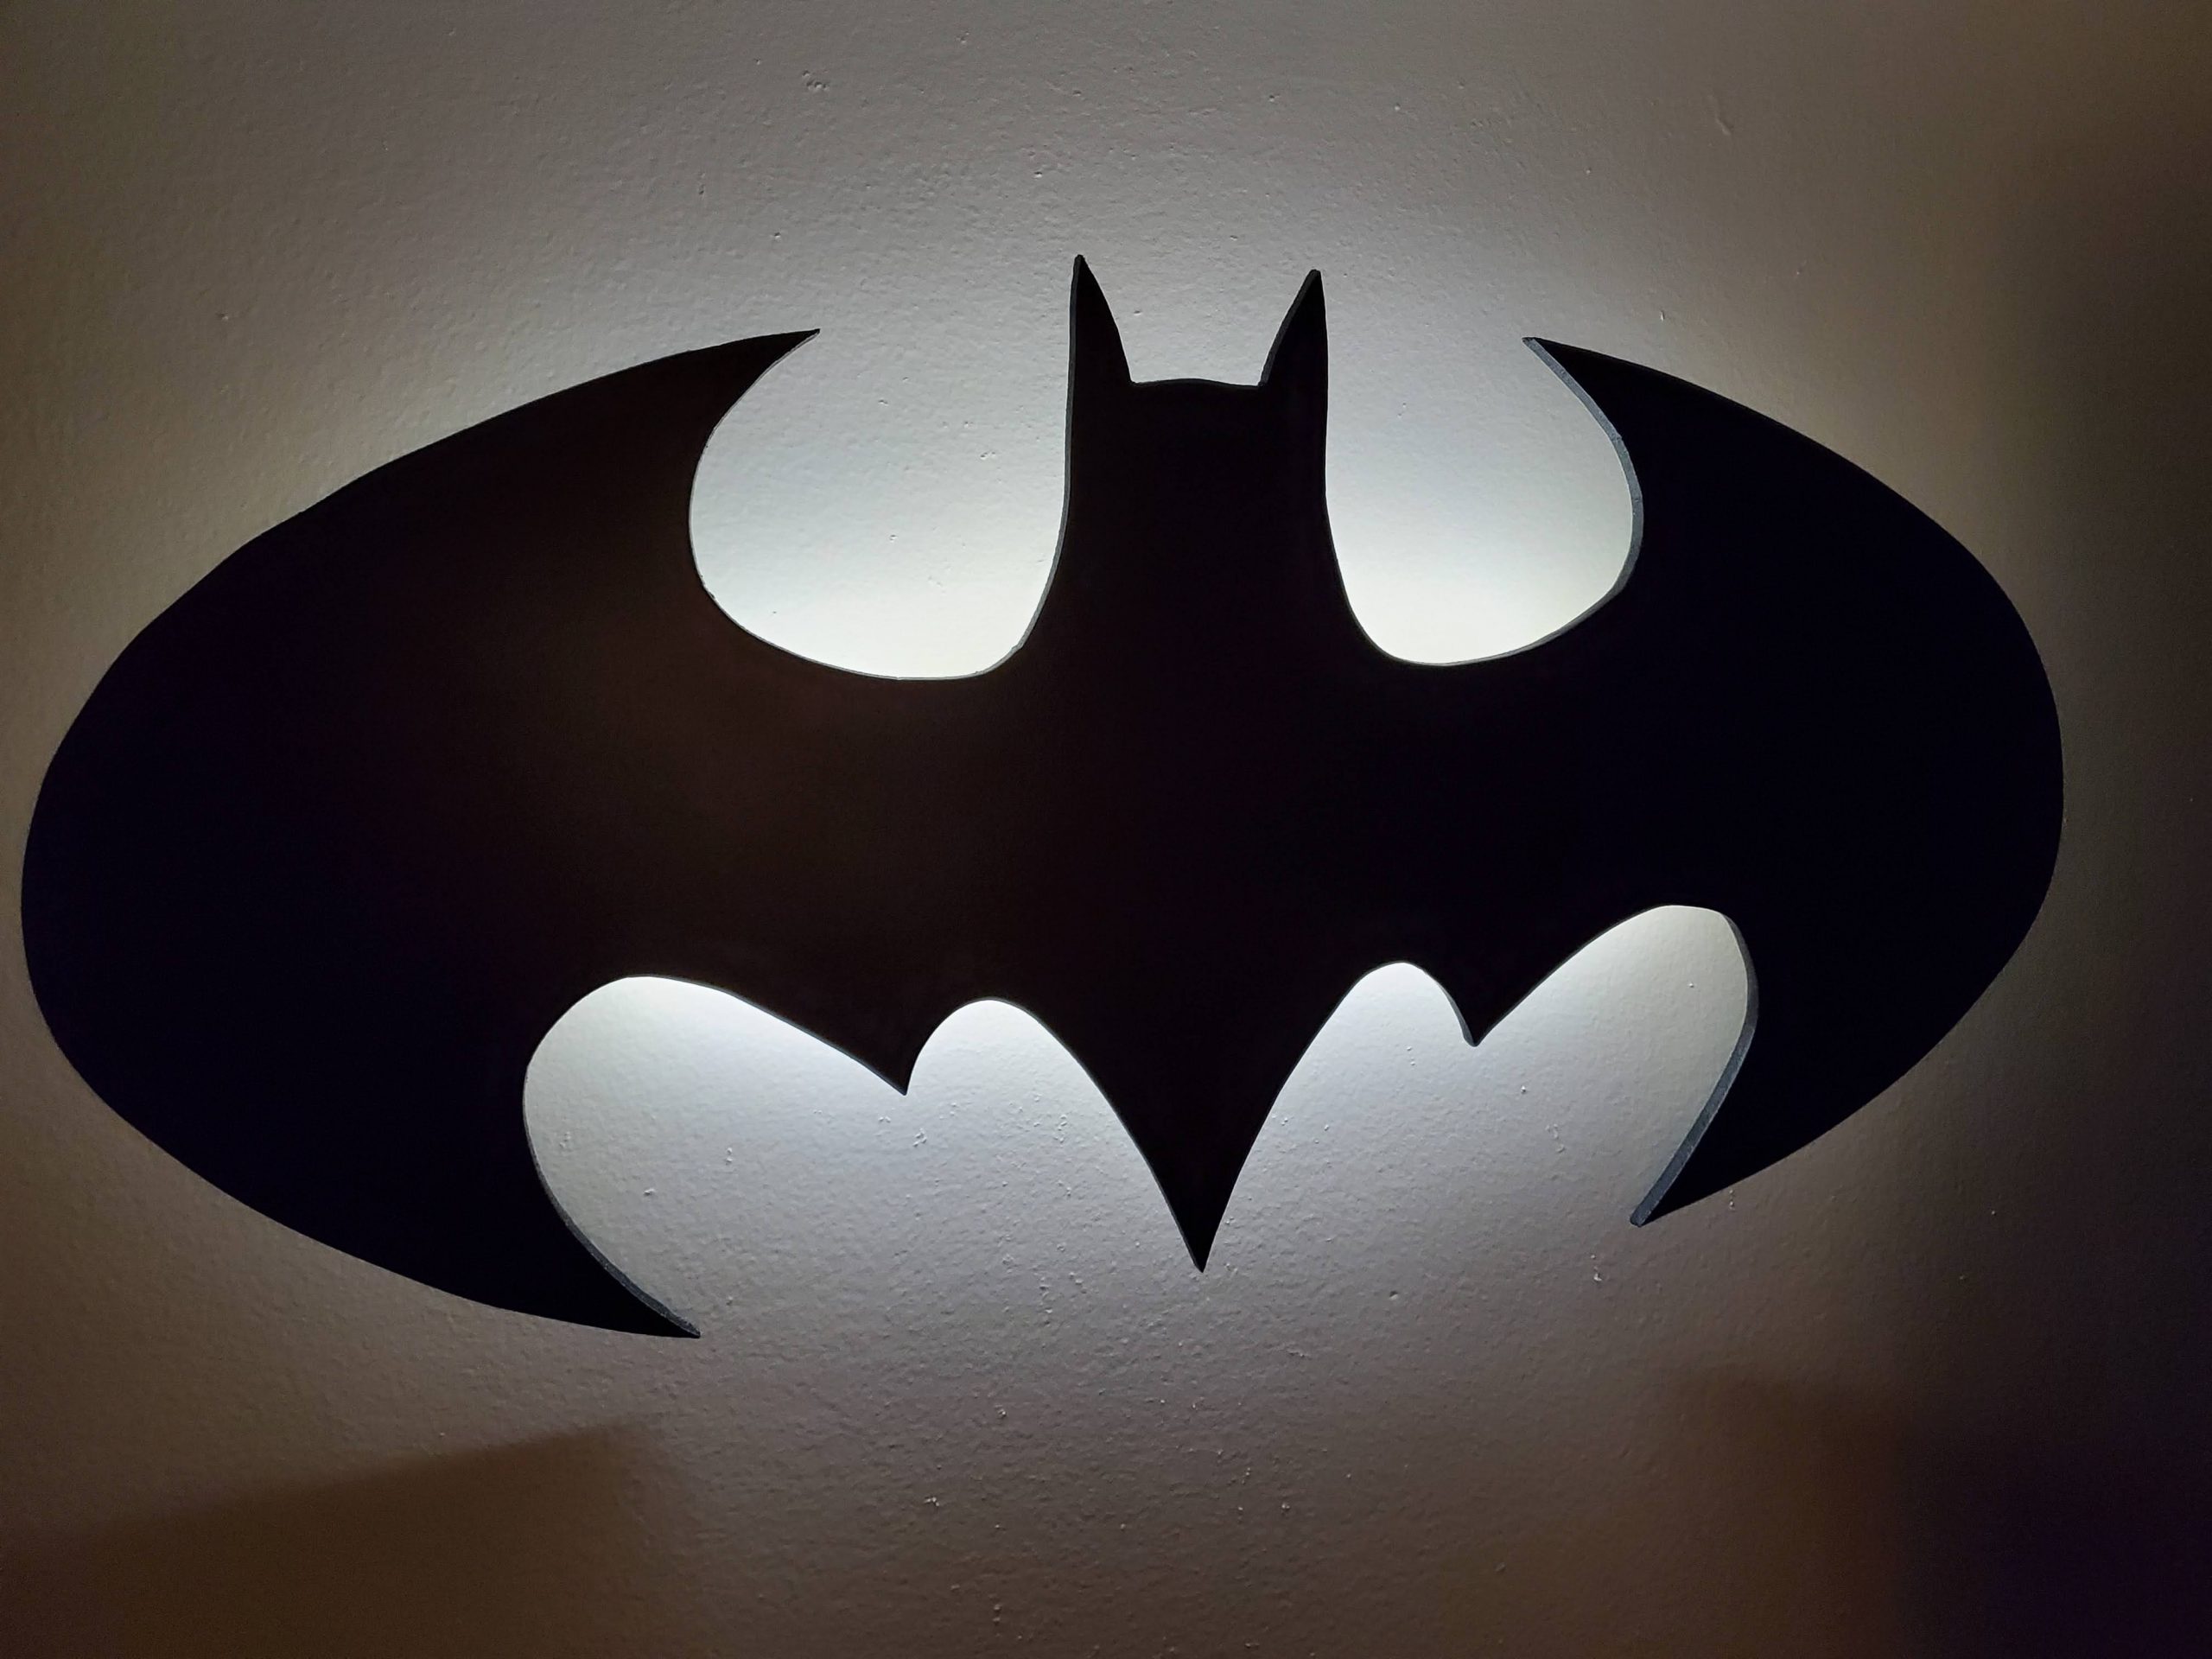
Finished Product
You can see the end result is simple, effective & lots of fun.