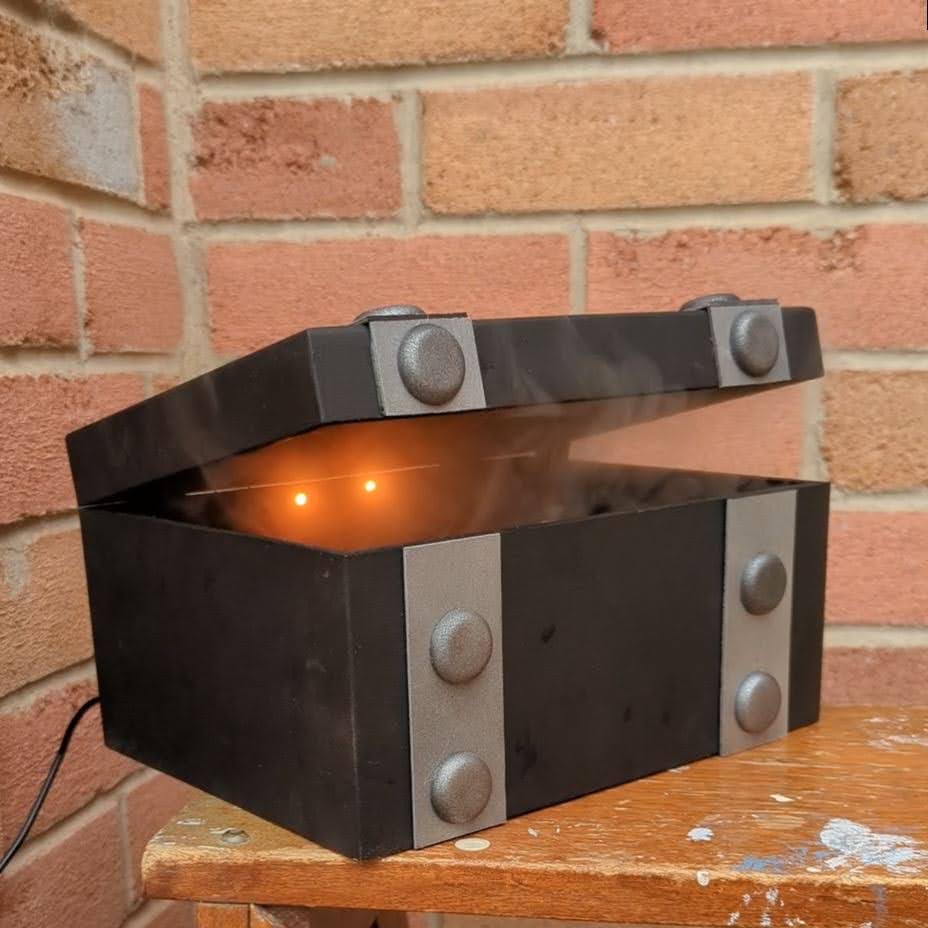
A spooky monster-in-a-box self opening prop for Halloween, complete with mist for an extra-spooky effect!
After seeing this post from @TheTiredCraftsman, I decided to do my own take on this idea. Here is how I did it.
Parts
- Arduino Nano (or clone)
- Ultrasonic mister
- A medium sized wooden box
- A SG90 servo motor
- Some switches, wires, craft wood & paint
About The Project
This is a project of false starts, missing photos and general flying by the seat of my pants. Here is the short version of events:
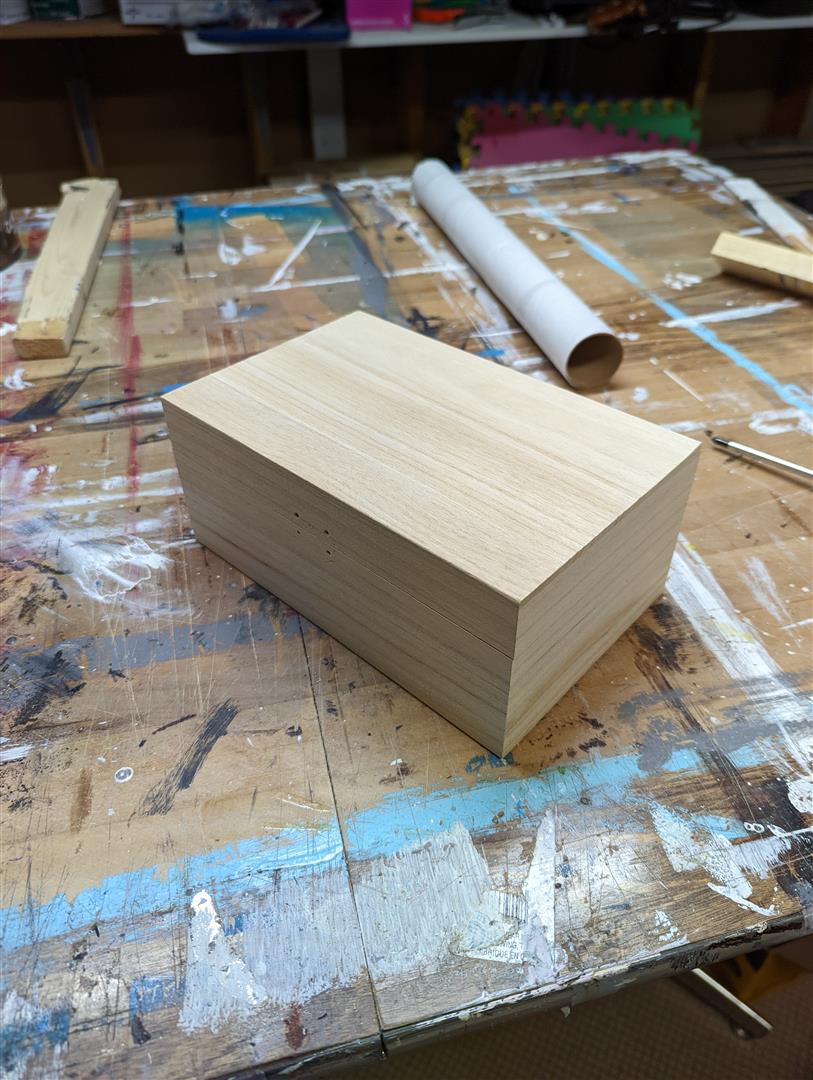
- Purchased a wooden box from Michaels along with decorative wood pieces from the dollar store
- Remove the latch, fill, prime and paint the box.
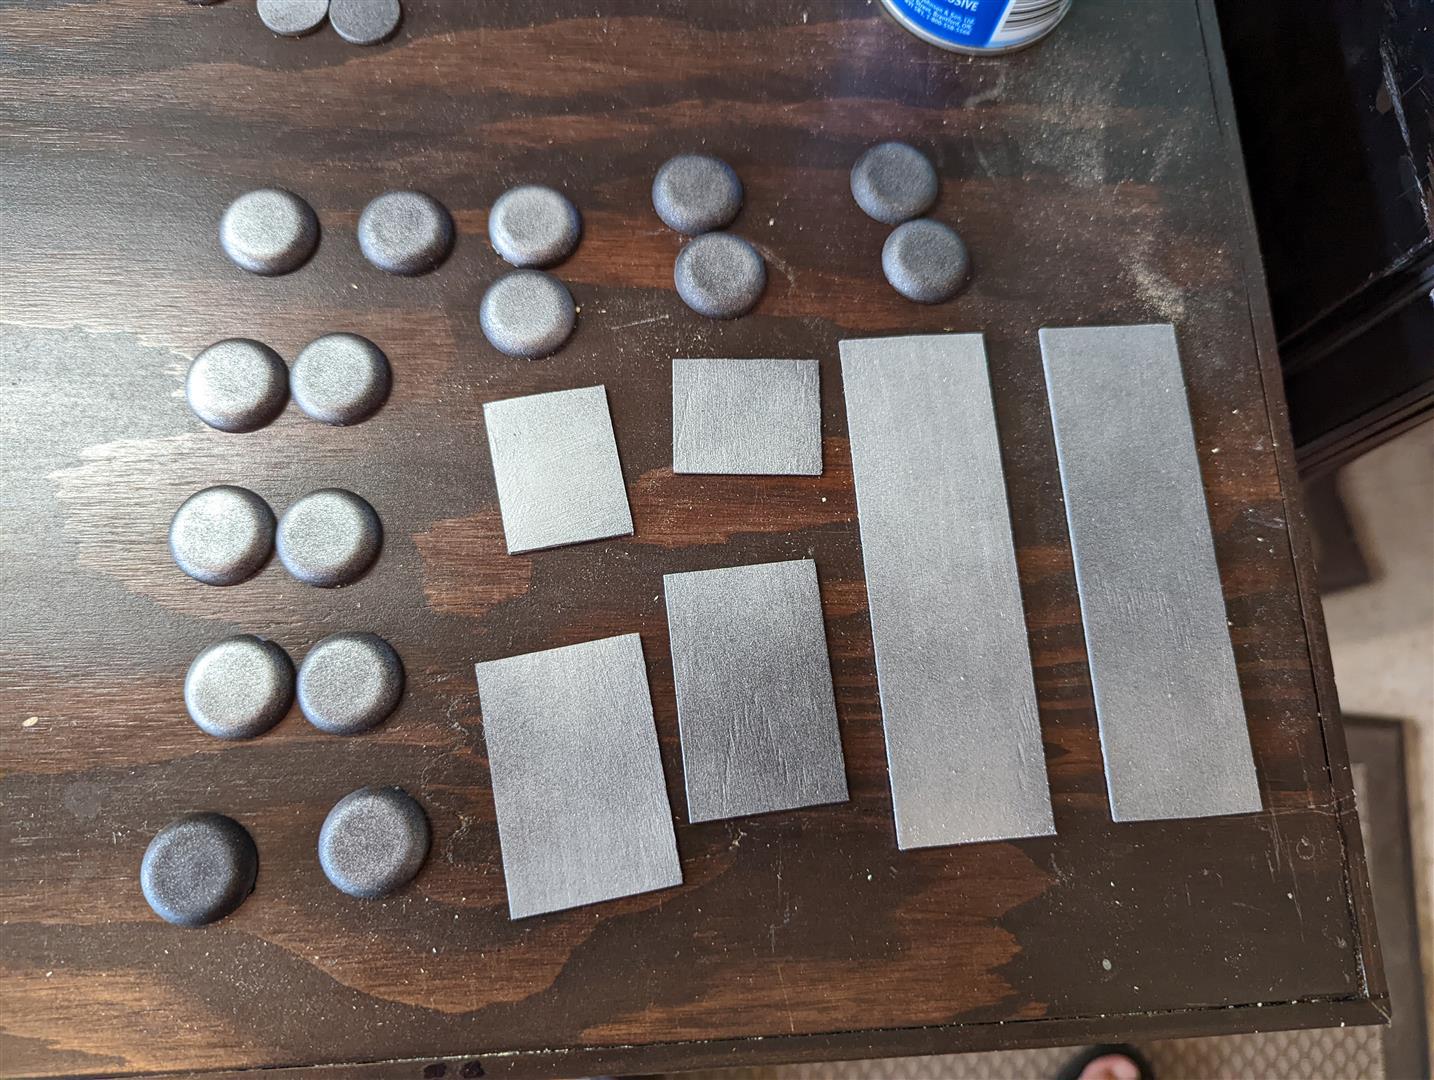
- Paint the decorative pieces
- Simple Arduino code to open and close the lid
Separately:
- Construct the circuit
- Test the mist maker
- Build a water reservoir for the mist maker
Critical step:
- Realize the box is too small for the splash guard on the water reservoir for the mist maker
The pictures to this point:


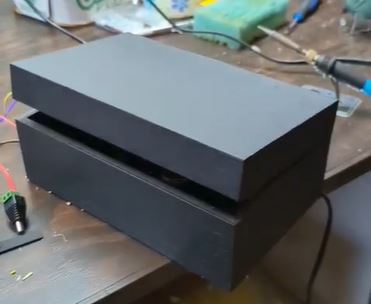
The box in action
Sort of starting over
From this point, I didn’t take too many pictures, mostly because I had a feeling I would be going back and forth with different components and pieces. Any pictures here are likely taken after the fact.
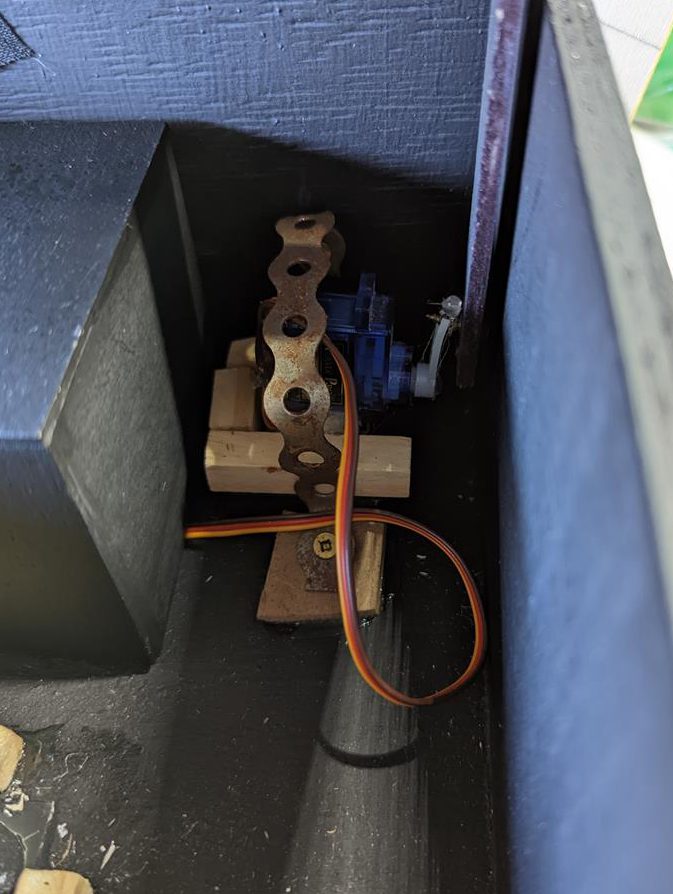
After preparing a new, larger box, it wsa time to get the servo installed, It needs to be easily mounted and removed, so as to get full access to the box inside. Some small pieces of square dowel along with a random metal bracket do the trick nicely, especially as its hidden from view.
I used the craft wood to make a small control panel for the back of the box. The wood is thin enough you can use a utility knife to cut it to shape. Great to work with & a decent replacement for a 3D printer. Next I cut a hole in the back of the box for the power jack barrel & control panel.

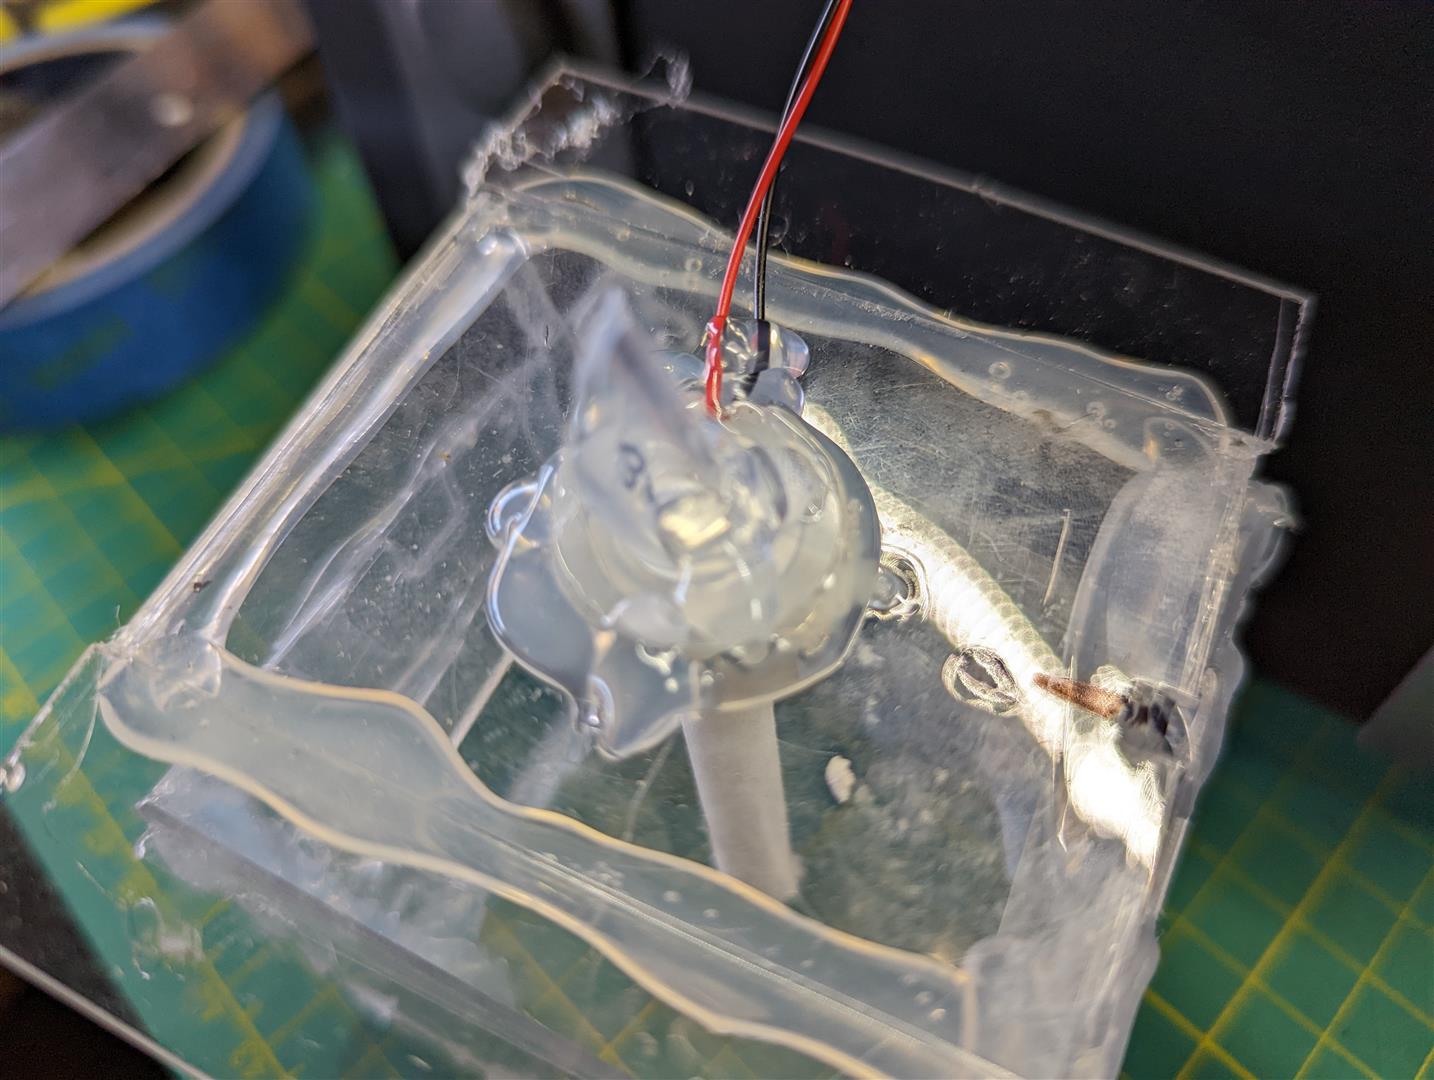
On the left is the mister board. The new mister, below, has an external button which needs to be pressed to begin the mist process. Press it again to pulse the mist, and a third time to turn it off.
The first switch was intended to power the mister on/off, however since the new board has this already, it is now just for decoration. The right hand switch controls all the power.
New ultrasonic mister
After completing the control panel, a new mister showed up. This one is smaller in size and draws the water up through a sponge, rather than being immersed in water. Additionally, the mister itself has a power switch, and can be powered from 5v instead of 12v. Time to re-work the circuit!
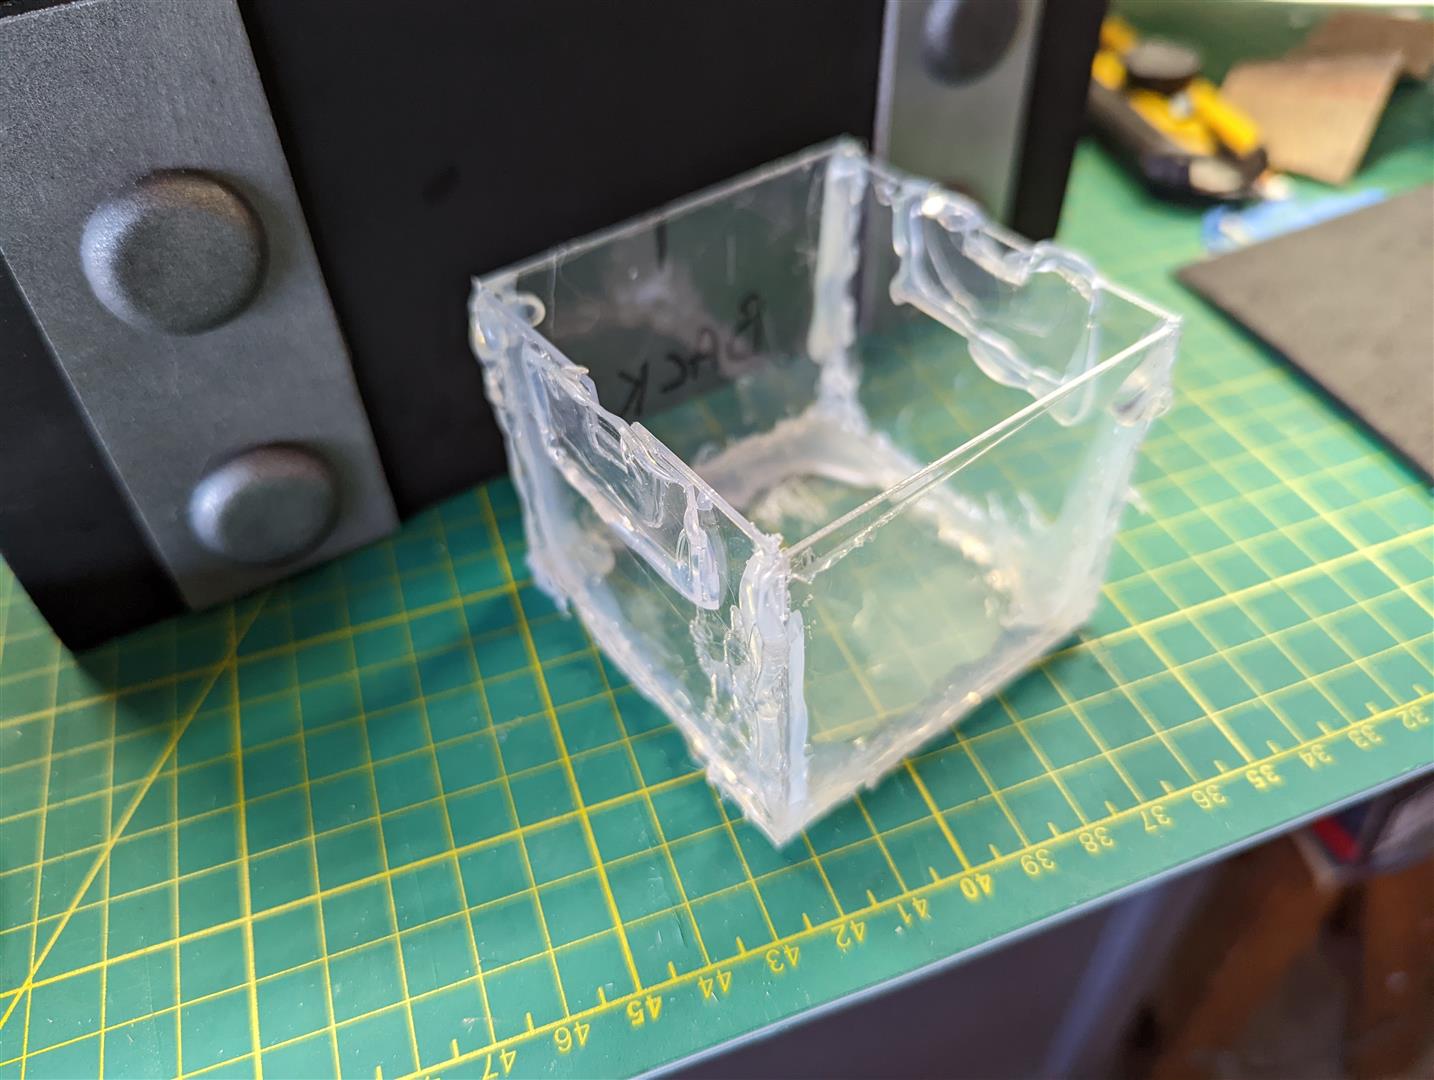
A new resiviour was required for the mister. After looking through all the dollar stores in the area, I couldn’t find anything to suit. So out of spare plastic, and a lot of hot glue, I slapped something together. You can [sort of] see the mister disk in the center, with a funnel to control the mist direction.
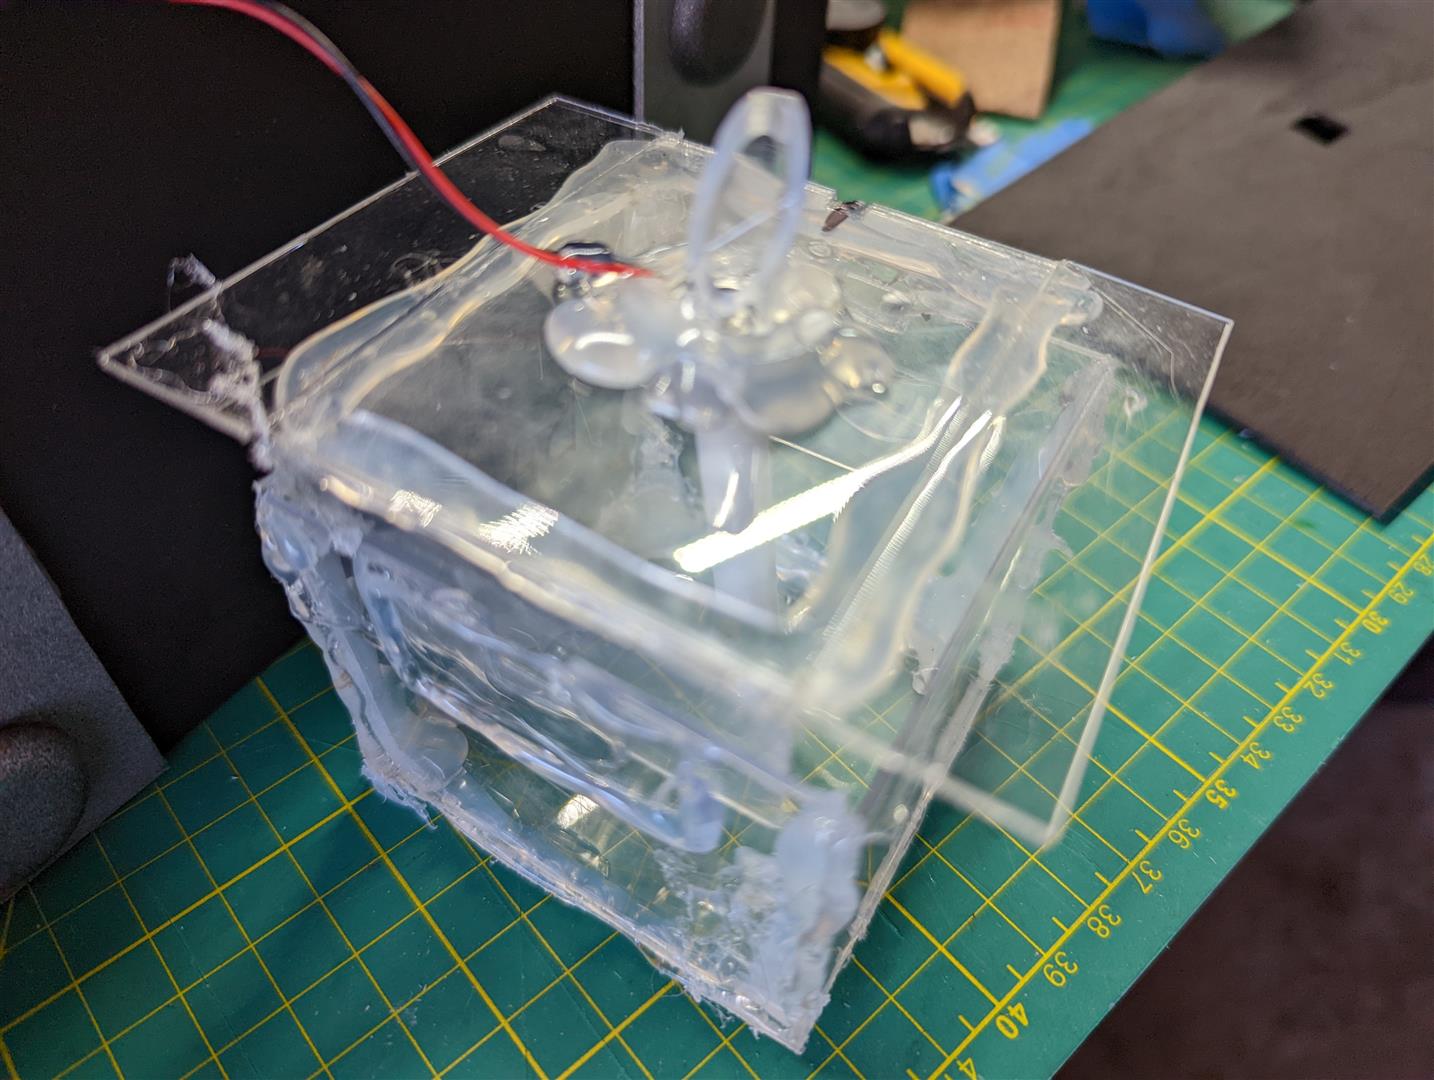
Shortly after getting this fitted, I found some perfect containers. A refit job for next Halloween!
Fast Forward…
Skipping straight to the end here. Lots of back & forth to come to something that worked. Reinforcement’s were needed on the servo, and a small fan was added to help push the mist out of the box. In addition, a small spout was added to the mister to limit the flow rate.
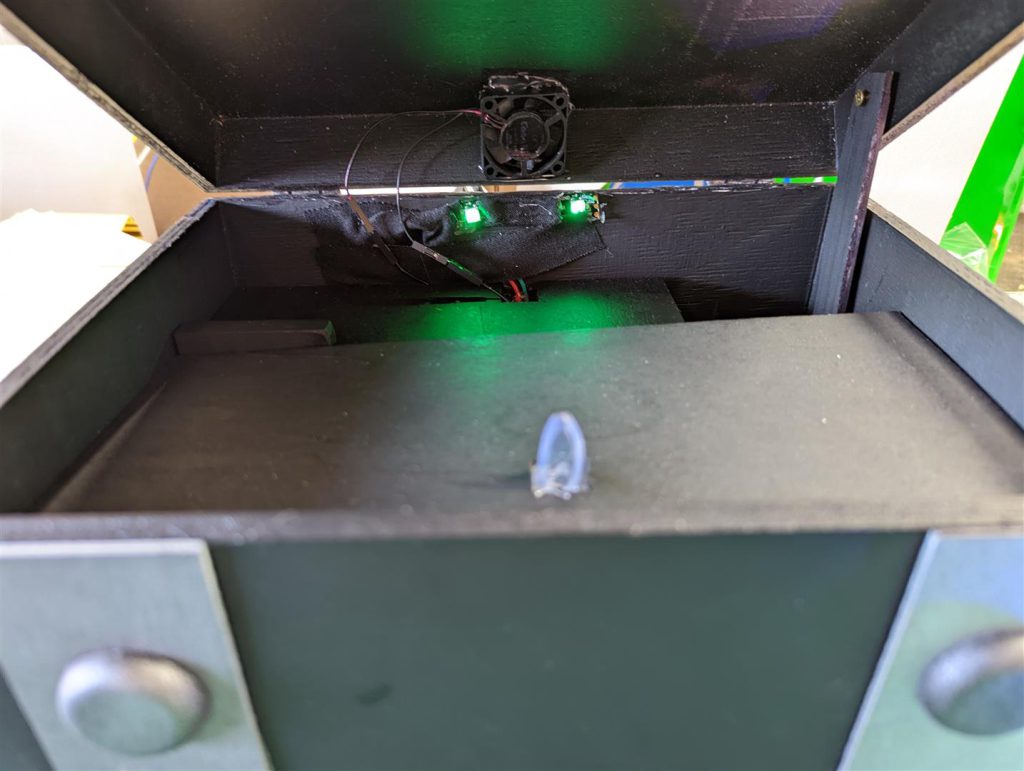
Inside the box we can see:
- The fan at the back, mounted on the lid.
- The LEDs for the eyes – they are green when in “maintenance mode”
- The servo lever to the right
- The funnel for the mister up front.