The inspiration for this project came from the video “Christmas Advent Calendar Arduino Powered” by Bob from I Like To Make Stuff. In fact, I draw a lot of inspiration from their creations.
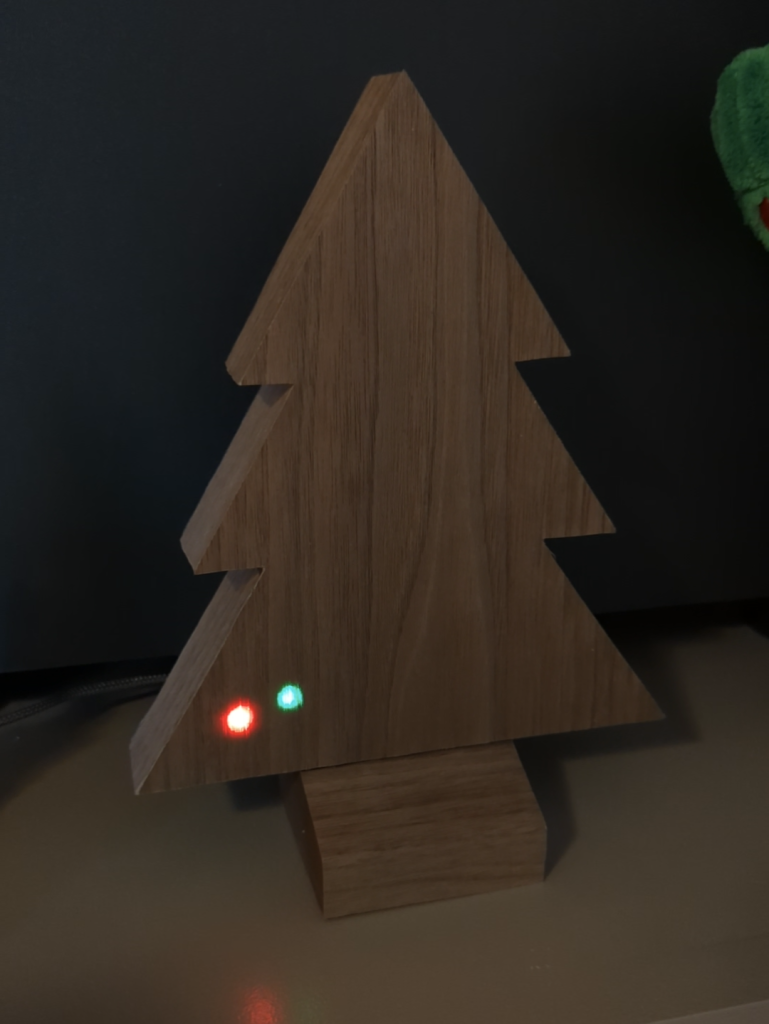
The premise is simple. Every day, you press a button & an animation plays & lights up one more day. There are 24 lights, so on Christmas Eve, when you press the button, the tree is finally lit. Press the button on or after Christmas Day, and a different animation plays.
Parts
- Arduino Nano (or clone)
- Walnut Veneer
- WS2812 RDB Individually Addressable LEDs
- Basswood Thin Unfinished Plywood Wood Sheets
- Tactile push buttons
- High Precision RTC Clock Memory Module for Arduino
- Miscellaneous, craft wood, wires & a 10K resistor
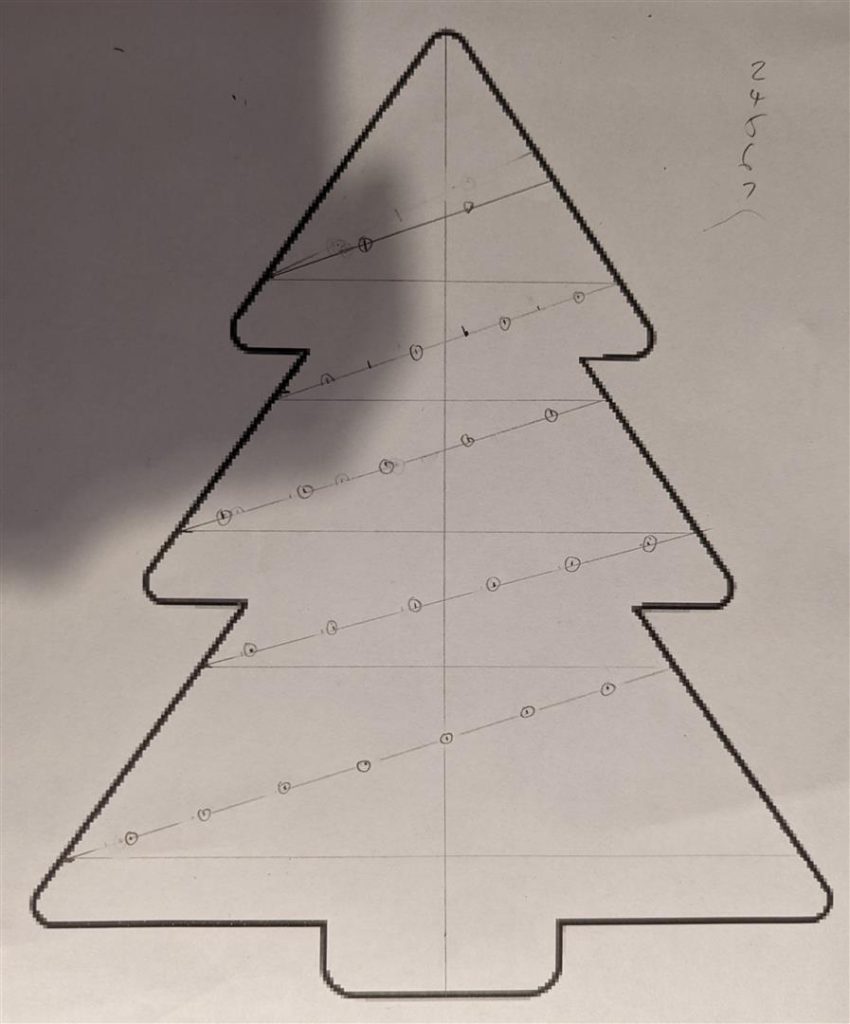
Design
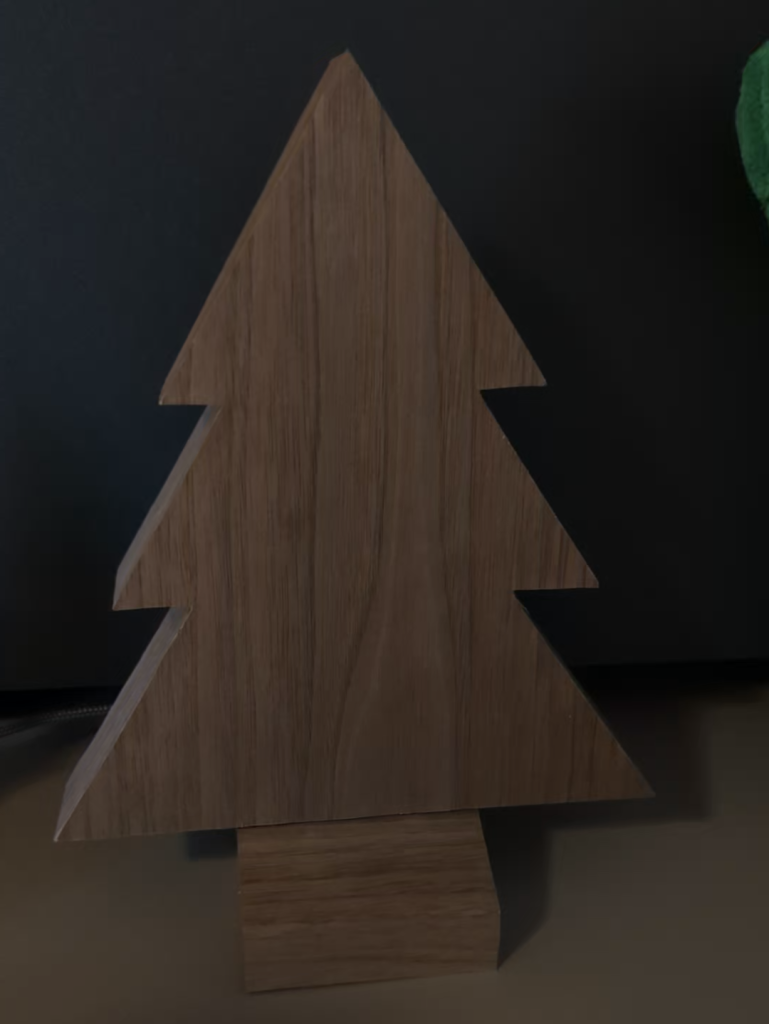
I spent a some time looking at Christmas tree templates & designs online. I settled on the below design. Then map out how many lines of lights you want, and now many per line. This is the most tedious part. Take extra care here – a minor angle difference here will be much more noticeable on the finished product.
Unless you want to do a lot of soldering, you will need to consider how far apart the LEDs are on your strip.
Parts & Assembly
I chose a very thin plywood as I would be able to cut it with a utility knife and a metal ruler, giving me (hopefully) precise cuts.
I then soldered the Arduino and LEDs together & did a quick test fit to see how things look
Code
The code for this is quite simple. It consists of a array of colors & a few functions to provide the animations. I plan to adjust this as we go based on feedback from the family!
#include <FastLED.h>
#include <I2C_RTC.h>

// Clock
static DS3231 RTC;
int hour = 0;
int minute = 0;

int today = 14;

// LEDs
#define NUM_LEDS 24
#define LED_PIN 4

#define CHRISTMAS_RED strtol("0xFF0000",NULL,0);
#define CHRISTMAS_GREEN strtol("0x1E792C",NULL,0);
#define CHRISTMAS_YELLOW strtol("0xF8B229",NULL,0);
#define CHRISTMAS_BLUE strtol("0xF8B229",NULL,0);
#define CHRISTMAS_ORANGE strtol("0xEA4630",NULL,0);

CRGB color[] = {CRGB::Orange,CRGB::Red,CRGB::Green,CRGB::White,CRGB::Blue,CRGB::Purple,CRGB::Red,CRGB::White,CRGB::Green};
int number_of_colors = 9;

#define LED_OFF CRGB::Black;

int treeLEDs[]  = {0,1,2,3,4,5,6,7,8,9,10,11,12,13,14,15,16,17,18,19,20,21,22,23};

CRGB leds[NUM_LEDS];

// Button
int BUTTON_PIN = 12;
int BUTTON_READ;
int LAST_READ;
int STATE_CONTROL = 0;

// 0 = normal operation
// 1 = Button pressed

// delay
unsigned long timer_in_milli = 0;
unsigned long timer_end = 0;

unsigned long close_delay = 7000;
unsigned long open_delay = 3000;

// General

int special_day = 25;
bool first_run = true;

void setup() {
  // Serial
  Serial.begin(9600);

  while (!Serial) {}

  // Clock
  // Initialize the rtc object
  RTC.begin();
  RTC.setHourMode(CLOCK_H12);

  //Set these values on first run
  //RTC.setDay(27);
  //RTC.setMonth(11);
  //RTC.setYear(2022);

  //RTC.setHours(11);
  //RTC.setMinutes(11);
  //RTC.setSeconds(30);

  //Get today
  today = RTC.getDay();

  // LEDs
  FastLED.addLeds<WS2812B, LED_PIN, GRB>(leds, NUM_LEDS);
  FastLED.setBrightness(255);
  FastLED.clear();
  FastLED.show();

  // Button
  pinMode(BUTTON_PIN,INPUT);


}

void loop() {

  if  (STATE_CONTROL == 1) {
    STATE_CONTROL = 0;

    today = RTC.getDay();

    //Change the date here for testing
    //today = 30;

    process_day(today);

  }

  sleep_delay(100);
}

void process_day(int current_day){

  // if its the magic day
  if ((special_day<=current_day)){
    animate_twinkle(current_day,50,NUM_LEDS,100);
    //Flash random leds fast to slow

    animate_flash(current_day,100,NUM_LEDS,100);
    animate_flash(current_day,100,NUM_LEDS,150);

    animate_twinkle(current_day,100,NUM_LEDS,500);

    //Static lights

    animate_twinkle(current_day,0,NUM_LEDS,500);

  }
  else {
    animate_twinkle(current_day,25,NUM_LEDS,100);

    //Countdown animation
    for (int d=special_day-1;d>=today;d--){
      animate_twinkle(current_day,5,d,100);
    }

    animate_twinkle(current_day,20,current_day,500);
  }

}


void animate_flash(int current_day,int number_of_loops, int number_of_leds,int speed_of_twinlke){
  int color_index = 0;
  long random_number = 0;

  FastLED.clear();
  FastLED.show();

  // cycle through all colors
  for (int x = 0; x <=number_of_loops; x++) {

    color_index = x % number_of_colors;

    // we will perform an animation & light up to the current day
    for (int i = 0; i < number_of_leds; i++){
      leds[random_number] = LED_OFF;

      random_number = random(number_of_leds);

      leds[random_number] = color[color_index];

      if (color_index == number_of_colors - 1){
          color_index = 0;
      }
      else {
          color_index++;
      }
  }

  FastLED.show();
  delay(speed_of_twinlke);
  }
}

void animate_twinkle(int current_day,int number_of_loops, int number_of_leds,int speed_of_twinlke){
  int color_index = 0;

  FastLED.clear();
  FastLED.show();

  // cycle through all colors
  for (int x = 0; x <= number_of_loops; x++) {
    color_index = x % number_of_colors;

    // we will perform an animation & light up to the current day
    for (int i = 0; i < number_of_leds; i++){

      leds[i] = color[color_index];

      if (color_index == number_of_colors - 1){
          color_index = 0;
      }
      else {
          color_index++;
      }
  }

  FastLED.show();

    // Don't delay on the last loop to removoe the glitchyness
    if (x + 1 != number_of_loops)
    {
      delay(speed_of_twinlke);
    }

  }

}

void sleep_delay(unsigned long delay_time_in_millis){
  unsigned long sleep_delay_end = millis() + delay_time_in_millis;

  while ((millis() < sleep_delay_end) || (check_button() == false) ){
    delay(50);
  }
}

bool check_button(){

  bool pressed = false;

  LAST_READ = BUTTON_READ;
  BUTTON_READ = digitalRead(BUTTON_PIN);

  if (LAST_READ != BUTTON_READ) {
    pressed = true;
    //Serial.println("Pressed");
  }

  if (LAST_READ != BUTTON_READ && BUTTON_READ == 0){

    if (STATE_CONTROL == 0){
      STATE_CONTROL = 1;
    }
    else {
      STATE_CONTROL = 0;
    }
  }

  return pressed;
}
Putting it all together
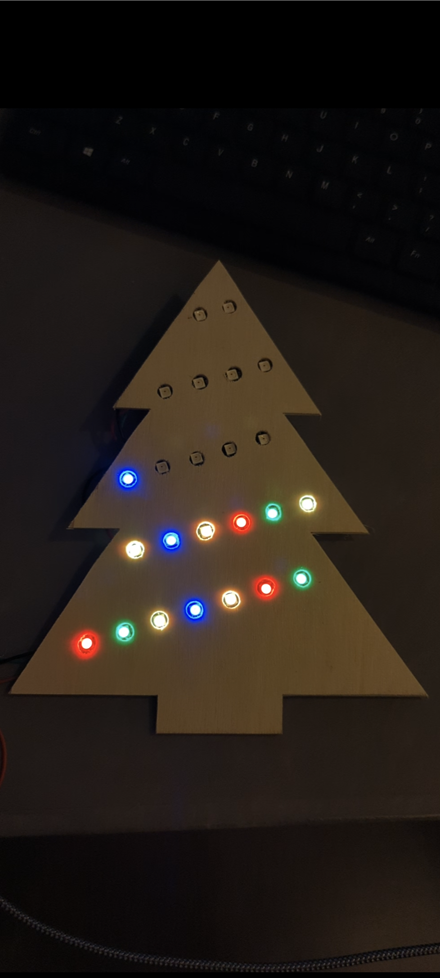
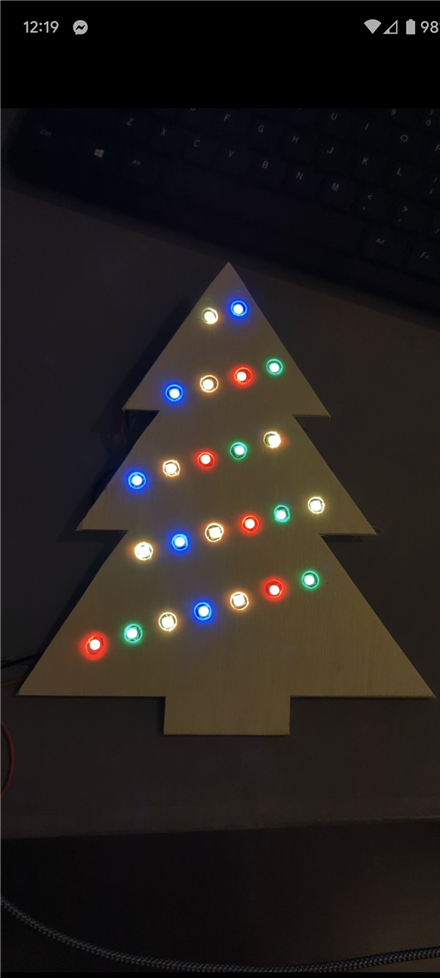
Once the code was written, it was time for a test. I used hot-glue with the help of painters tape to put the LEDs in place. Time for a test!
Next I started working on a base/box for the tree to stand on, as well as giving some substance by converting the essentially 2D tree into a 3D box. With the boxes created, we could now start cutting & gluing the veneer.
The “panel” piece below is cut (badly) on purpose, so as to have some give to it. Hidden under it will be the push button which triggers the animation.
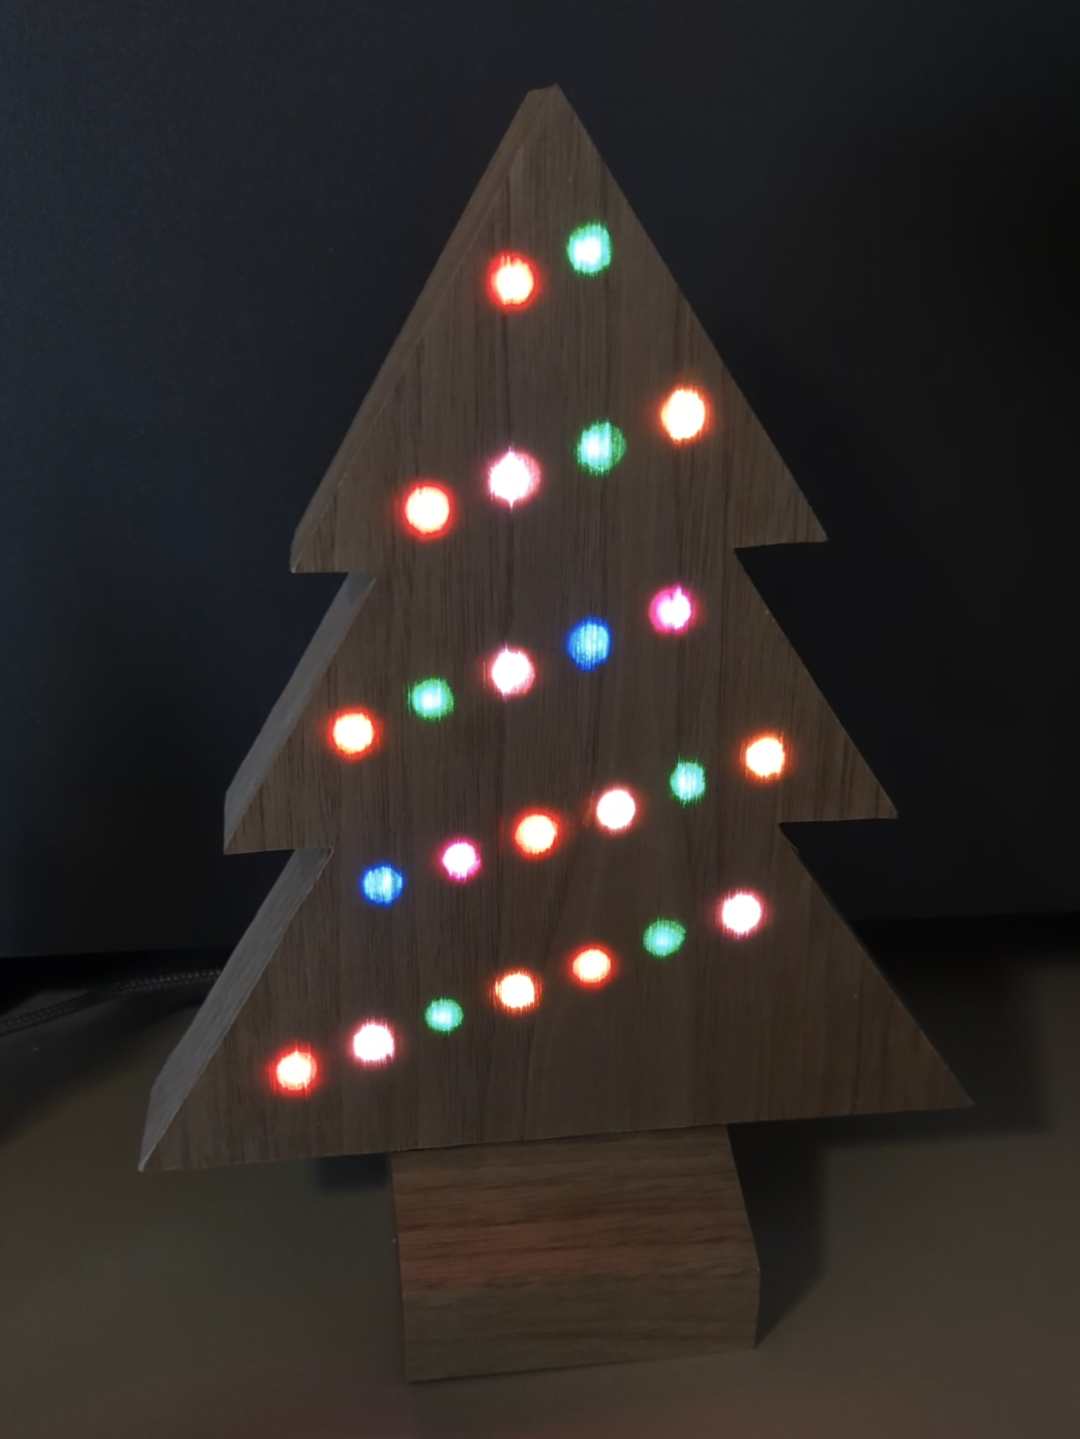
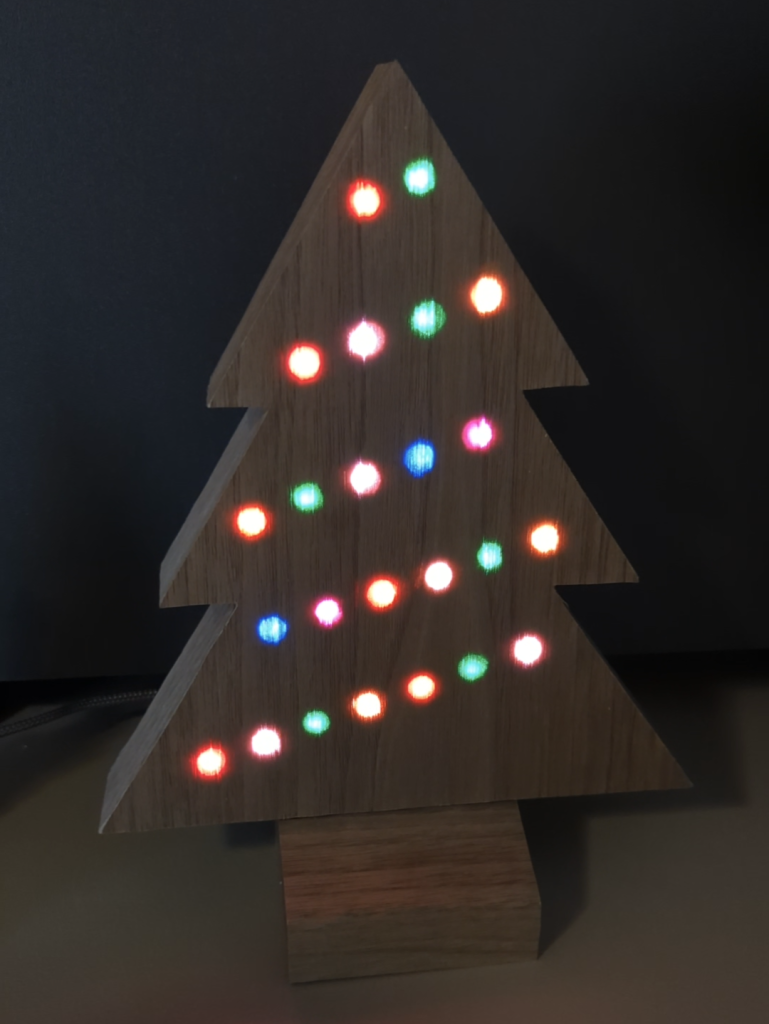
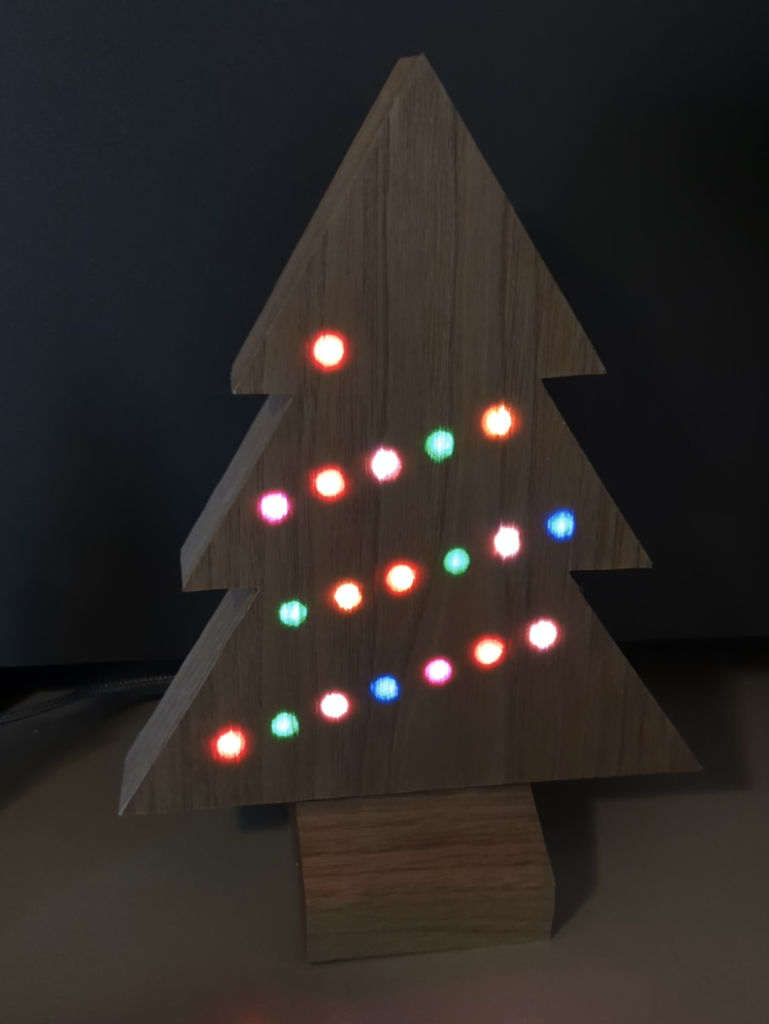
The Finished Product
I captured a few stills from a short video to illustrate how the light patterns work.
Full Video
Here is a quick video I took showing the process from start to finish