Not sure how exactly this came about, but having always wanted a Batman costume, and stumbling across an online tutorial, I decided to make one out of Bud Light beer boxes. Call them cases, cartons, two-fours, whatever you like based on where you live. Here is a breakdown of how I made it & general tips along the way.
If you have any questions, follow me on Twitter & send me a message @legoszm.
1) Do everything in paper first, & tape it together. This is great for getting the size right.
2) Printing as PDFs lets you resize to fit in percentages. Poster it across multiple pages, and tape together.
3) Cut out your templates carefully. Consider using a sharp utility knife with a metal ruler.
4) Place the template on card. Only mark each corner.
5) Connect the dots with above mentioned ruler.
6) Use your utility knife to cut the card exactly.
7) Pre-fold/bend your pieces before gluing.
8) Cut slight angles on your edges so the glue gets pushed to the back & the join is seamless (as it can be).
9) Glue slowly. Hot glue gun is usually good enough. One edge at a time. Pre-bending the cardboard as much as possible will help.
10) Have your paper prototype handy as a reference.
11) Consider starting with something simpler than a mask. Even make a little box or something.
If you own one of the templates I have referenced below, I’m happy to remove/relink/credit as per your wishes.
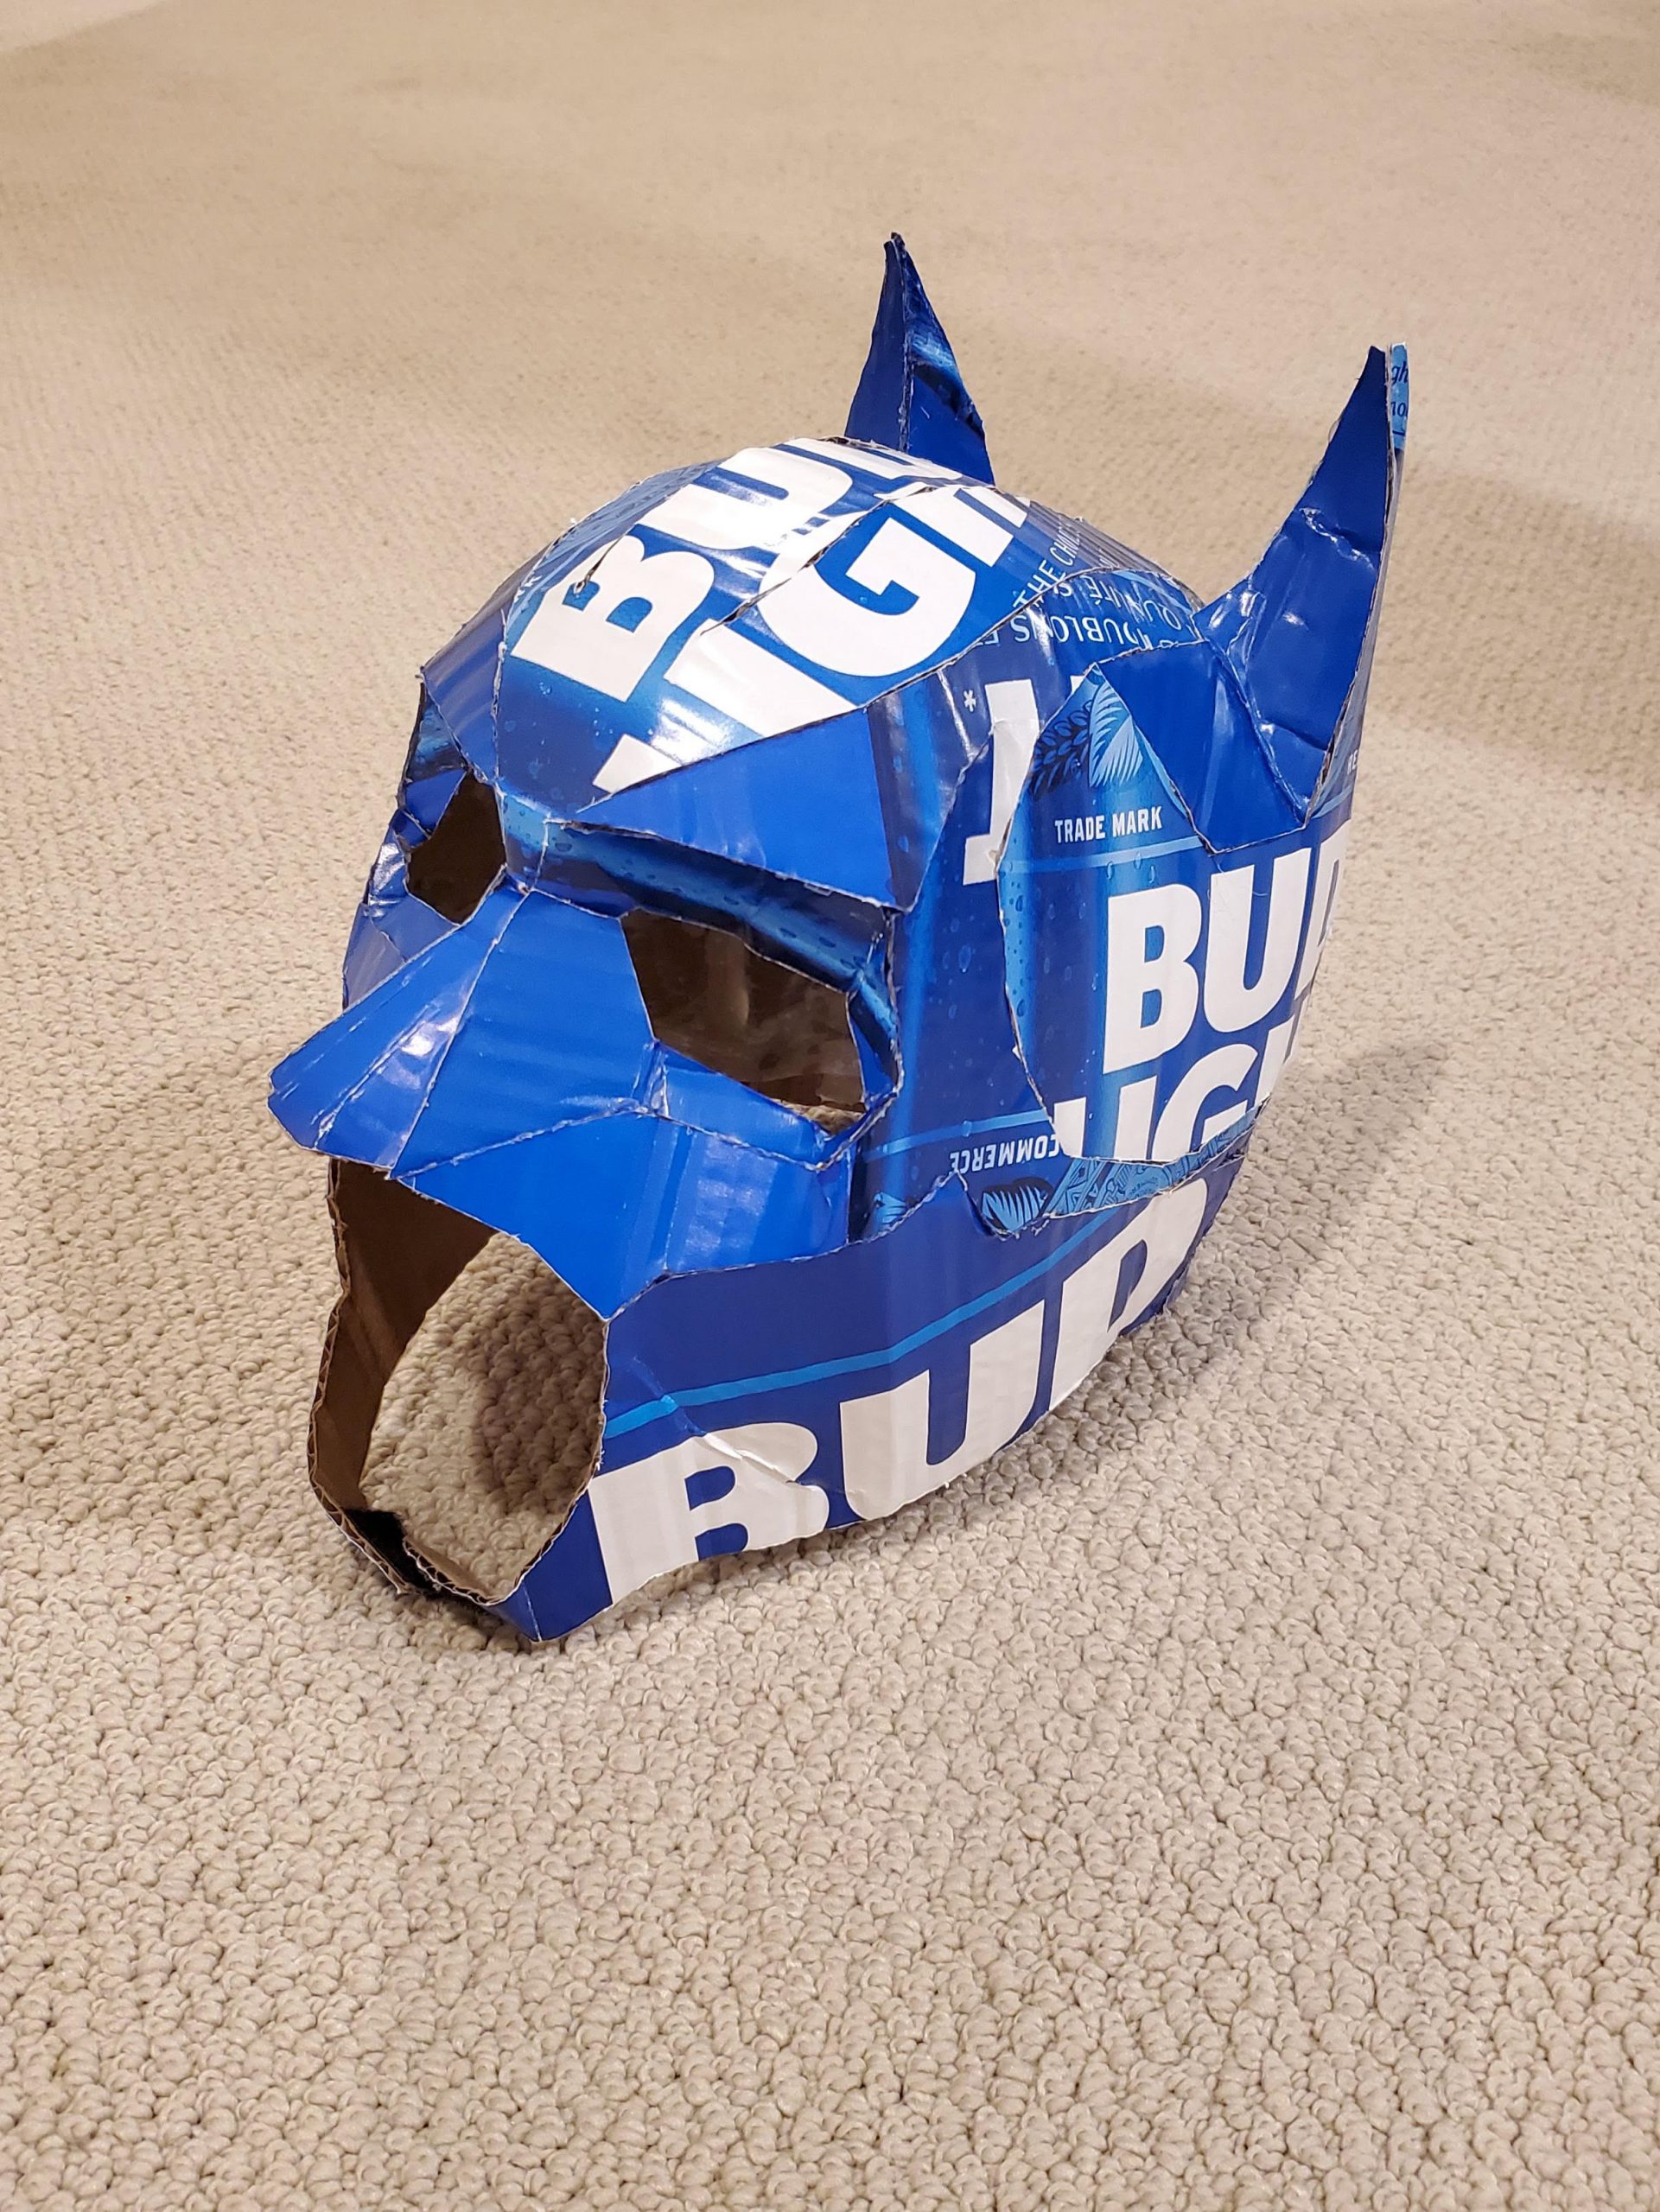
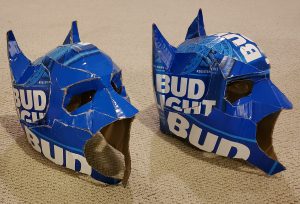
Batman Cowl/Mask
This is what started it all. I pretty much followed this exactly.
https://www.instructables.com/id/Cardbord-Batman-Cowl/
I then circled back to this after completing the rest of the work. Practice makes perfect.
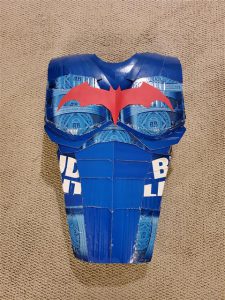
Chest
This template is great. Easy to make edges. Depending on your body proportions, you may need to increase the size, or in my case, add additional pieces on top, and to the sides to close it out.
https://dali-lomo.blogspot.com/2014/06/batman-dark-knight-chest-armor-diy.html
Abs/lower Chest
I totally freehanded this. Lots of examples online. Work with paper and tape
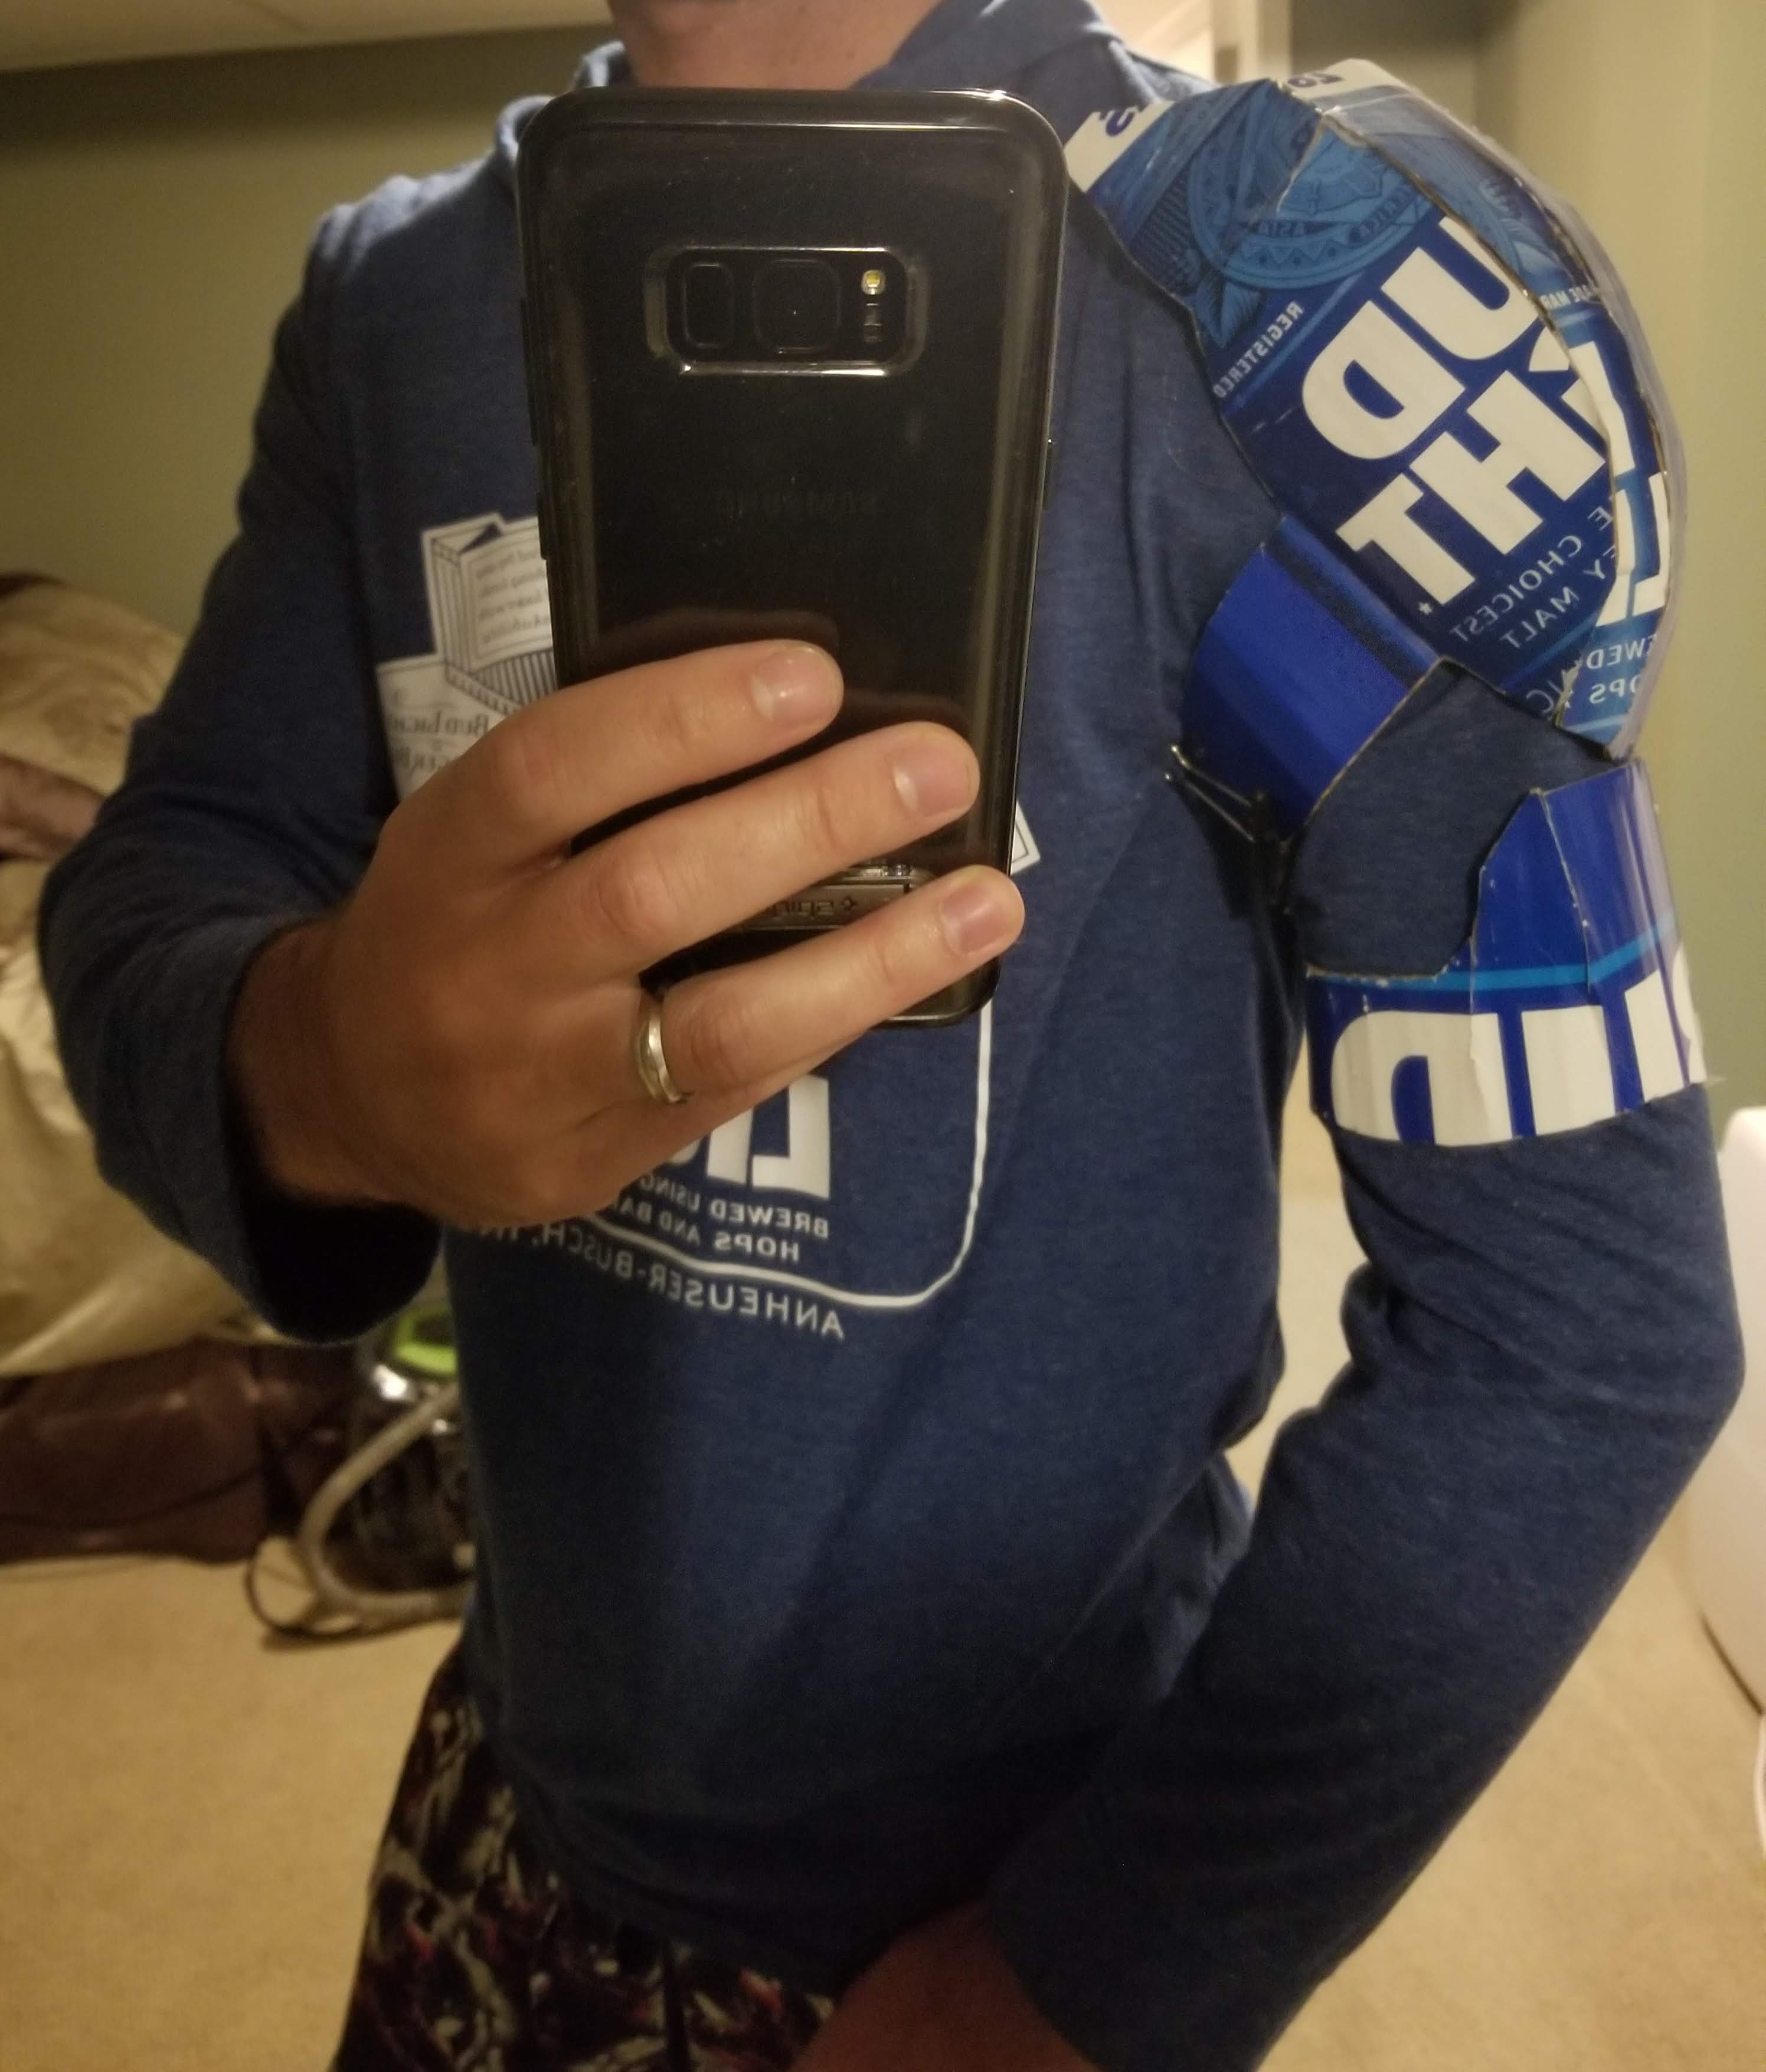
Shoulder & Biceps
I took these from a Dark Knight template. Download the Pepakura Viewer app, & get the file below. You can then cherry pick which pieces in the model, locate them on the paper, then rearrange & print only what you need. Print to PDF, then size using Adobes features. I do not recall where I got this template from.
https://legosz.com/files/batman/batman.pdo
Gauntlets
These were another great Instructable find. Here is the full link with all the PDFs for most of a complete costume.
https://www.instructables.com/id/Batman-Costume/
They seem to be cross-ish posted here too:
https://www.instructables.com/id/Batman-Costume-1/
And here are the two I used for the gauntlet, hosted locally here.
https://legosz.com/files/batman/Batmancuffs.pdf
Utility Belt
I need it to be functional in a number of ways:
- Keep my glasses when I’m wearing the cowl
- Somewhere to put my phone
- Keep my pants up
- Use to hold up the remaining leg armor
I also wanted to keep the work to a minimum, time is getting away and Halloween will be here closer than we know.
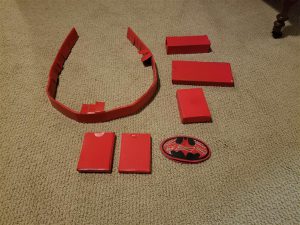
So I used some KD boxes, and cut them to be shorter and narrower. A few small boxes that I did the same thing to. I then unfolded some instant oatmeal boxes. These will cover the generic belt.
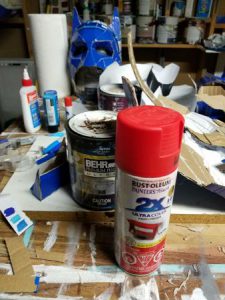
Got some red spray-paint. 4 coats seemed to be enough.
Then I’ve glued Budweiser beer labels to some thin card, which I’lll cut out a Batman symbol.
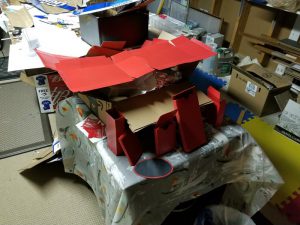
After preparing the cardboard above, I then cut the large flats into strips, looping them around an old belt. Used an online Bat symbol to create the buckle, then glued it onto spare Bug Light box card.
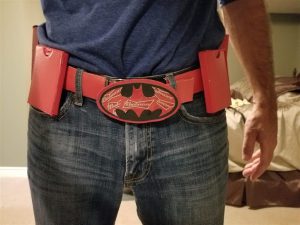
This is just a test fitting. Have to figure out how to attach the boxes to the belt, after the belt has been put on. Likely using bulldog clips or similar.
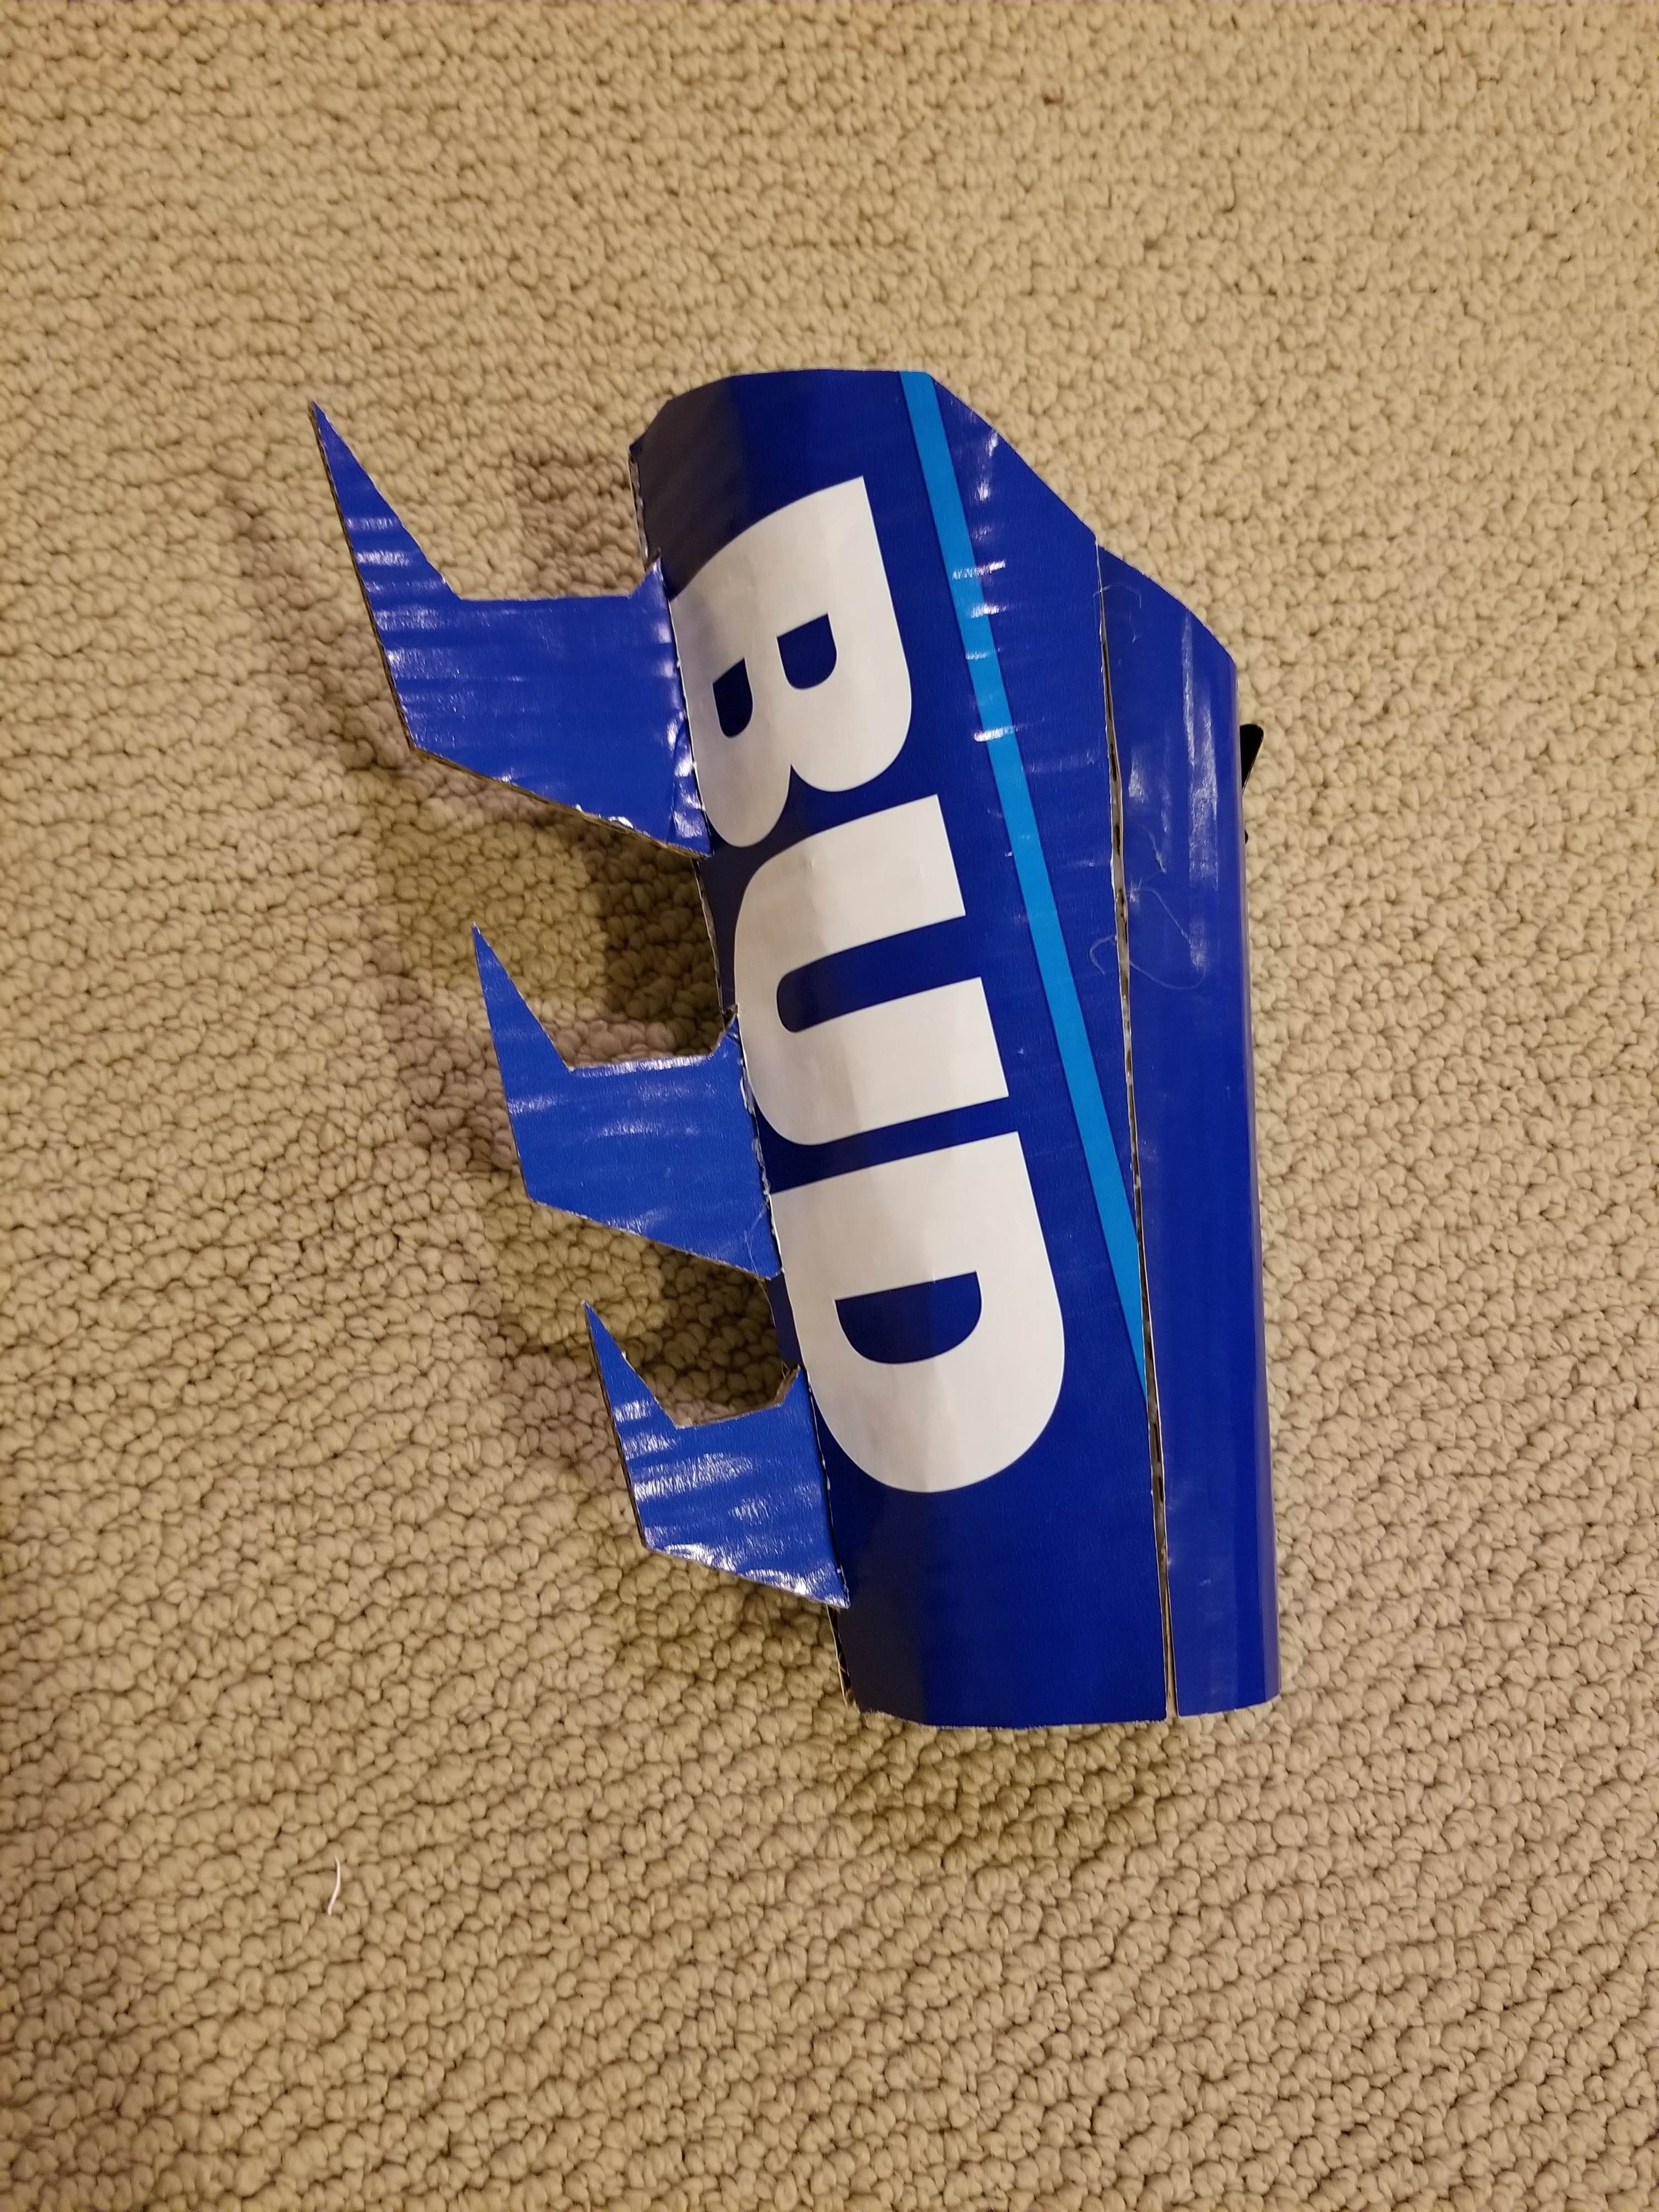
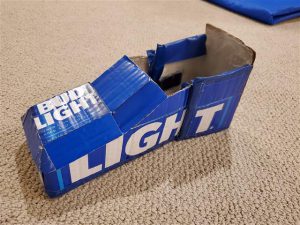
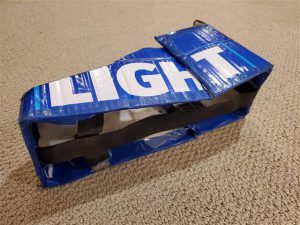
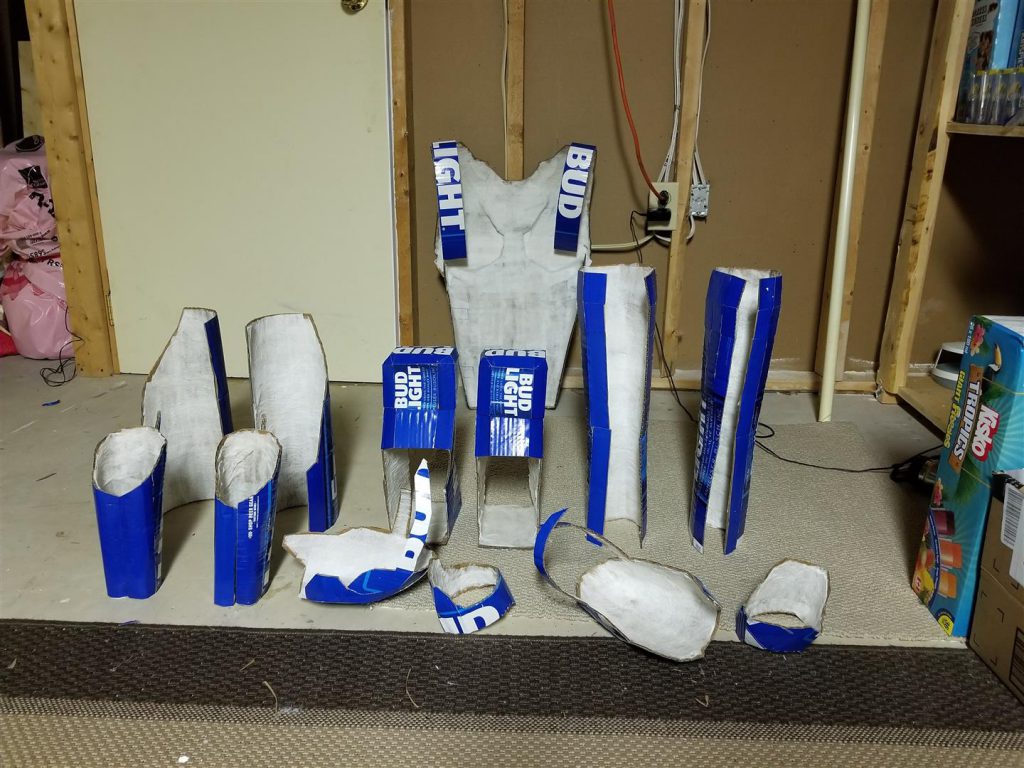
Legs & Feet
These were built freehand. The legs are made from continuous section of the case to give it a consistent look. The upper section that covers the knee was also made from a single section but cut to form around knees.
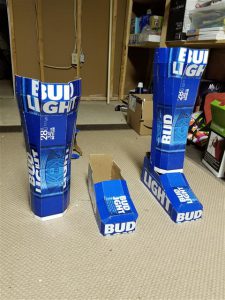
Similar technique for the boots. I modeled these around my actual shoes. The boots are 2 sections – front and rear, and are attached to each other via elastic straps on the side and bottom.
Cape
The cape was made from a dollar store table cloth, folder over on itself, and hot glued inside out to form.
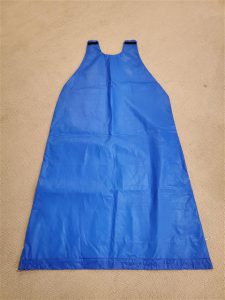
I was hoping to use a Bud Light flag however they were either really expensive or hard to find. The table cloth costs only a few dollars and frankly goes really well with the whole outfit.
Strengthening the pieces
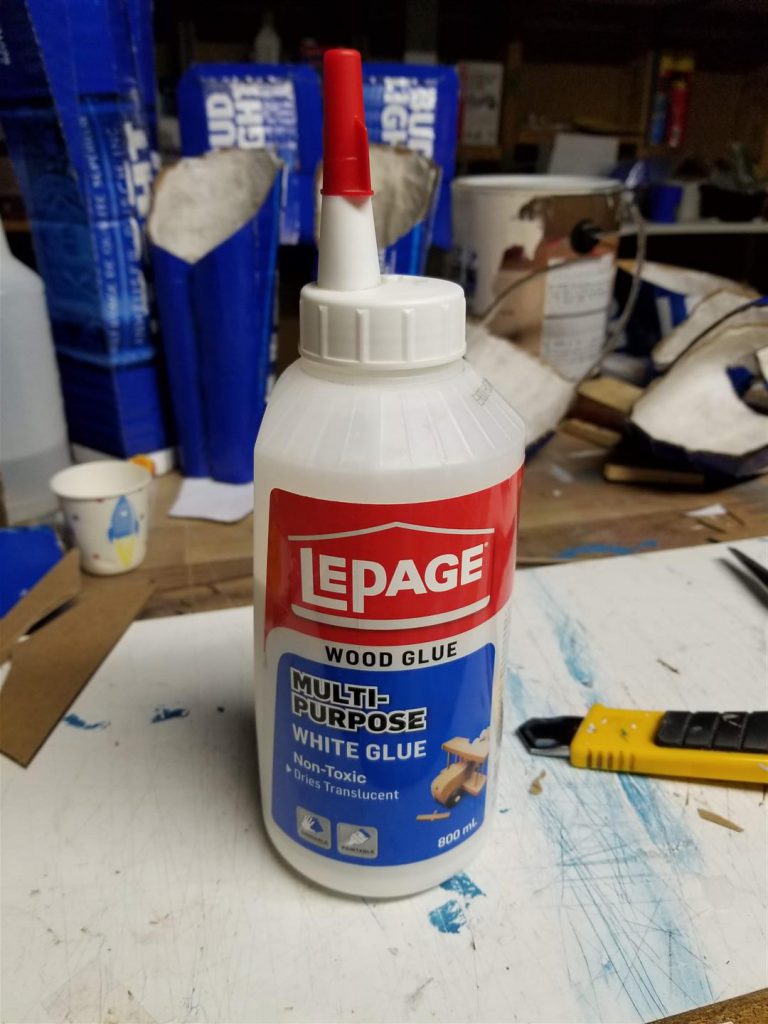
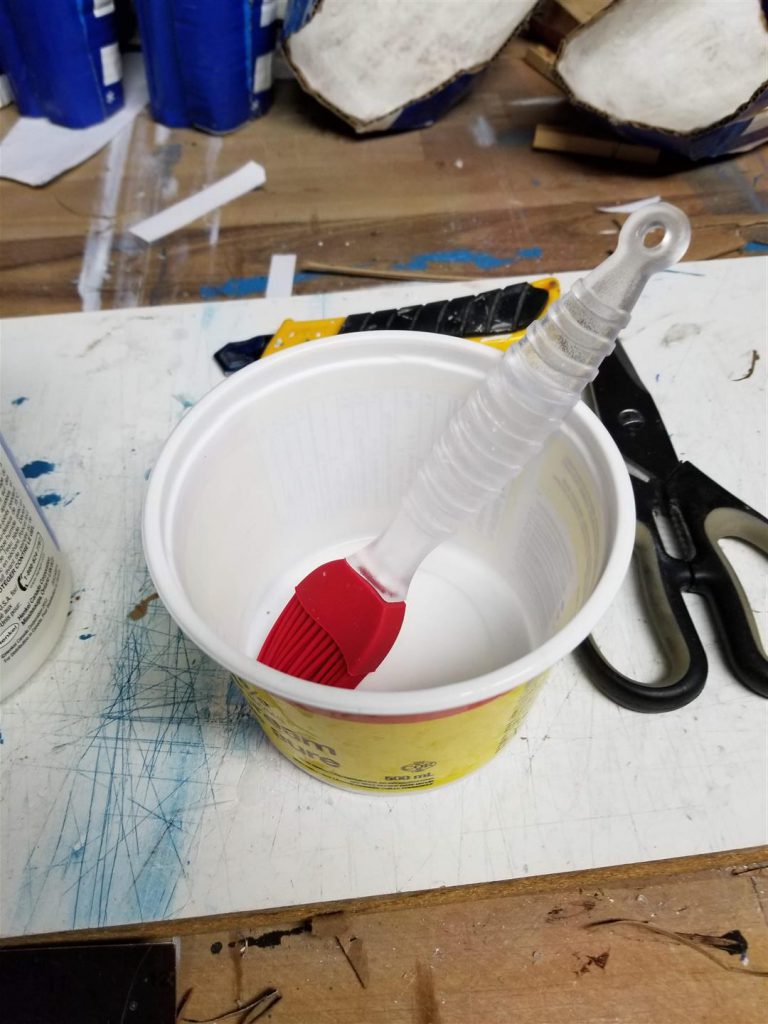
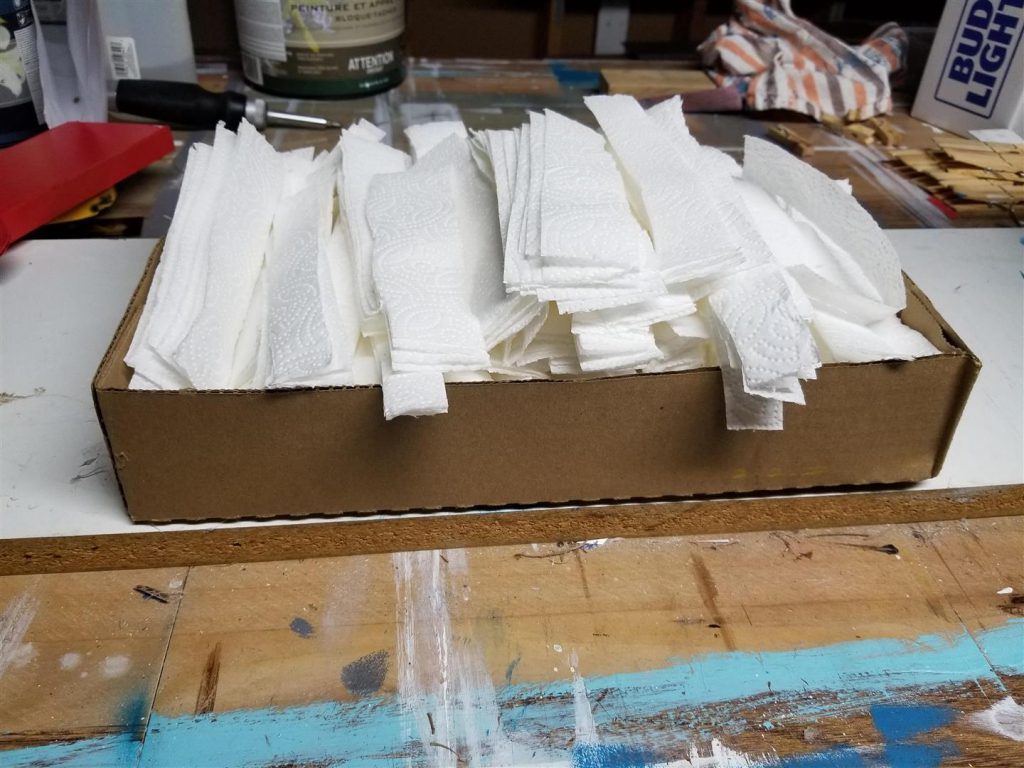
While the individual pieces are held together with hot glue, extra layers of strength are needed to make it more durable. To do this, get some general purpose or wood glue, and mix 50% with water. Then take strips of paper towel and apply to the back like paper mache. Do 2 to 4 layers, ensuring each layer dries for day in between. Make sure each layer is opposite directions to the previous, i.e to pieces overlap and increases strength.
Protective Coat
While you probably won’t be wearing this in the rain, it is still important to protect the outside layer, especially if its the natural state of the cardboard you were using, such as this case.
I used a Mod Podge spray to cover the outside layer. Apply about 3 to 4 light coats 15 minutes apart.
Final product
Getting good pictures of the build is difficult to get.
