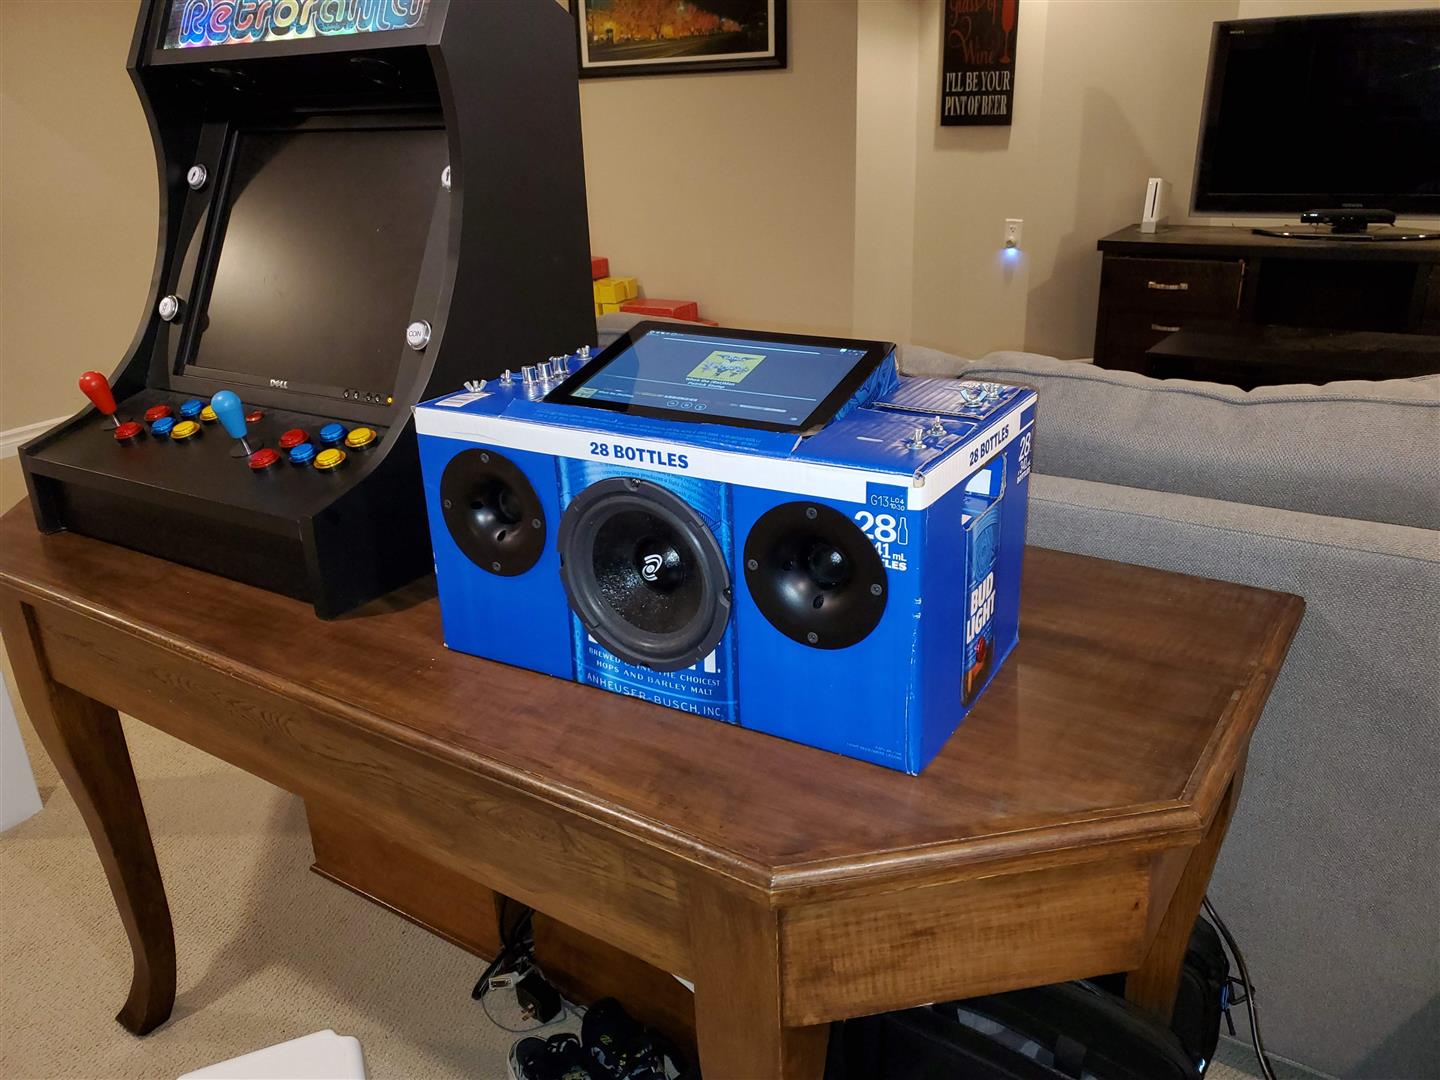
Staying home over Covid-19 had us spending more time outside and listening to music. For my next project I turned an empty Bud Light case into a Spotify enabled jukebox, complete with a touch screen and custom UI.
UPDATE: I’ve since upgraded the audio components & moved them into an old radio. See my Vintage Radio Retrofit article for more information.
If you would like more information on this project, please reach out to me on Twitter/X https://twitter.com/legoszm, or leave a comment below.
For this project I used:
- 1 Bud Light case (28 bottle size)
- 2 x 4 inch Tweeter speakers
- 6.5 inch mid range woofer
- A simple and cheap 2.1 Channel amplifier
- A Raspberry Pi 3B+ single board computer
- A 10 inch touch screen, Raspberry Pi compatible
- Power button and switch, same as used in the Arcade project
- 2×1 inch lumber for a support frame, misc screws and accessories
The components are relatively well priced and perfect for a low cost project like this. If you are an audiophile or want something to wake the neighbors 4 blocks over, you will want to invest in higher quality components.
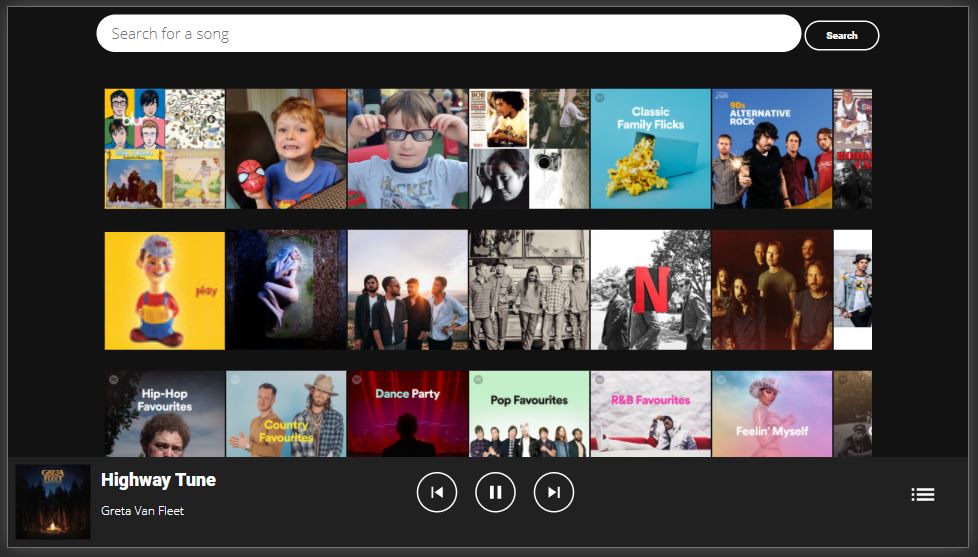
The software UI comes from GROOVOX A jukebox interface for Spotify project on Git Hub. I made a number of hacks to suit my needs, more on that below.


Frame
First task was to build a frame to insert into the beer box. This will anchor the speakers, and all other components. I attached all the components inside the box as a simple proof of concept.
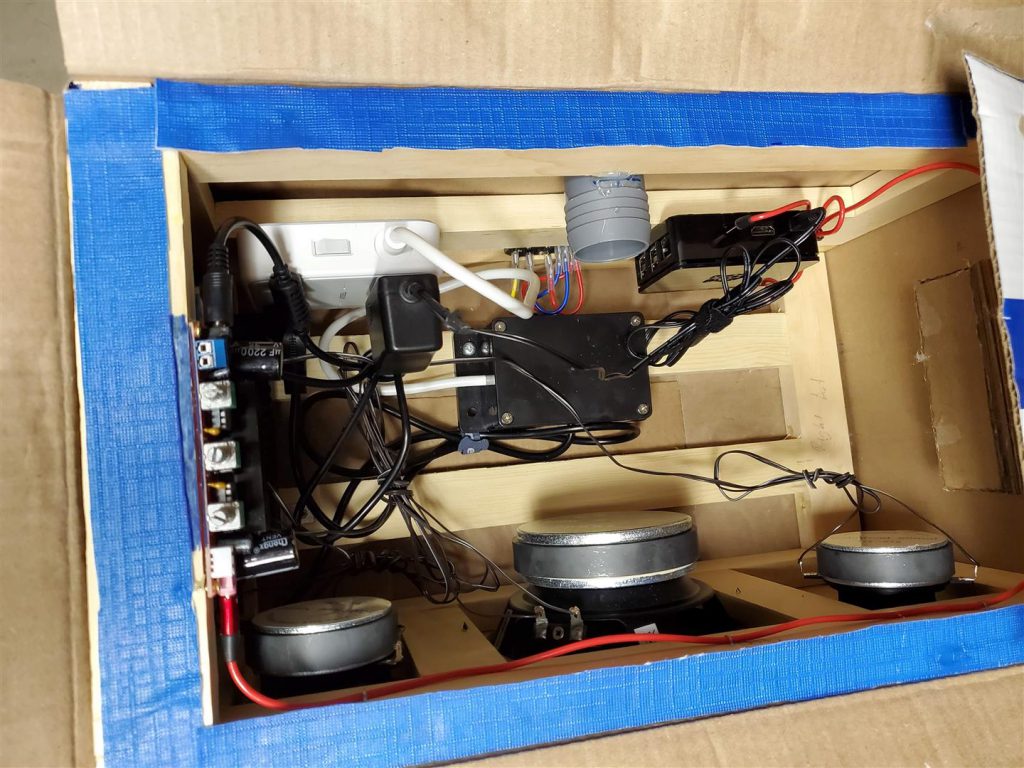
The grey tube in the center top is connect to a hole on the rear for base sound airflow. The blue is outdoor picnic table offcuts to reduce vibrations. Then close the lids and see what happens.
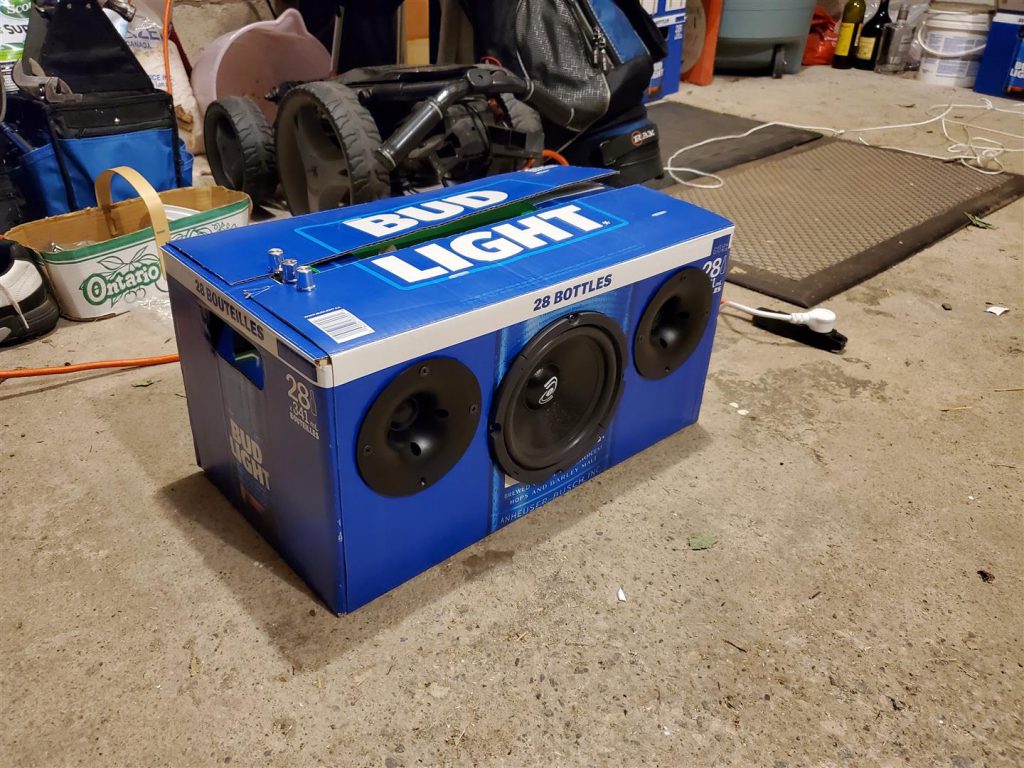
For what is it, it worked pretty well. But a few things left to do:
- Make it play music through Spotify
- Stop the cardboard from vibrating
Software
For the software, I started with the regular desktop version of Raspberry Pi OS, formally known as Raspian. Download the latest image and flash to your SD card using Etcher. Plug it in and boot it up. Get it working on your Wifi. Then shut it down, pull the SD card and take a copy using Win 32 Imager. This allows you to re-flash your card when you break something & come back to this same point. Repeat this after every major milestone.
Spotify
As a Spotify Premium user, I wanted to be able to cast music from the App on my phone to this speaker. I tried a number of different options, but the solution was Raspotify. Not being a developer or Linux expert, this package just worked. Includes easy to follow instructions, including audio output, which is the worst to configure on a Pi, as it uses device numbers and these can move around when you switch from HDMI to Analog 3.5 out.
I then “Saved” the web page in Chromium, and set it as an “app” to run in its own window. I then set it to auto-start using this reference from Stack Overflow called Start “Chromium” automatically on booting the Pi3 with Raspbian. Use this solution, but grab the command from the “app” you just created. Reboot and the web player loads automatically.
Without much fuss I was casting Spotify with no problem. Sound was good, everything worked.
Sound Output
I have spent a long time fighting with the Pi for correct sound output. The best solution I could find was this app, which gives you a UI for setting, and changing audio outputc
Simply run this from a terminal or SSH:
sudo apt-get install pavucontrol
Failing that, or perhaps with that in your back pocket…. run from a prompt
aplay -l
which will list your device numbers. Then edit this file, and update with the device number of the desired output device
sudo nano /usr/share/alsa/alsa.conf
Replace this text:
defaults.ctl.card 0
defaults.pcm.card 0
with this
defaults.ctl.card 1
defaults.pcm.card 1
Which will switch from device 0 to device 1.
But then I wanted more
I got thinking about using a touch screen so people could come up and play songs when we’re hanging out. However Spotify does not make a Linux client. Emulating Android seemed like a lot of work, if its even possible. The Spotify web player needs DRM components, and won’t load on the Raspberry Pi. So what do to? Thankfully, there are a number of fixes for this problem. The simplest to use was this one Raspberry Pi Netflix One Line Easy Install. This worked great. I was able to get it going, and BAM I can play music.
So far its working pretty good. The UI is a little sloppy, and if you’re not familar with Spotify, you can easily bump everything that is queued up. But for now I was happy, until I came across someone who had made a custom web based UI.
The new UI
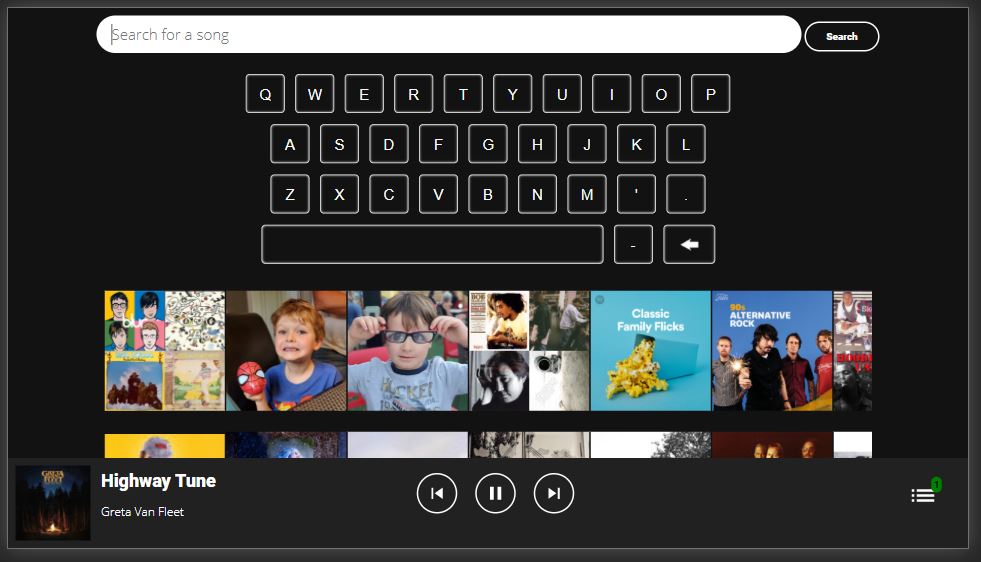
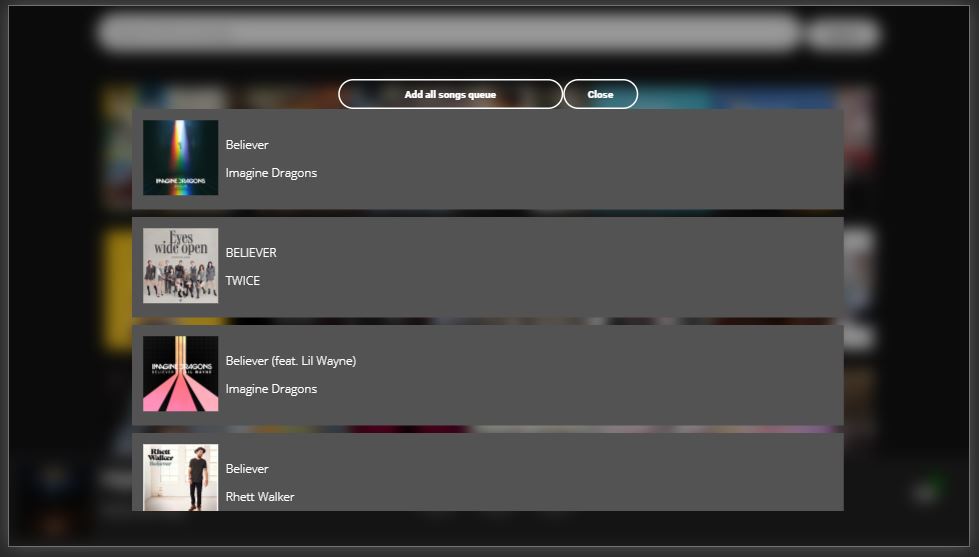
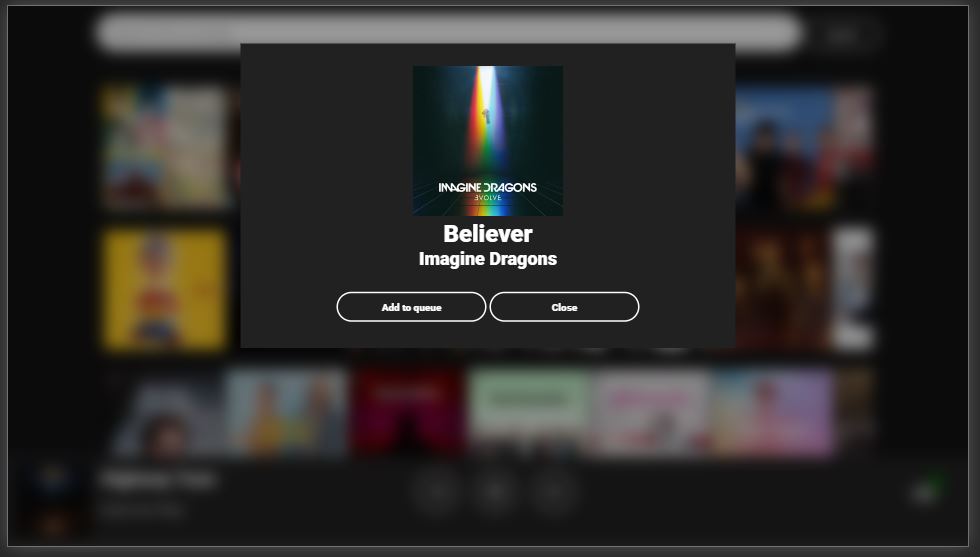
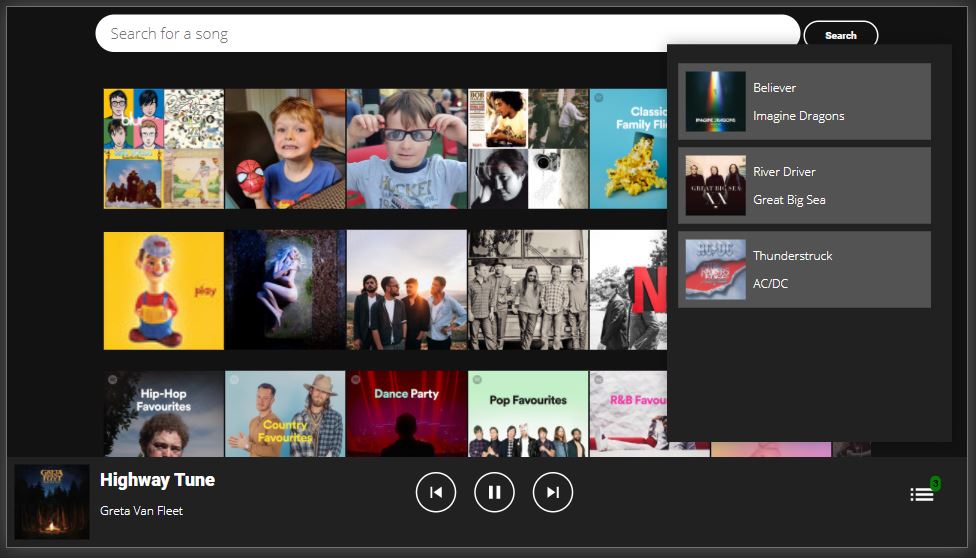
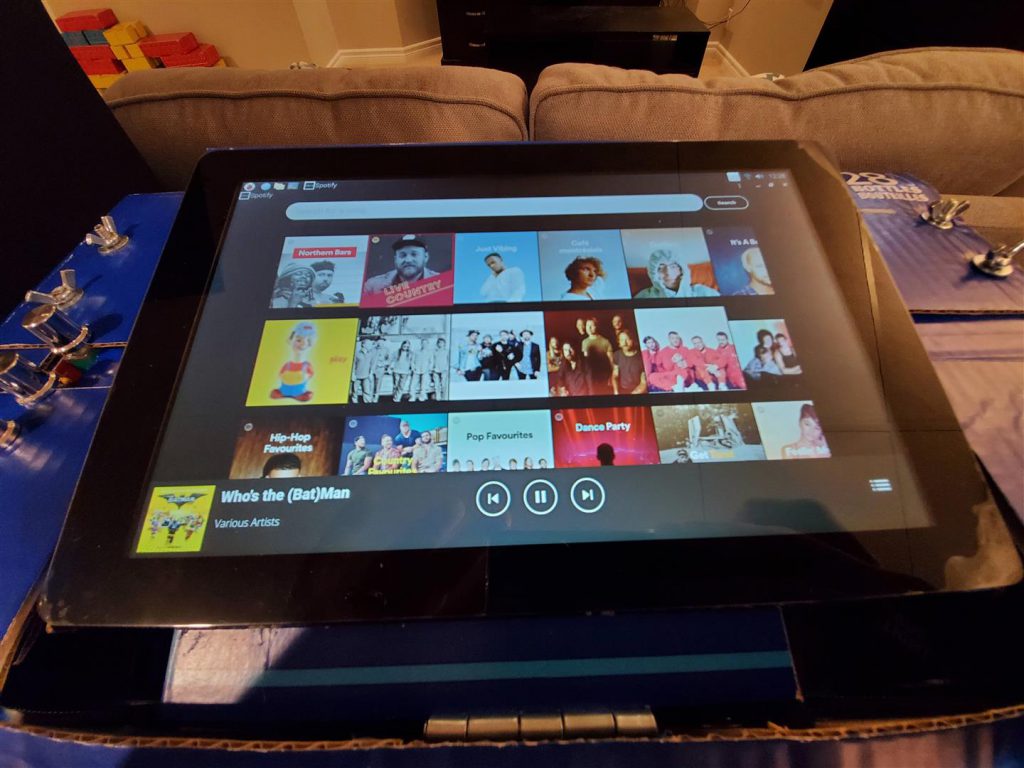
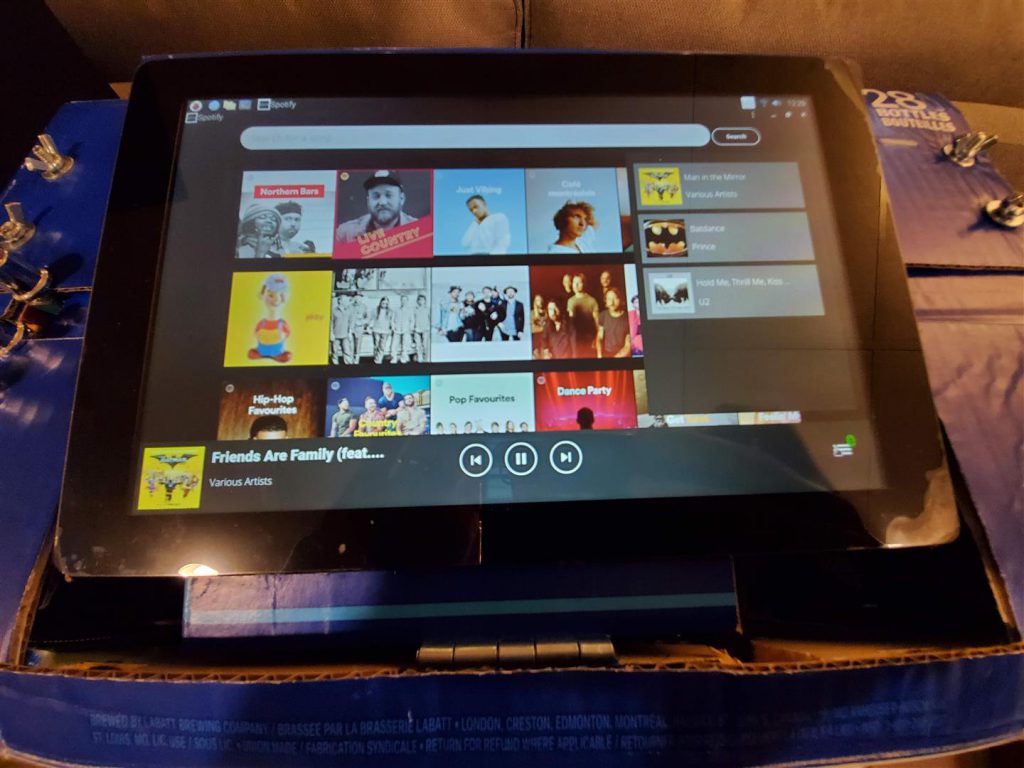
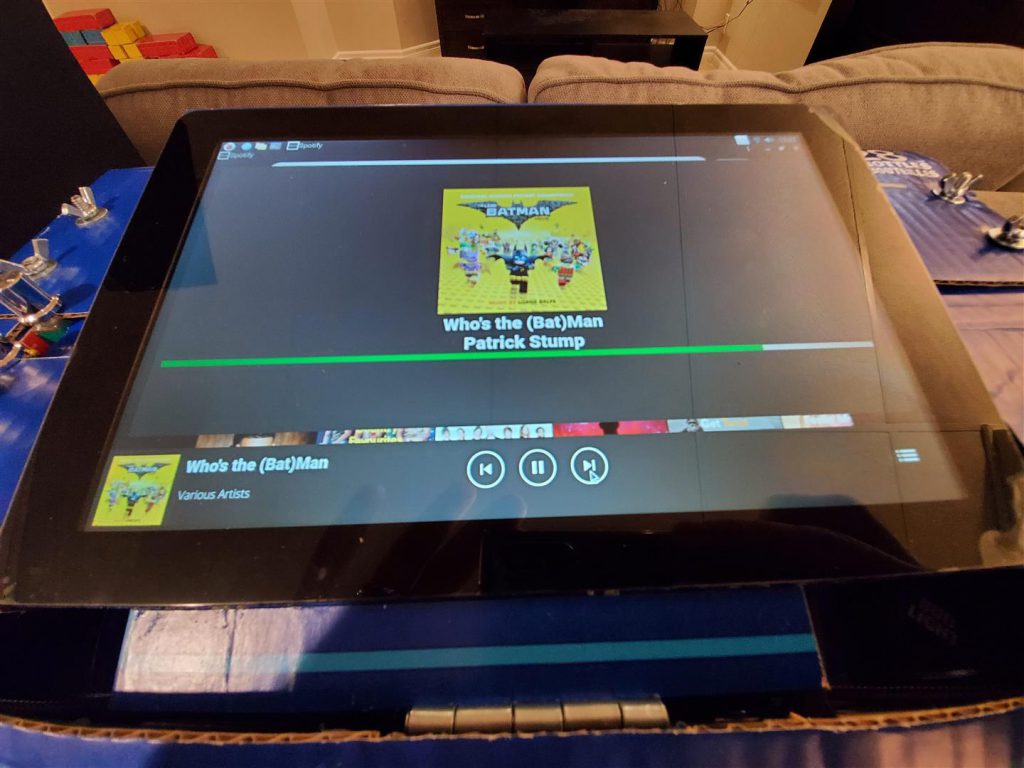
I stumbled across Groovox. A simple no-fuss party mode UI for Spotify. I made a few adjustments for myself (I am a terrible coder) and got it going. Here’s how.
- Install Apache web server on your Pi – Setting up an Apache Web Server on a Raspberry Pi
- Download the files from Git Hub, adjust the settings files as needed, then copy to the webserver root on your Pi (usually /var/www/html)
Alternatively, you can install Apache, Php and MySQL using these lines right here:
sudo apt install apache2 -y
sudo apt install php libapache2-mod-php -y
sudo apt-get install php-mysql -y
Startup sound
I thought it would be really cool to get a Bud light themed startup sound. I searched for sound bites but didn’t find anything I really liked. I then looked at You Tube videos and located an old add. I downloaded that and converted it to sound only. I then edited the file to grab only the bits I liked.
Here is the finished sound This Buds For You.
To get the sound to play on startup, I used this Stack Exchange article Create Startup Sounds.
However I used a different method to edit the /etc/rc.local file. Here are my commands:
sudo apt-get install mplayer
sudo mkdir /etc/sound
sudo cp ThisBudsForYou.wav /etc/sound
sudo nano /etc/rc.local
Remember though to get the mplayer command working in a terminal. Open the sound app we installed above while playing it
mplayer /etc/sound/ThisBudsForYou.wav
And switch the audio output as necessary. Then add the line to /etc/rc.local above the “exit 0” line.
Getting pretty happy with it
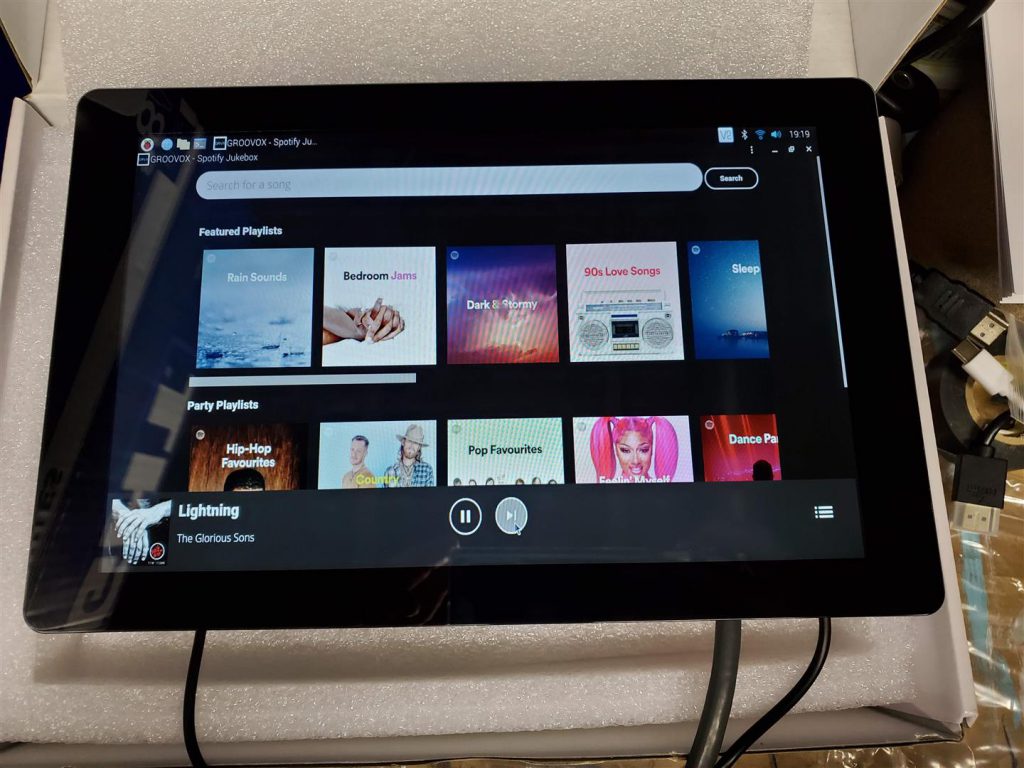
Final steps is to attach the screen. I thought long and hard about trying to do something really cool and unexpected here. The screen I purchased is ultimately meant as a learning tool, DIY tablets and the like.
I decided I wanted to mount the screen inside the box itself. This way, if I ‘m just casting from my phone, its all contained. But if its party time, then we can break out the screen.
Firstly, this screen has no mounting points. So I used the M2.5 standoffs as the base to secure it to a small plywood box I made. The box is really tight, and the standoff screws don’t do a whole lot at the end of the day. It works great. I decorated said box with blue paint and put some Bud Light stuff on the outside.
I then attached a hinge, and cut some slots in the box. Using wingnuts to secure the sides for vibrations, and future access. Some magnets lock down the small strip at the front.
Bluetooth Audio Streaming
I also wanted to be able to use plain old Bluetooth when needed. There are a bunch of links, however this one was the simplest and easiest to get going. Stream audio to the Raspberry Pi over Bluetooth.
Here are the steps:
- Remove all device pairings
- Edit this file
sudo nano /lib/systemd/system/bluealsa.service
Add ‘–profile=a2dp-sink’ to the end of the ExecStart line. Should look like this:
ExecStart=/usr/bin/bluealsa --profile=a2dp-sink
- Create a service to run it
sudo nano /etc/systemd/system/aplay.service
[Unit]
Description=BlueALSA aplay service
After=bluetooth.service
Requires=bluetooth.service
[Service]
ExecStart=/usr/bin/bluealsa-aplay 00:00:00:00:00:00
[Install]
WantedBy=multi-user.target
- Enable the service and reboot
sudo systemctl enable aplay
Bluetooth auto-discoverable
You will also want to set Bluetooth so it is always discoverable. There are two steps.
sudo nano /etc/rc.local
And add these lines, after your startup sound, but before exit 0
sudo bluetoothctl <<EOF
power on
discoverable on
pairable on
EOF
Then you want to edit Bluetooth config to ensure it stays discoverable
sudo nano /etc/bluetooth/main.conf
Uncomment/configure
DiscoverableTimeout = 0
The finished product
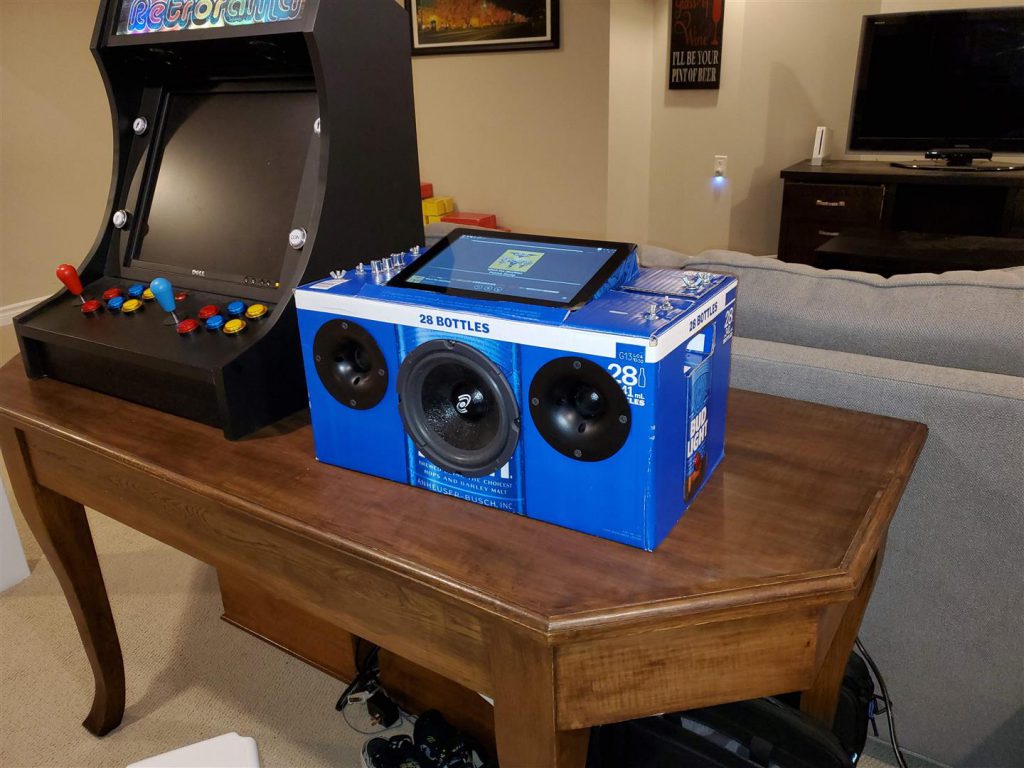
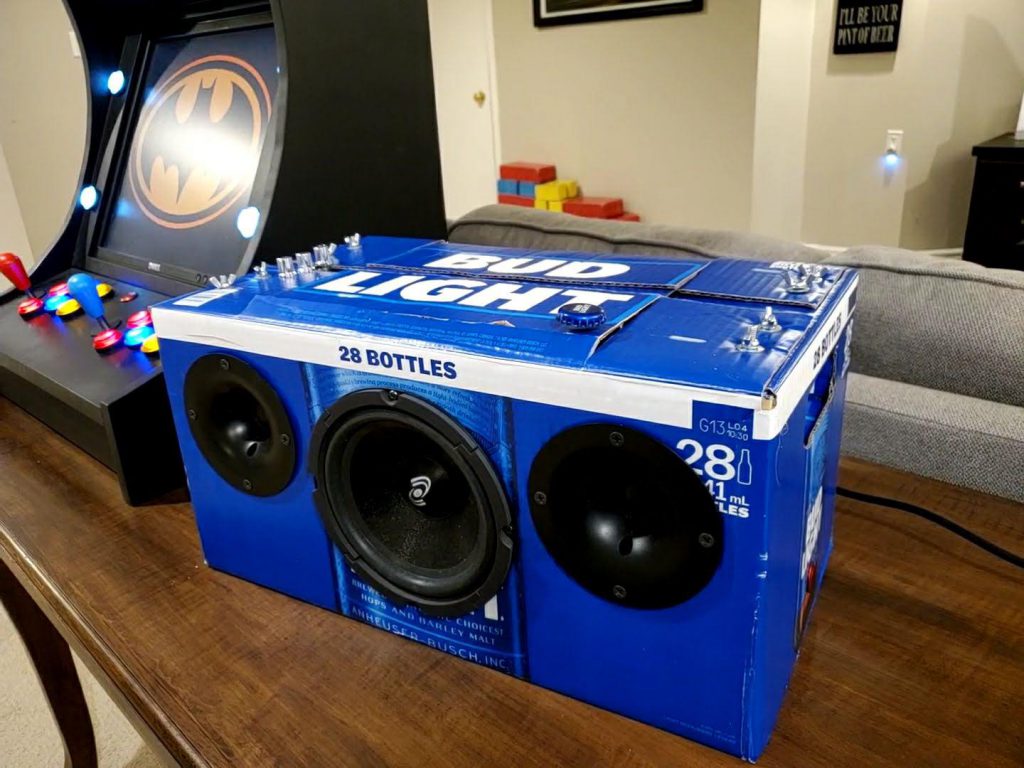
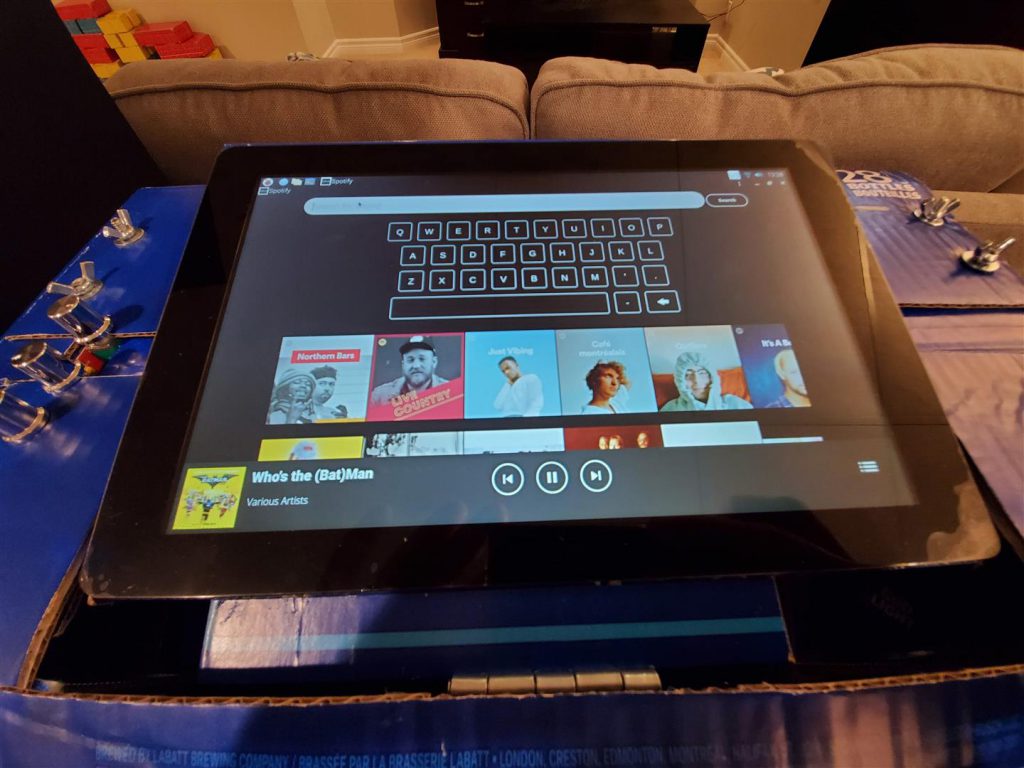
Without further ado, here is the finished product:


Hi Mark
I just found your article about your Jukebox.
Is there any chance to get you code modifications to the original groovox repo?
Im looking for a way to implement the keyboard into the site. So there is no need to get an touch keyboard from the OS working.
BR
Yves
Happy to share as long as you don’t mind spaghetti code.
Hi. Love what you’ve done with the Groovox project, the on screen keyboard is a brilliant addition. Hope my uncommented mess of code wasn’t too difficult to navigate 🙂
Your code was amazing! I only wish I knew then what I do now so the changes I made weren’t a big pile of spaghetti code! Happy to share it with you!