Spending a lot more time around the home, and now outside in the summer months, I wanted a quick and easy way to get a quick class of water. And have a fun project to make at the same time.
I found a couple of projects on NerdForge YouTube channel.
I set out by first getting the major components together
- DC 12V Three Tube Electronic Semiconductor Refrigerator Radiator
- DC 12V heat cool temp thermostat temperature control switch
- DC 12V Micro Pumps For Water Dispenser
- Inline water filter
- Water float and tubing
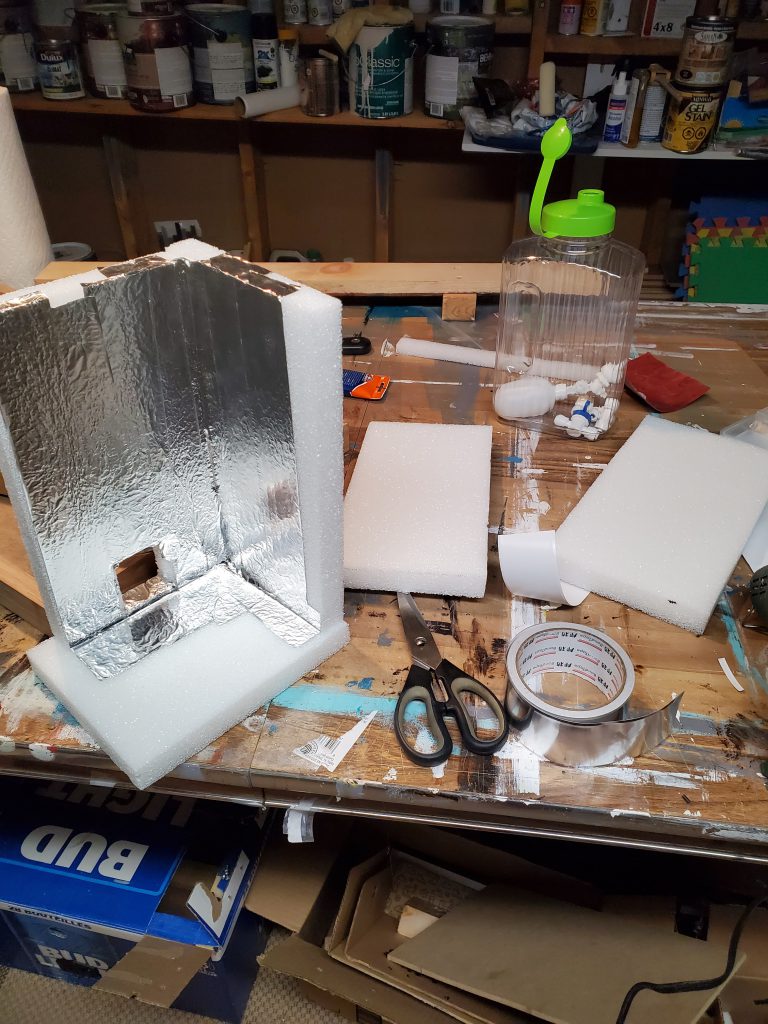
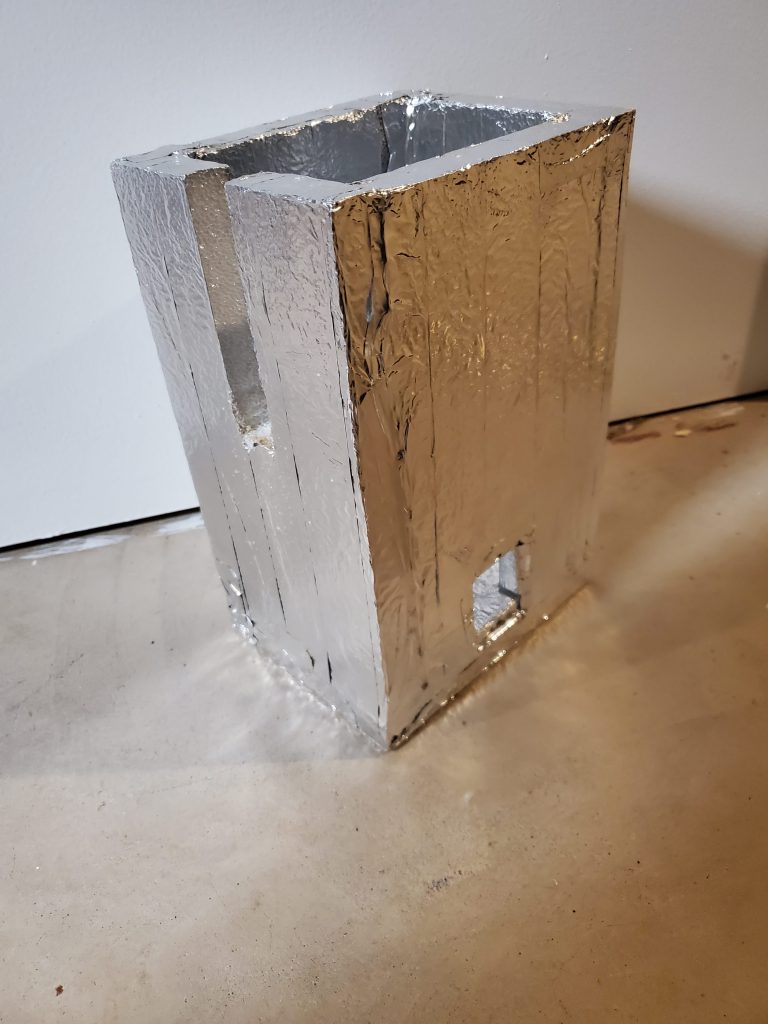
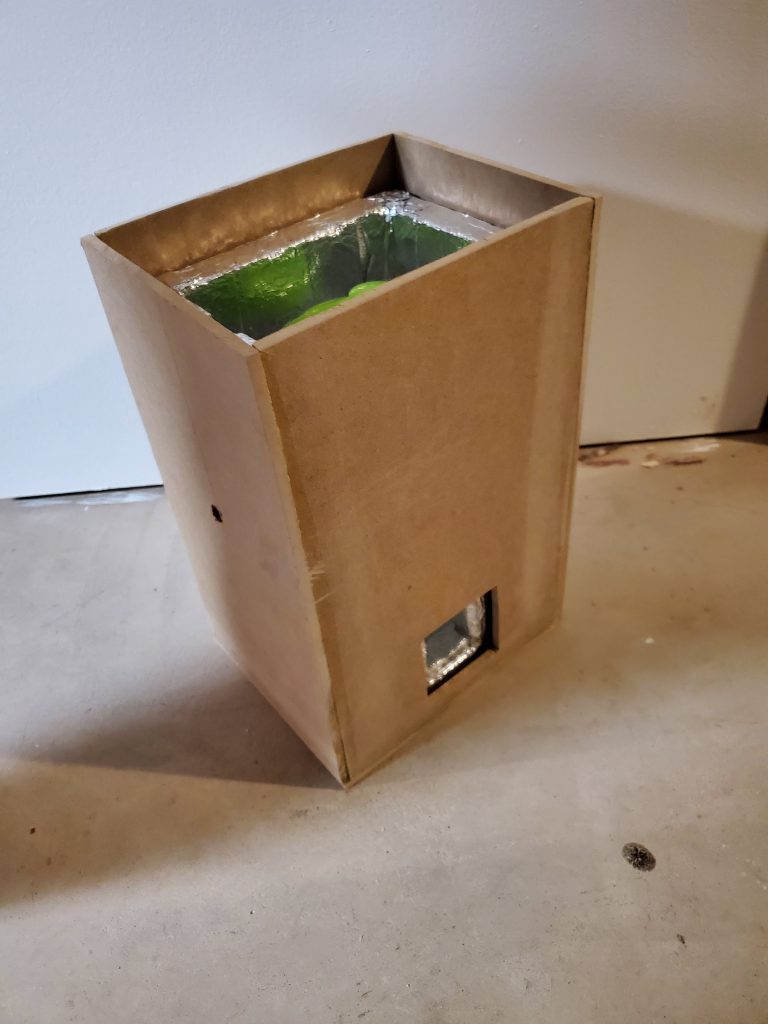
Other parts included some 3/4 inch hobby foam from Michaels, aluminum tape, and some 1/4 inch MDF sheet. At the local dollar store I found a 2 liter drink container with flat sides.
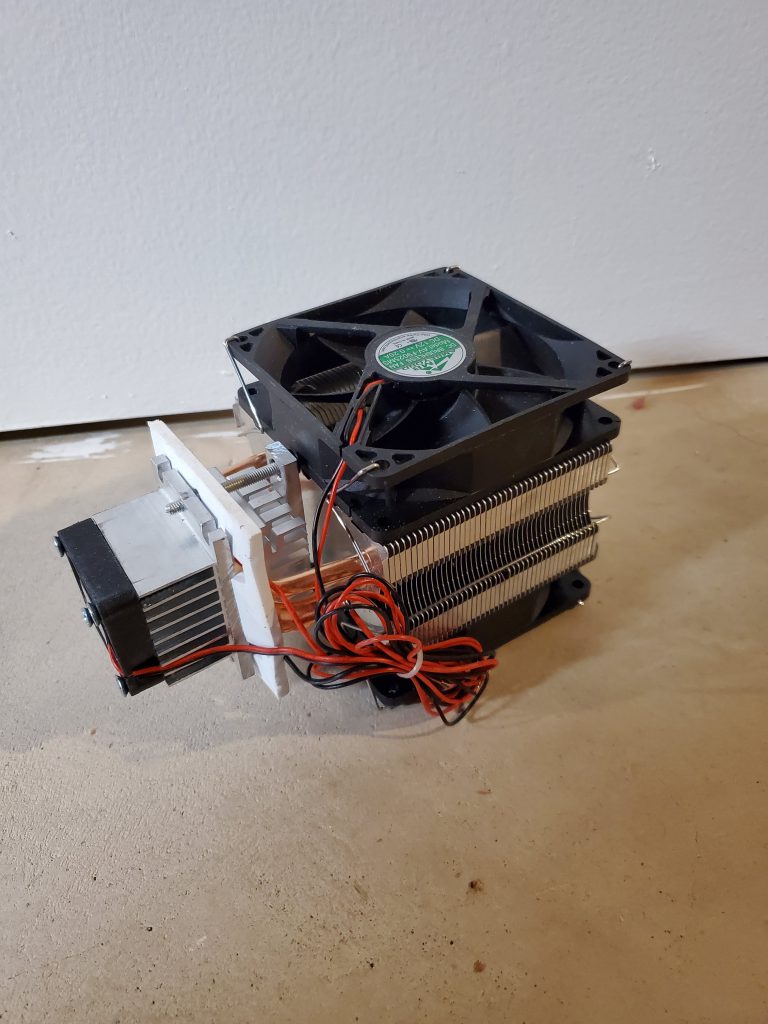
Refrigeration module 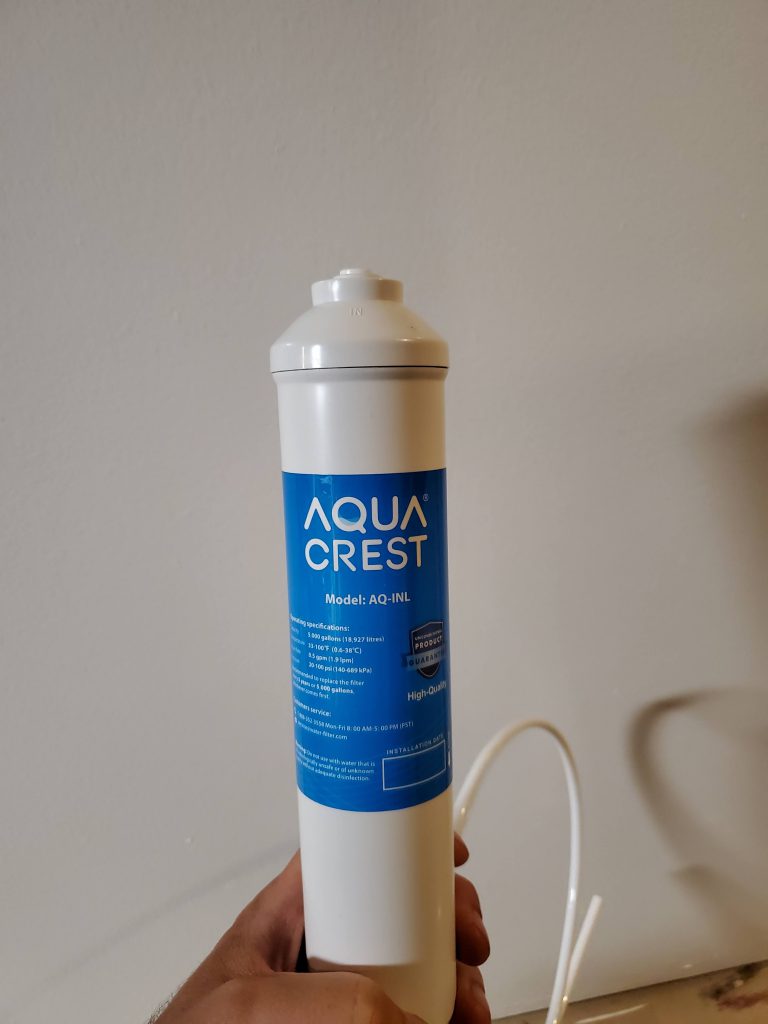
Inline water filter 
Drink container and float
Now that we had the core parts, time to build housings for them. Starting with the insulation for the cold water.
And then a few coats of external paint to seal off the wood.
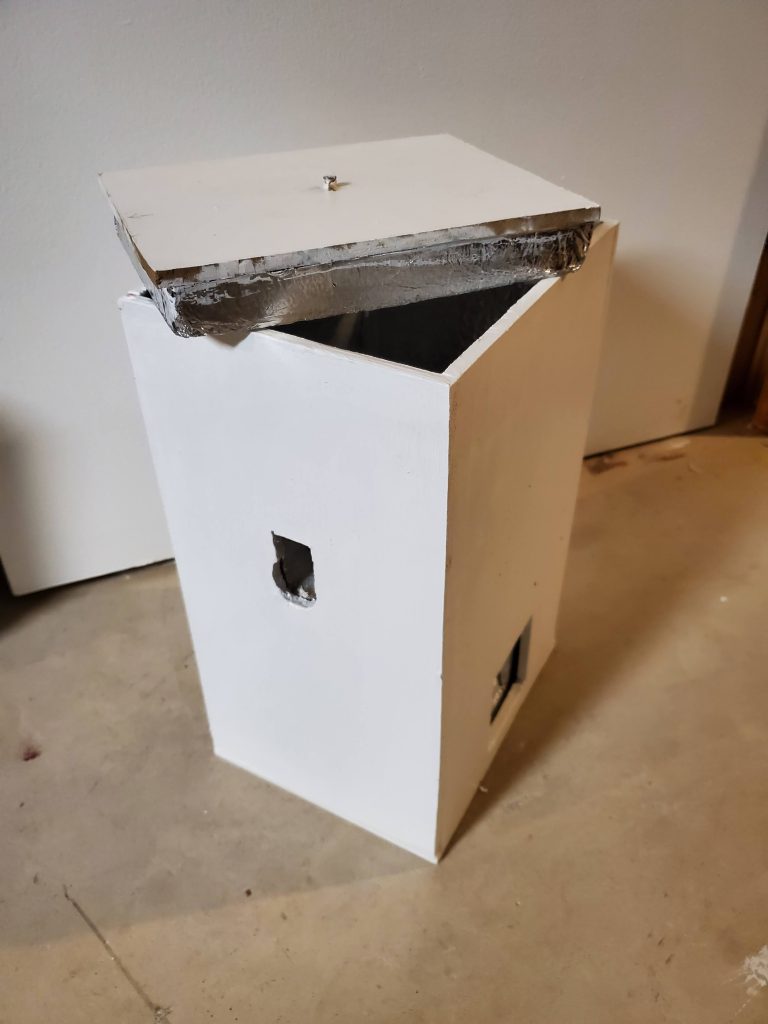
Now with all the major components in one place, I started to build the housing.
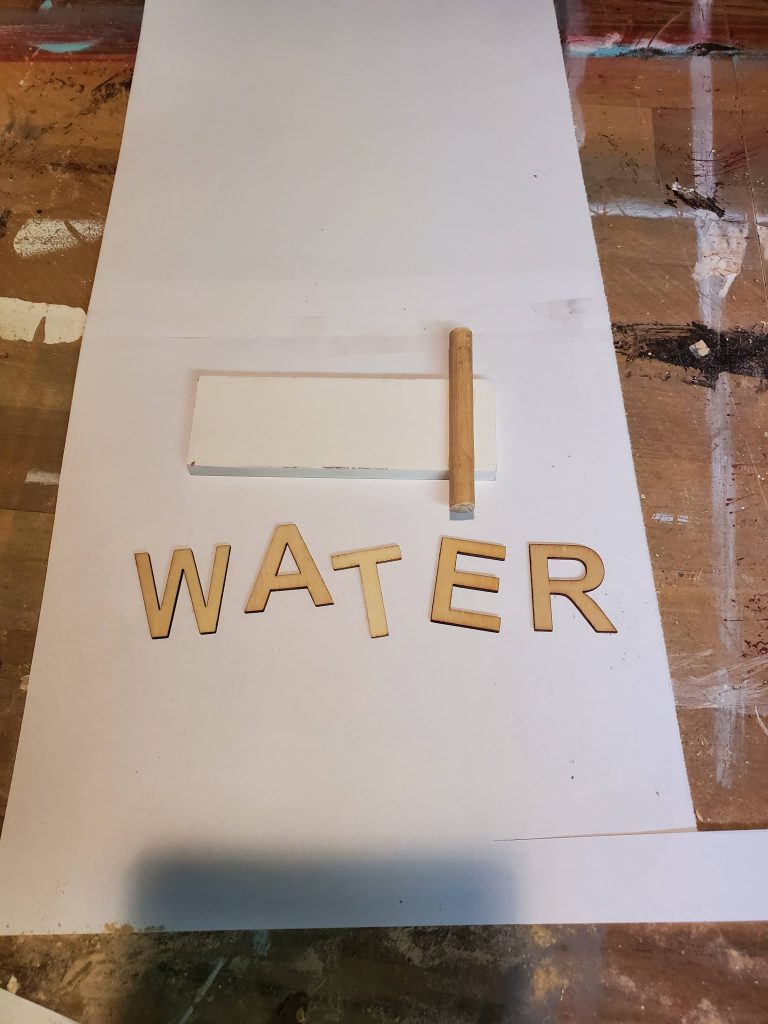
Dispenser flap & front decorations ready for painting. Letters from the dollar store 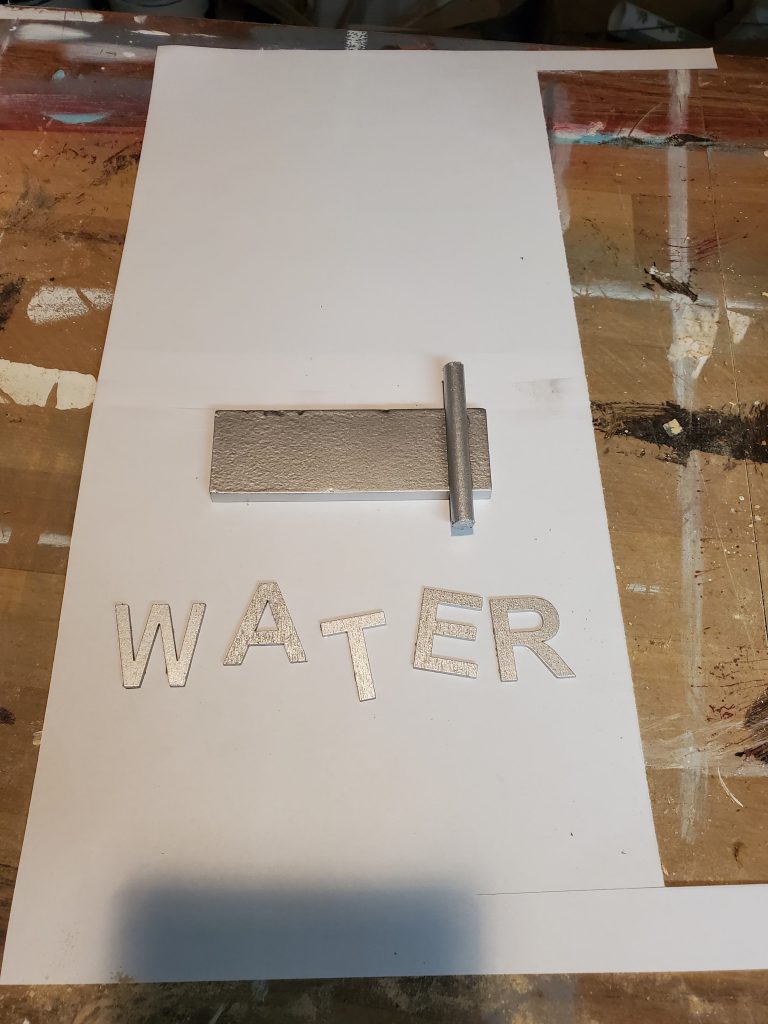
Metallic gray spray paint 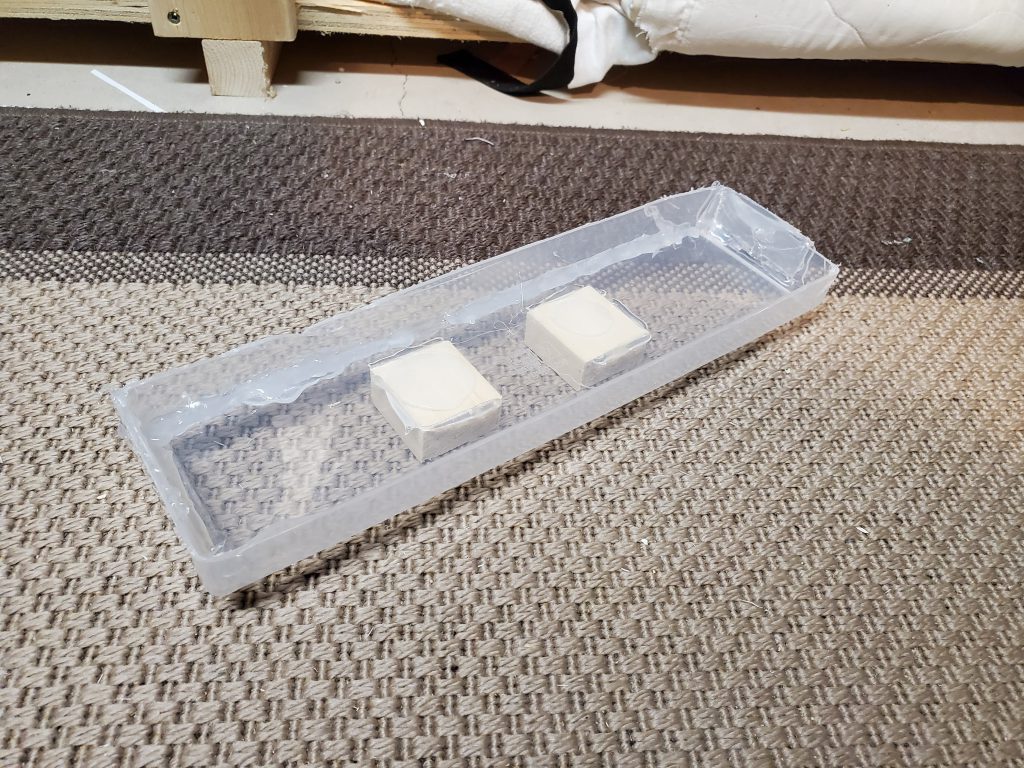
Drip tray hacked together from a dollar store plastic container 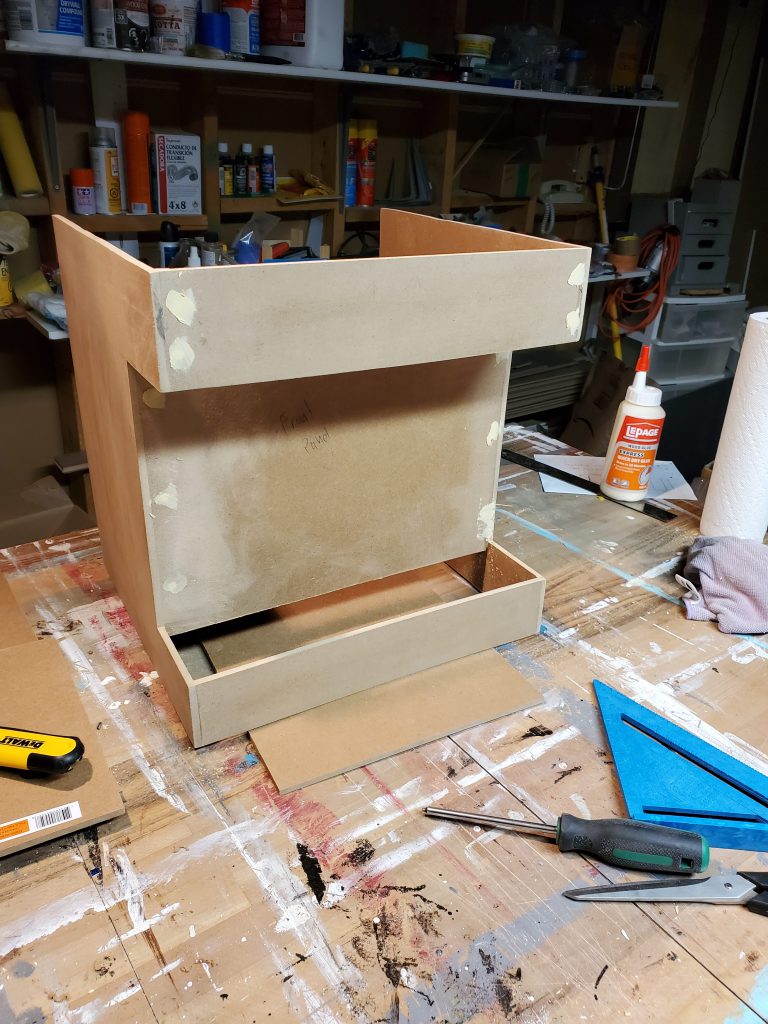
Assembled and holes filled 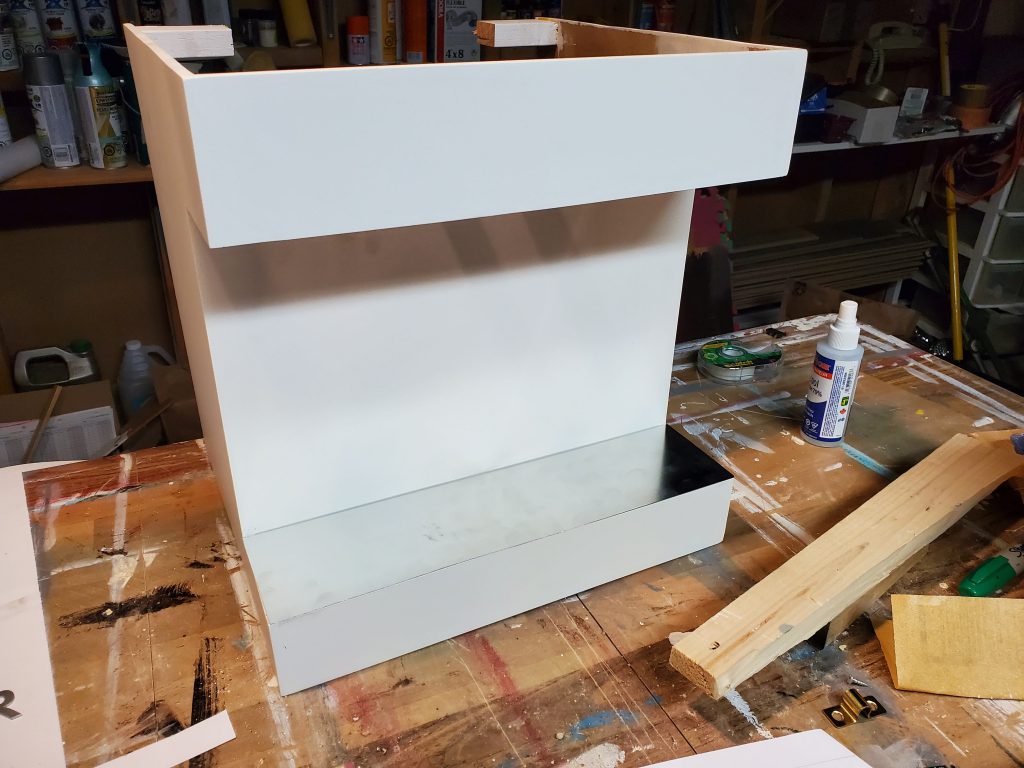
Primed and ready for painting
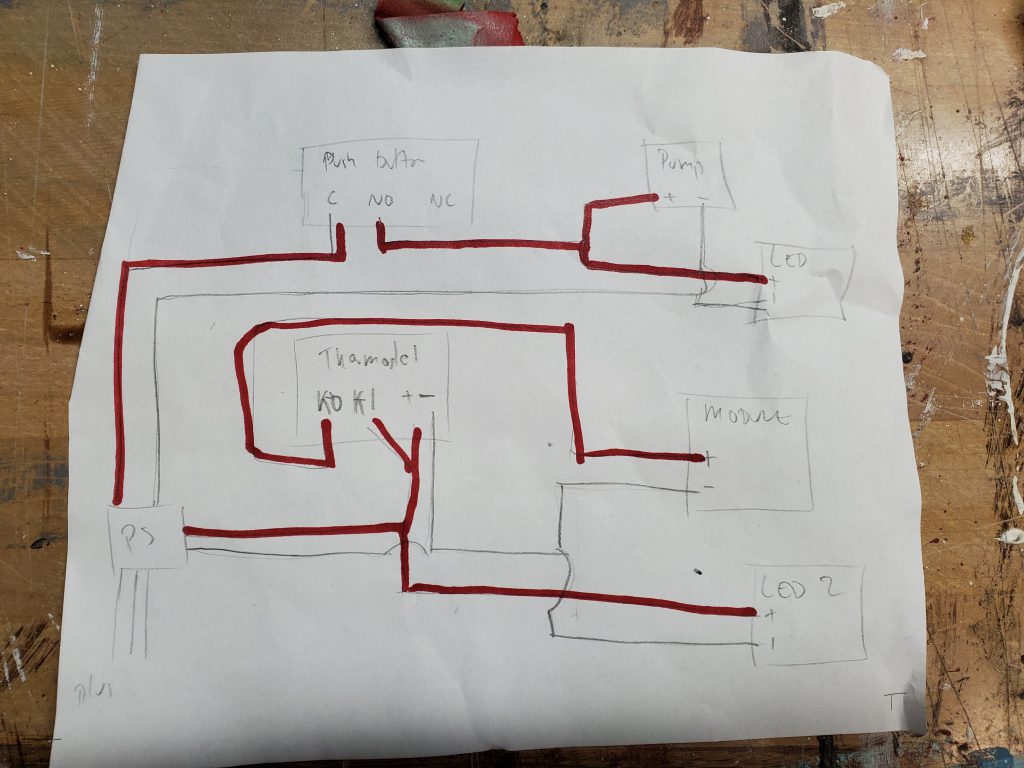
Wiring Diagram
The wiring is somewhat simple – there are two parts to the circuit:
1) Powering the cooling module (listed as ‘module’). This involves putting the thermostat control in front of the module to ensure we’re not running it 24/7
2) Powering the pump and LEDs. We want lights to come on when we activate the machine.
We’re skipping ahead here, mostly due to lack of pictures. What happened:
1) Design & drill pattern for the grill/drip tray.
2) Spray with metalic paint
3) Connect components together.