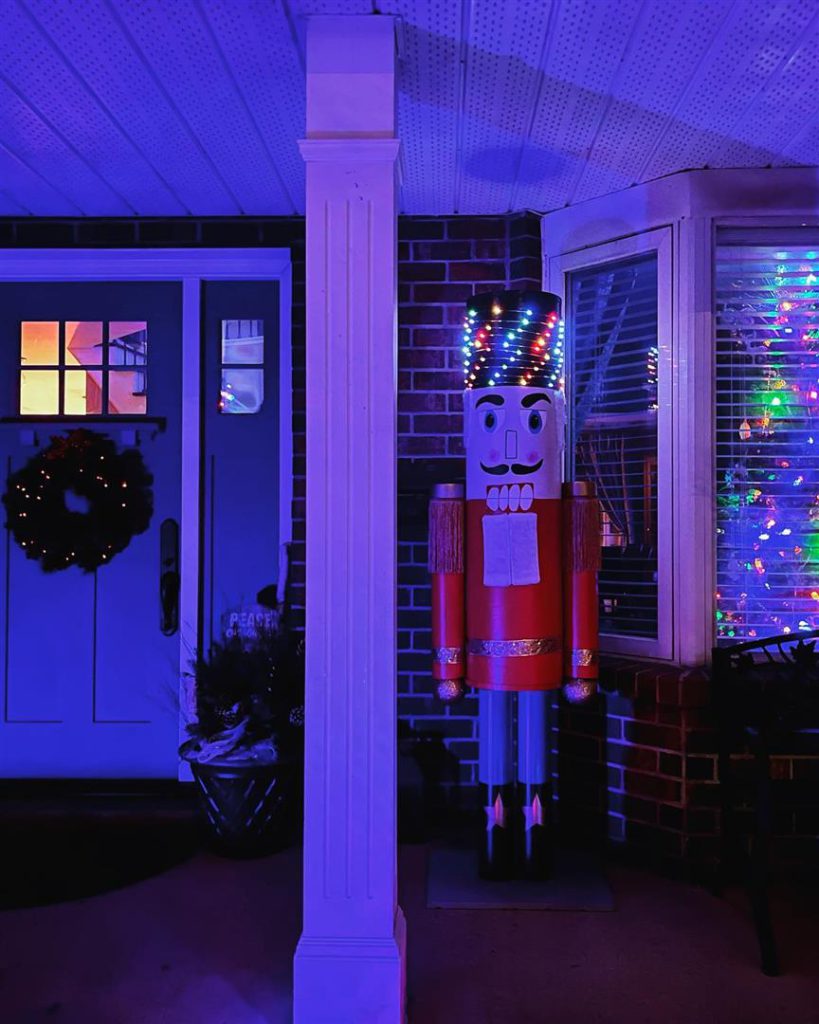
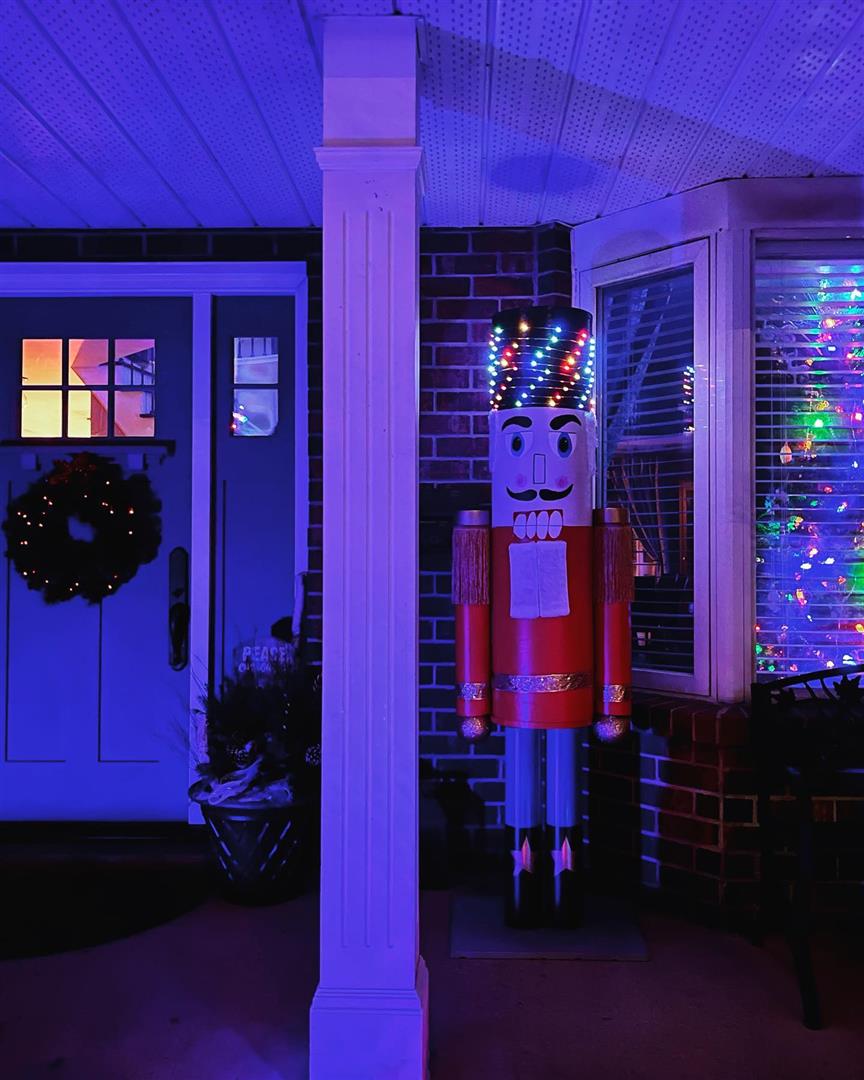
For years now, our friends up the street have been gifting my wife bottle of wine each Christmas, except in the wine bag, its a Nutcracker. They creep her out, and revenge has been coming for a while now. So we designed the ugliest nutcracker we could, and made it 6ft tall.
The inspiration for the build came from Isaac Alexander and his DIY Giant Nutcracker.
Parts List
- Exterior paint in primer black, red, pink and blue.
- 12 inch concrete form tube (sono tube) (4ft length)
- 4 inch PVC pipe (4 x 2ft length)
- 2 x PVC pipe caps
- 4×2 pressure treated lumber
- 12 inch plywood discs
- Assorted decorations to your liking
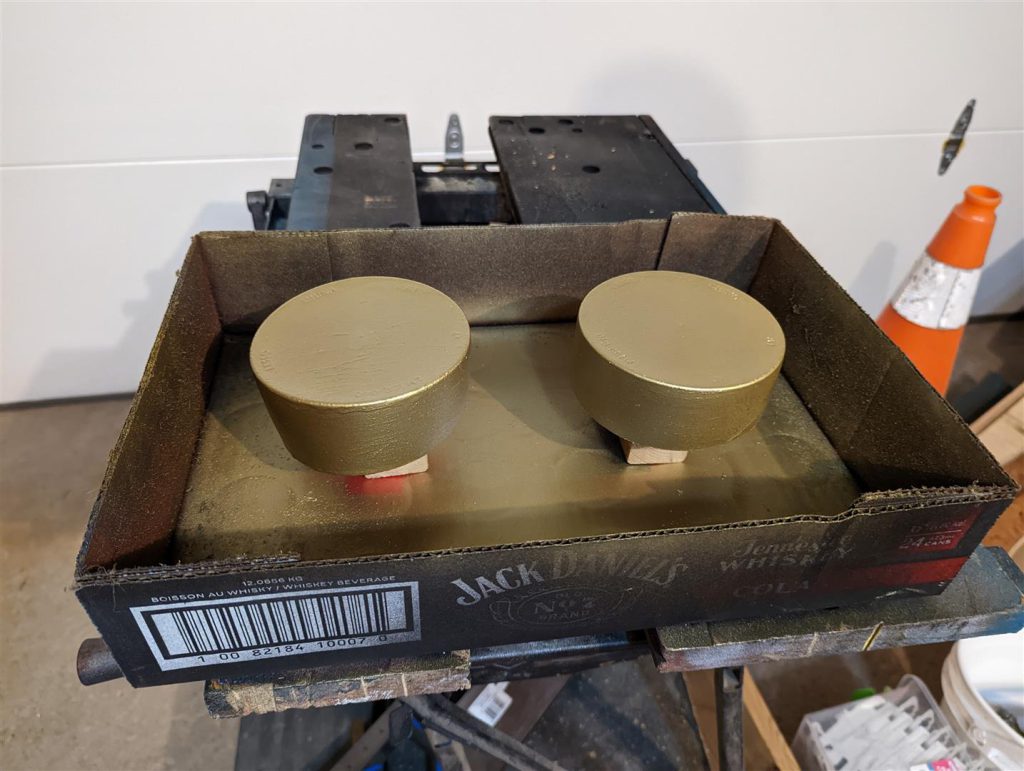
- 3inch gold glitter Christmas balls for hands
The Build
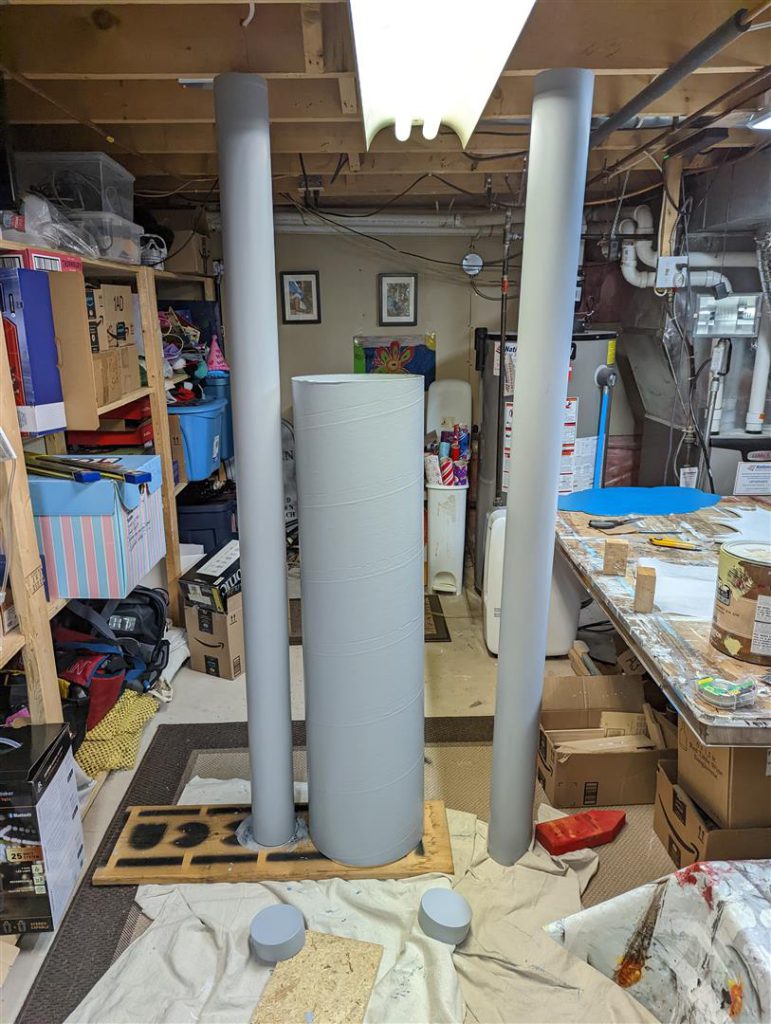
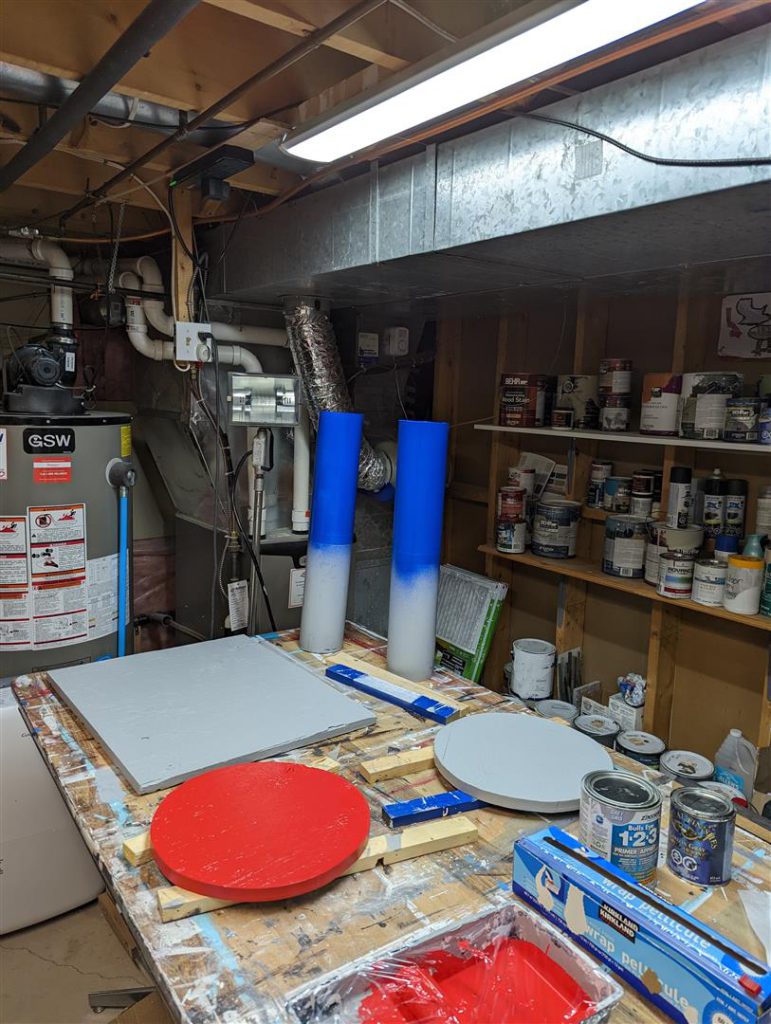
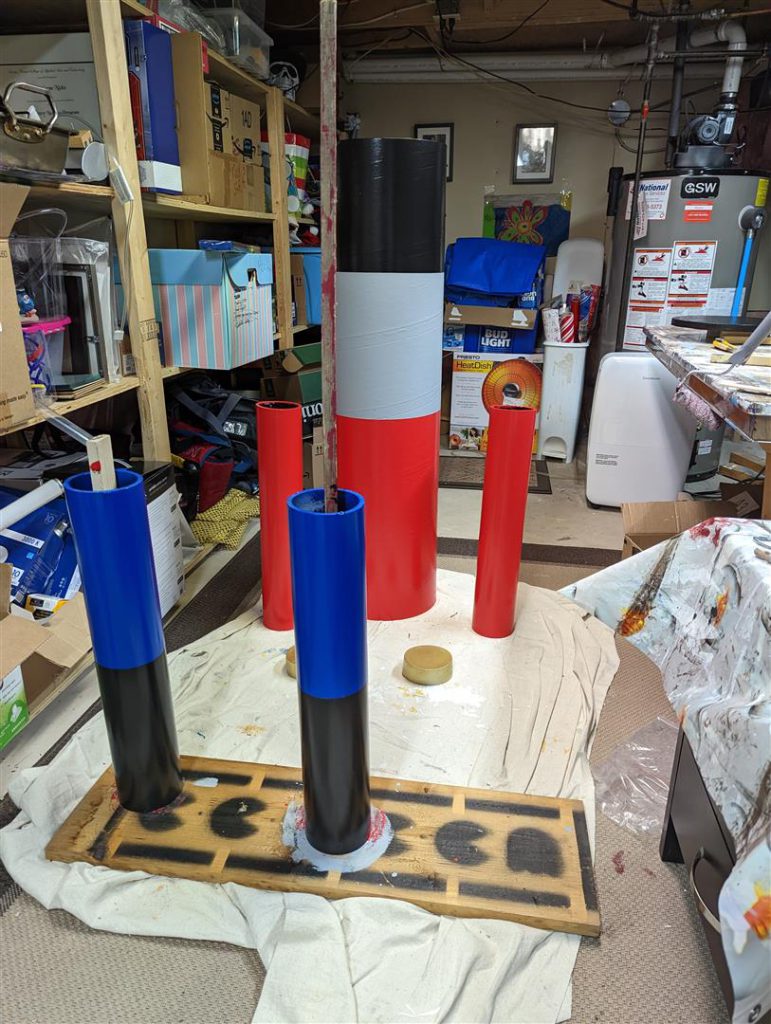
Start by building small stands for the tubes – painting them is much easier when they are standing upright as you can cover them all at once. I applied 4 coats of exterior primer as this, while likely under a porch cover, will be out in -20 degree Celsius weather and the main body is just compressed cardboard.
Once primed, you can cut the tubes to length, and then use painters tape to mask off the hat, face & body/coat areas.
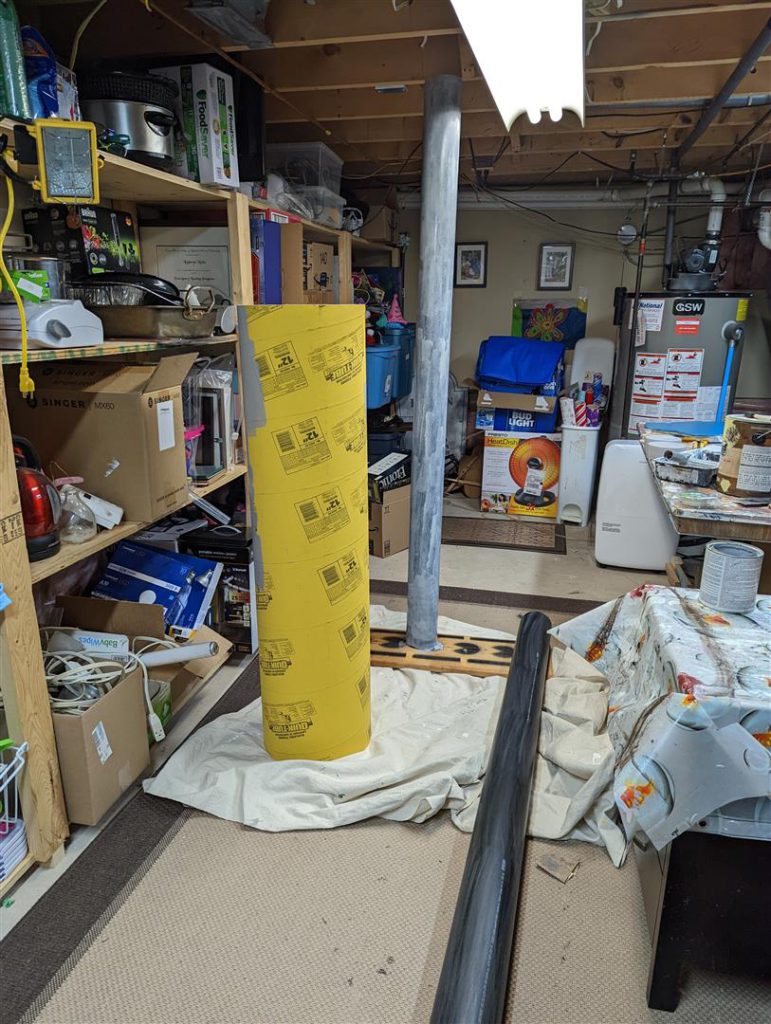
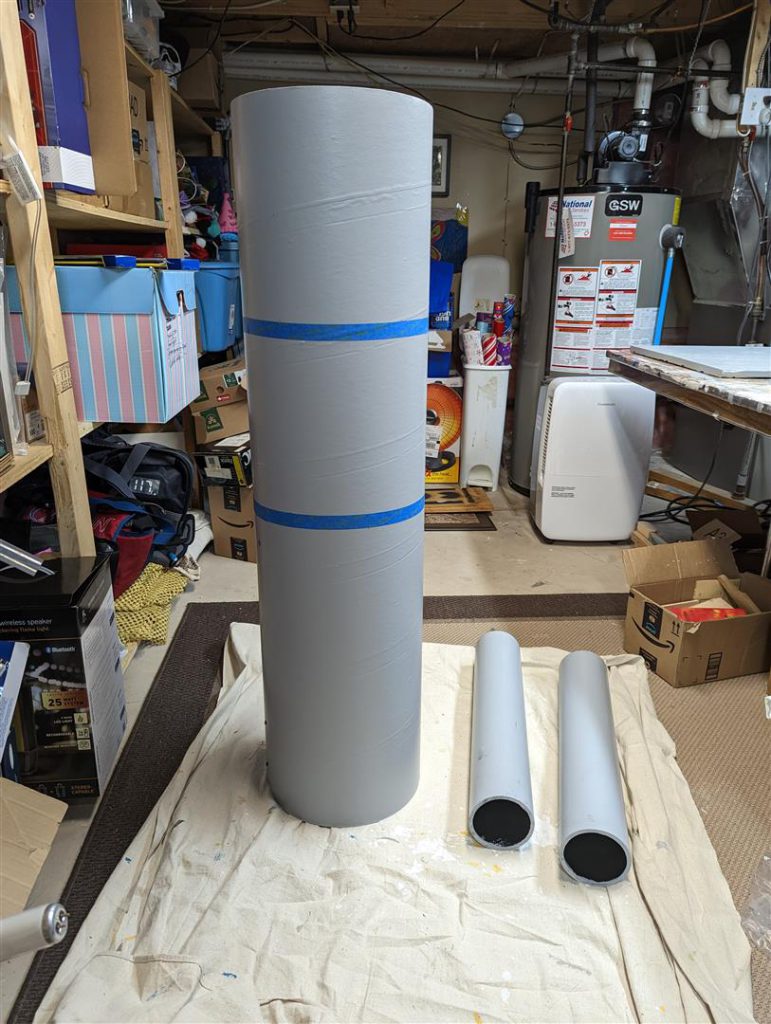
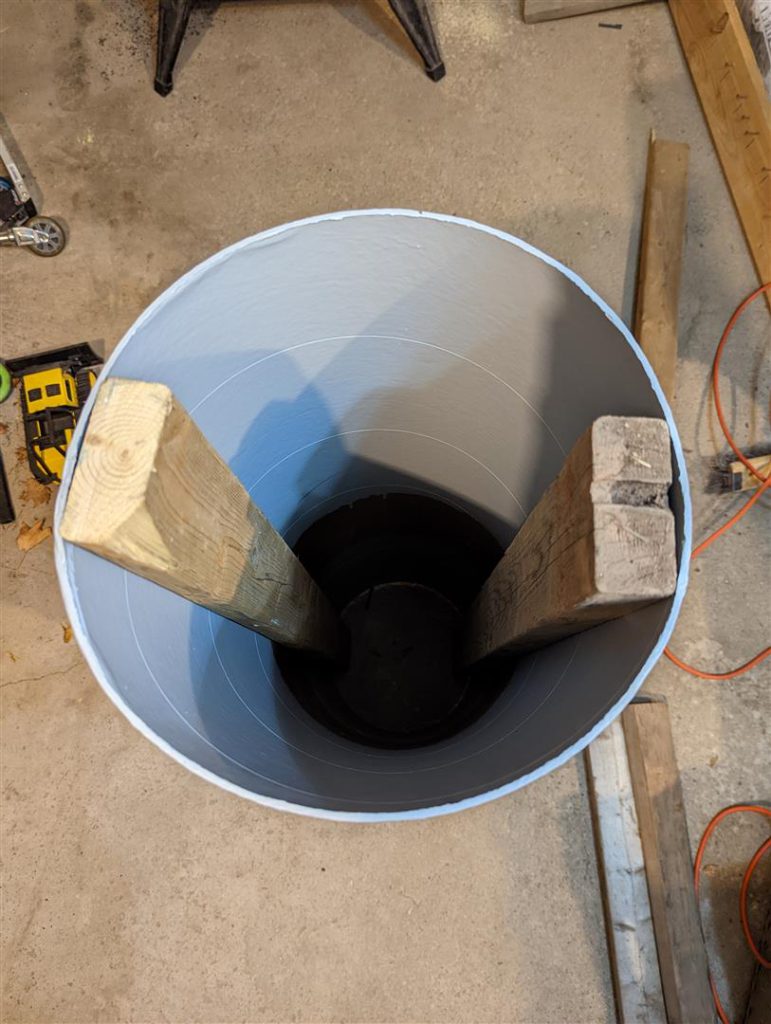
At this point I reinforced the main body with 2x4s down the sides. This will:
- Give strength to the main tube
- Provide an attachment point for the arms on the sides
- Allow the top and bottom disks to be screwed into the ends
Painting
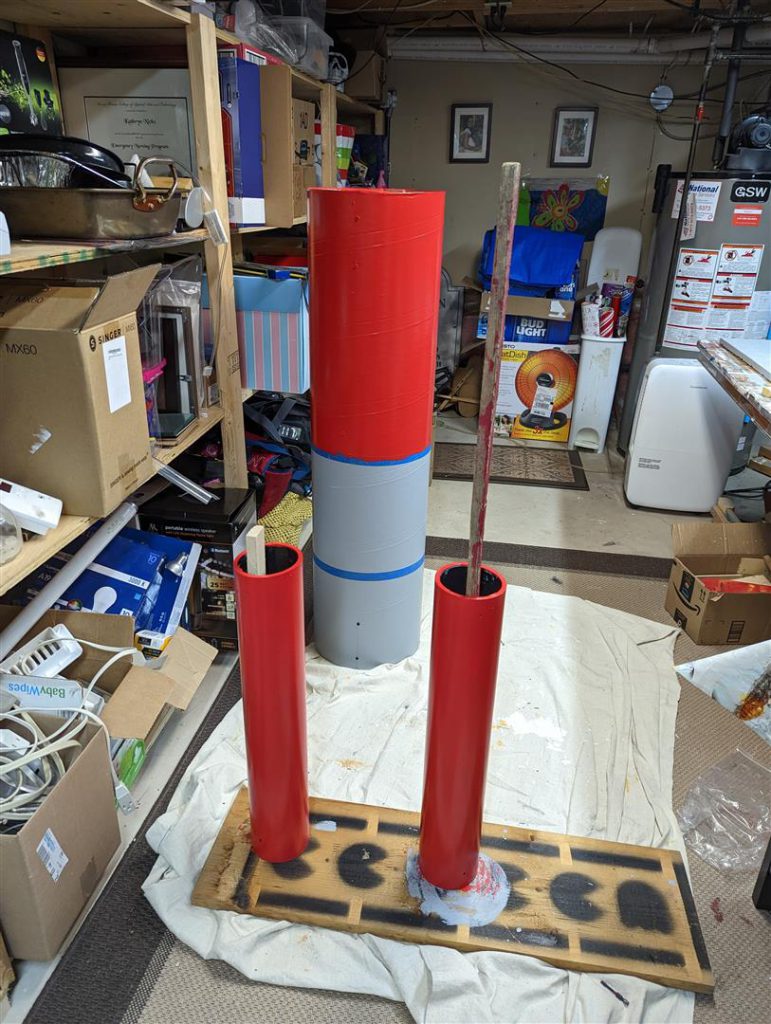
Next begins the fun part – painting. Start with the red paint first, painting the main body & arms. At the same time you can paint the top part of the legs blue. Once you have added 2 to 3 coats, you can start on the black for the hat & boots.
The Face
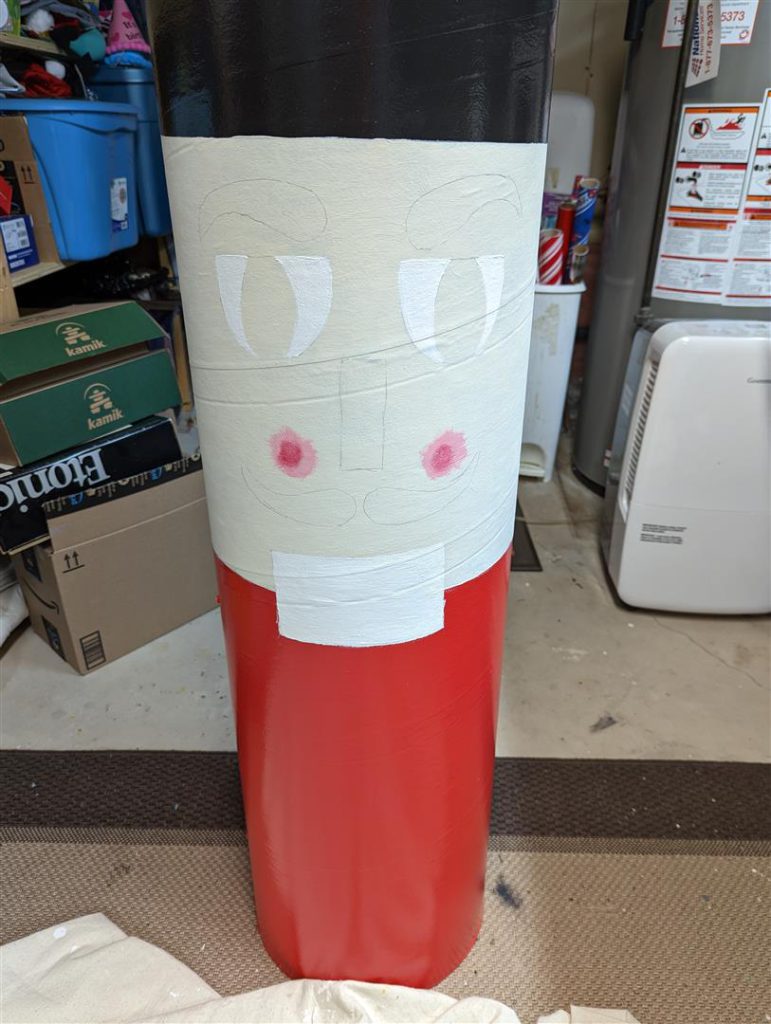
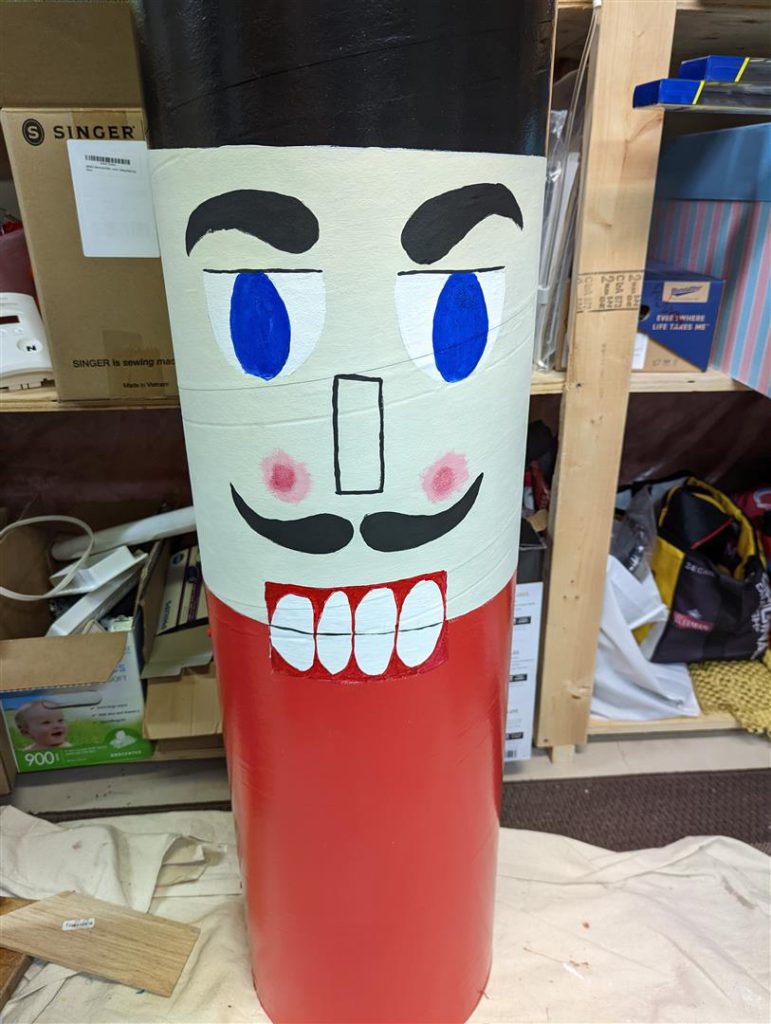
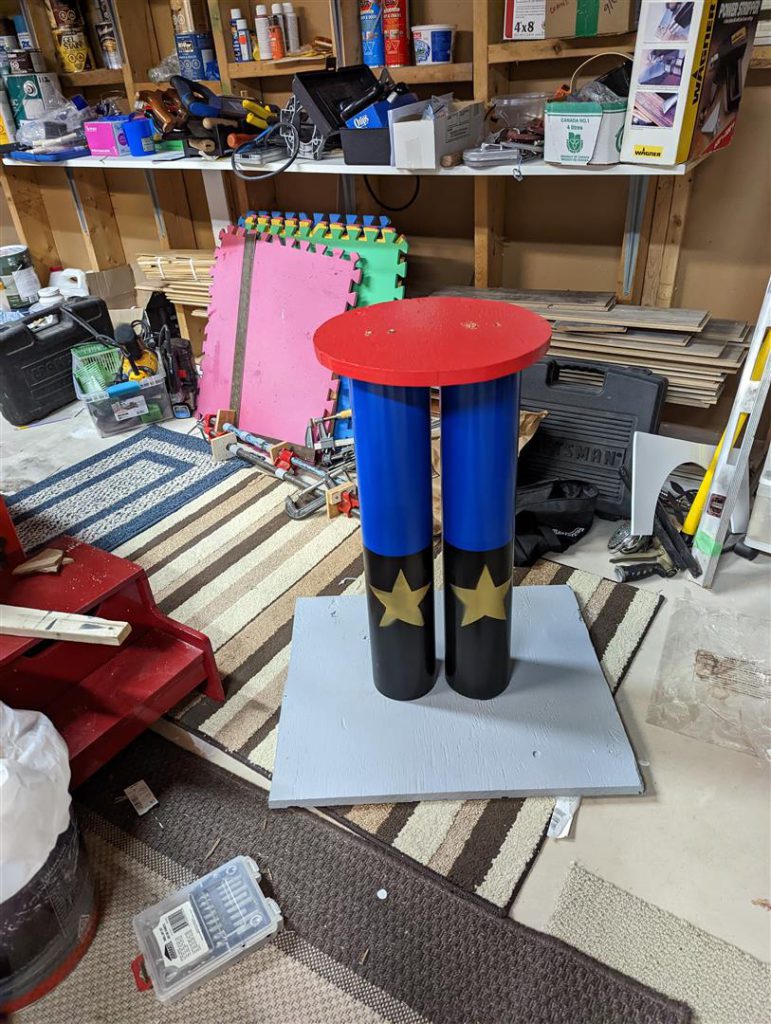
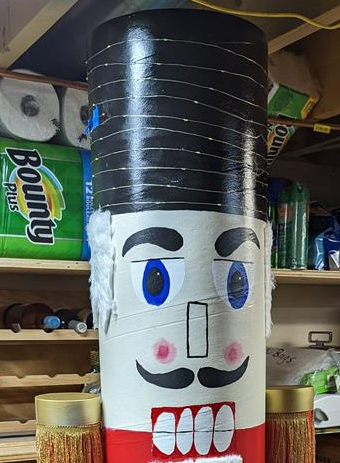
The hardest part of this project is the face itself, and this is really the decoration phase. Start by painting the main face area with your face color of your choosing. We recommend finding a design online and making a template to trace onto the face. You can use a permeant marker or a fine artists brush to add the detail. We went as ugly as we could make it for effect. While doing this, you can also attach the 2x4s to a base plate, slide the leg pipes over & attach the base disc.
Decorations
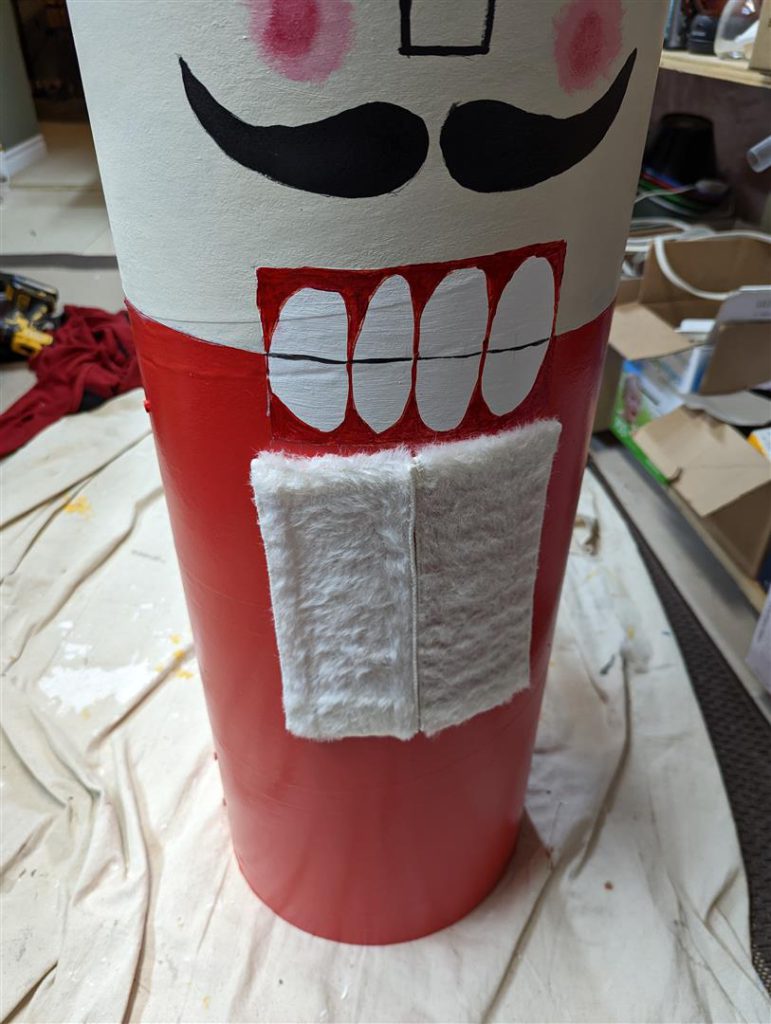
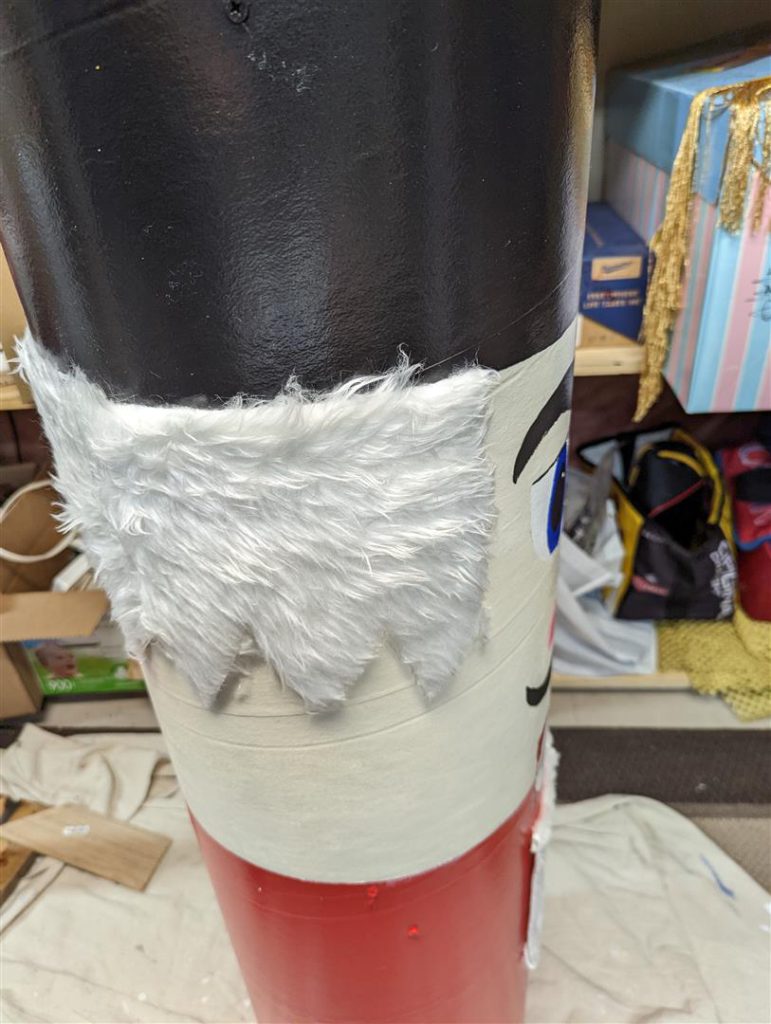
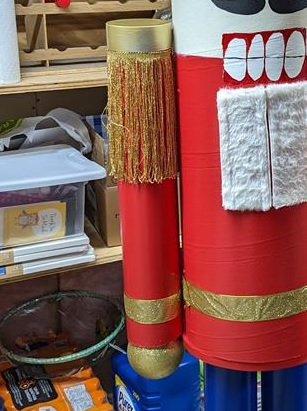
We found some faux fir/snow at the dollar store and on amazon for the beard and hair which complements the absolutely ridiculous mouth.
For the arms & waist, we found some tassels & gold ribbon at the dollar store. For the head, we got some LED wire lights from Costco which really look the part.
Assembly
Finally, he can be assembled in all his glory! This is the order of operations:
- Attach the arms to the body
- Loop thin wire, string or fishing line around the top of the Christmas hand balls & loop it around the top screw on the arm.
- Place the gold shoulder caps on top.
- Carry him upstairs to the garage in 2 pieces (top half & legs).
- Drill two screws on each side, under the red disk, into the bottom of the main body 2x4s.
- Place the black disk on top & screw into place.
Deliver him up the street
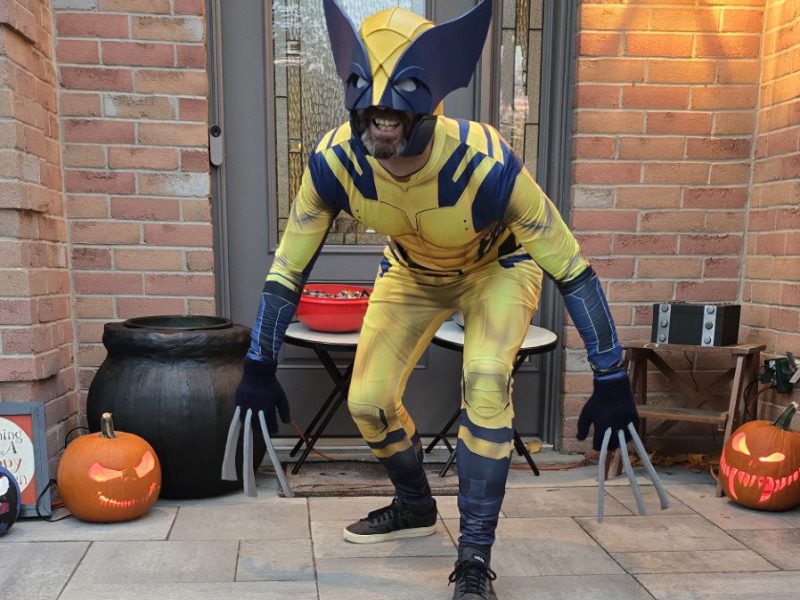
Now at this point, he will be very heavy and also quite large. You have to carry him vertical as there isn’t enough strength in the body to handle being sideways. If you have a dolly/trolly, use that. Here is a really blurry photo of me taking him for a walk.

The last step is to put him next to your friends front door:
