Now before you get all up in my face, the box is in tact with minimal internal modifications, and the original components (not sure if they work) have been safely stored. So don’t worry, I have not destroyed some precious vintage technology.
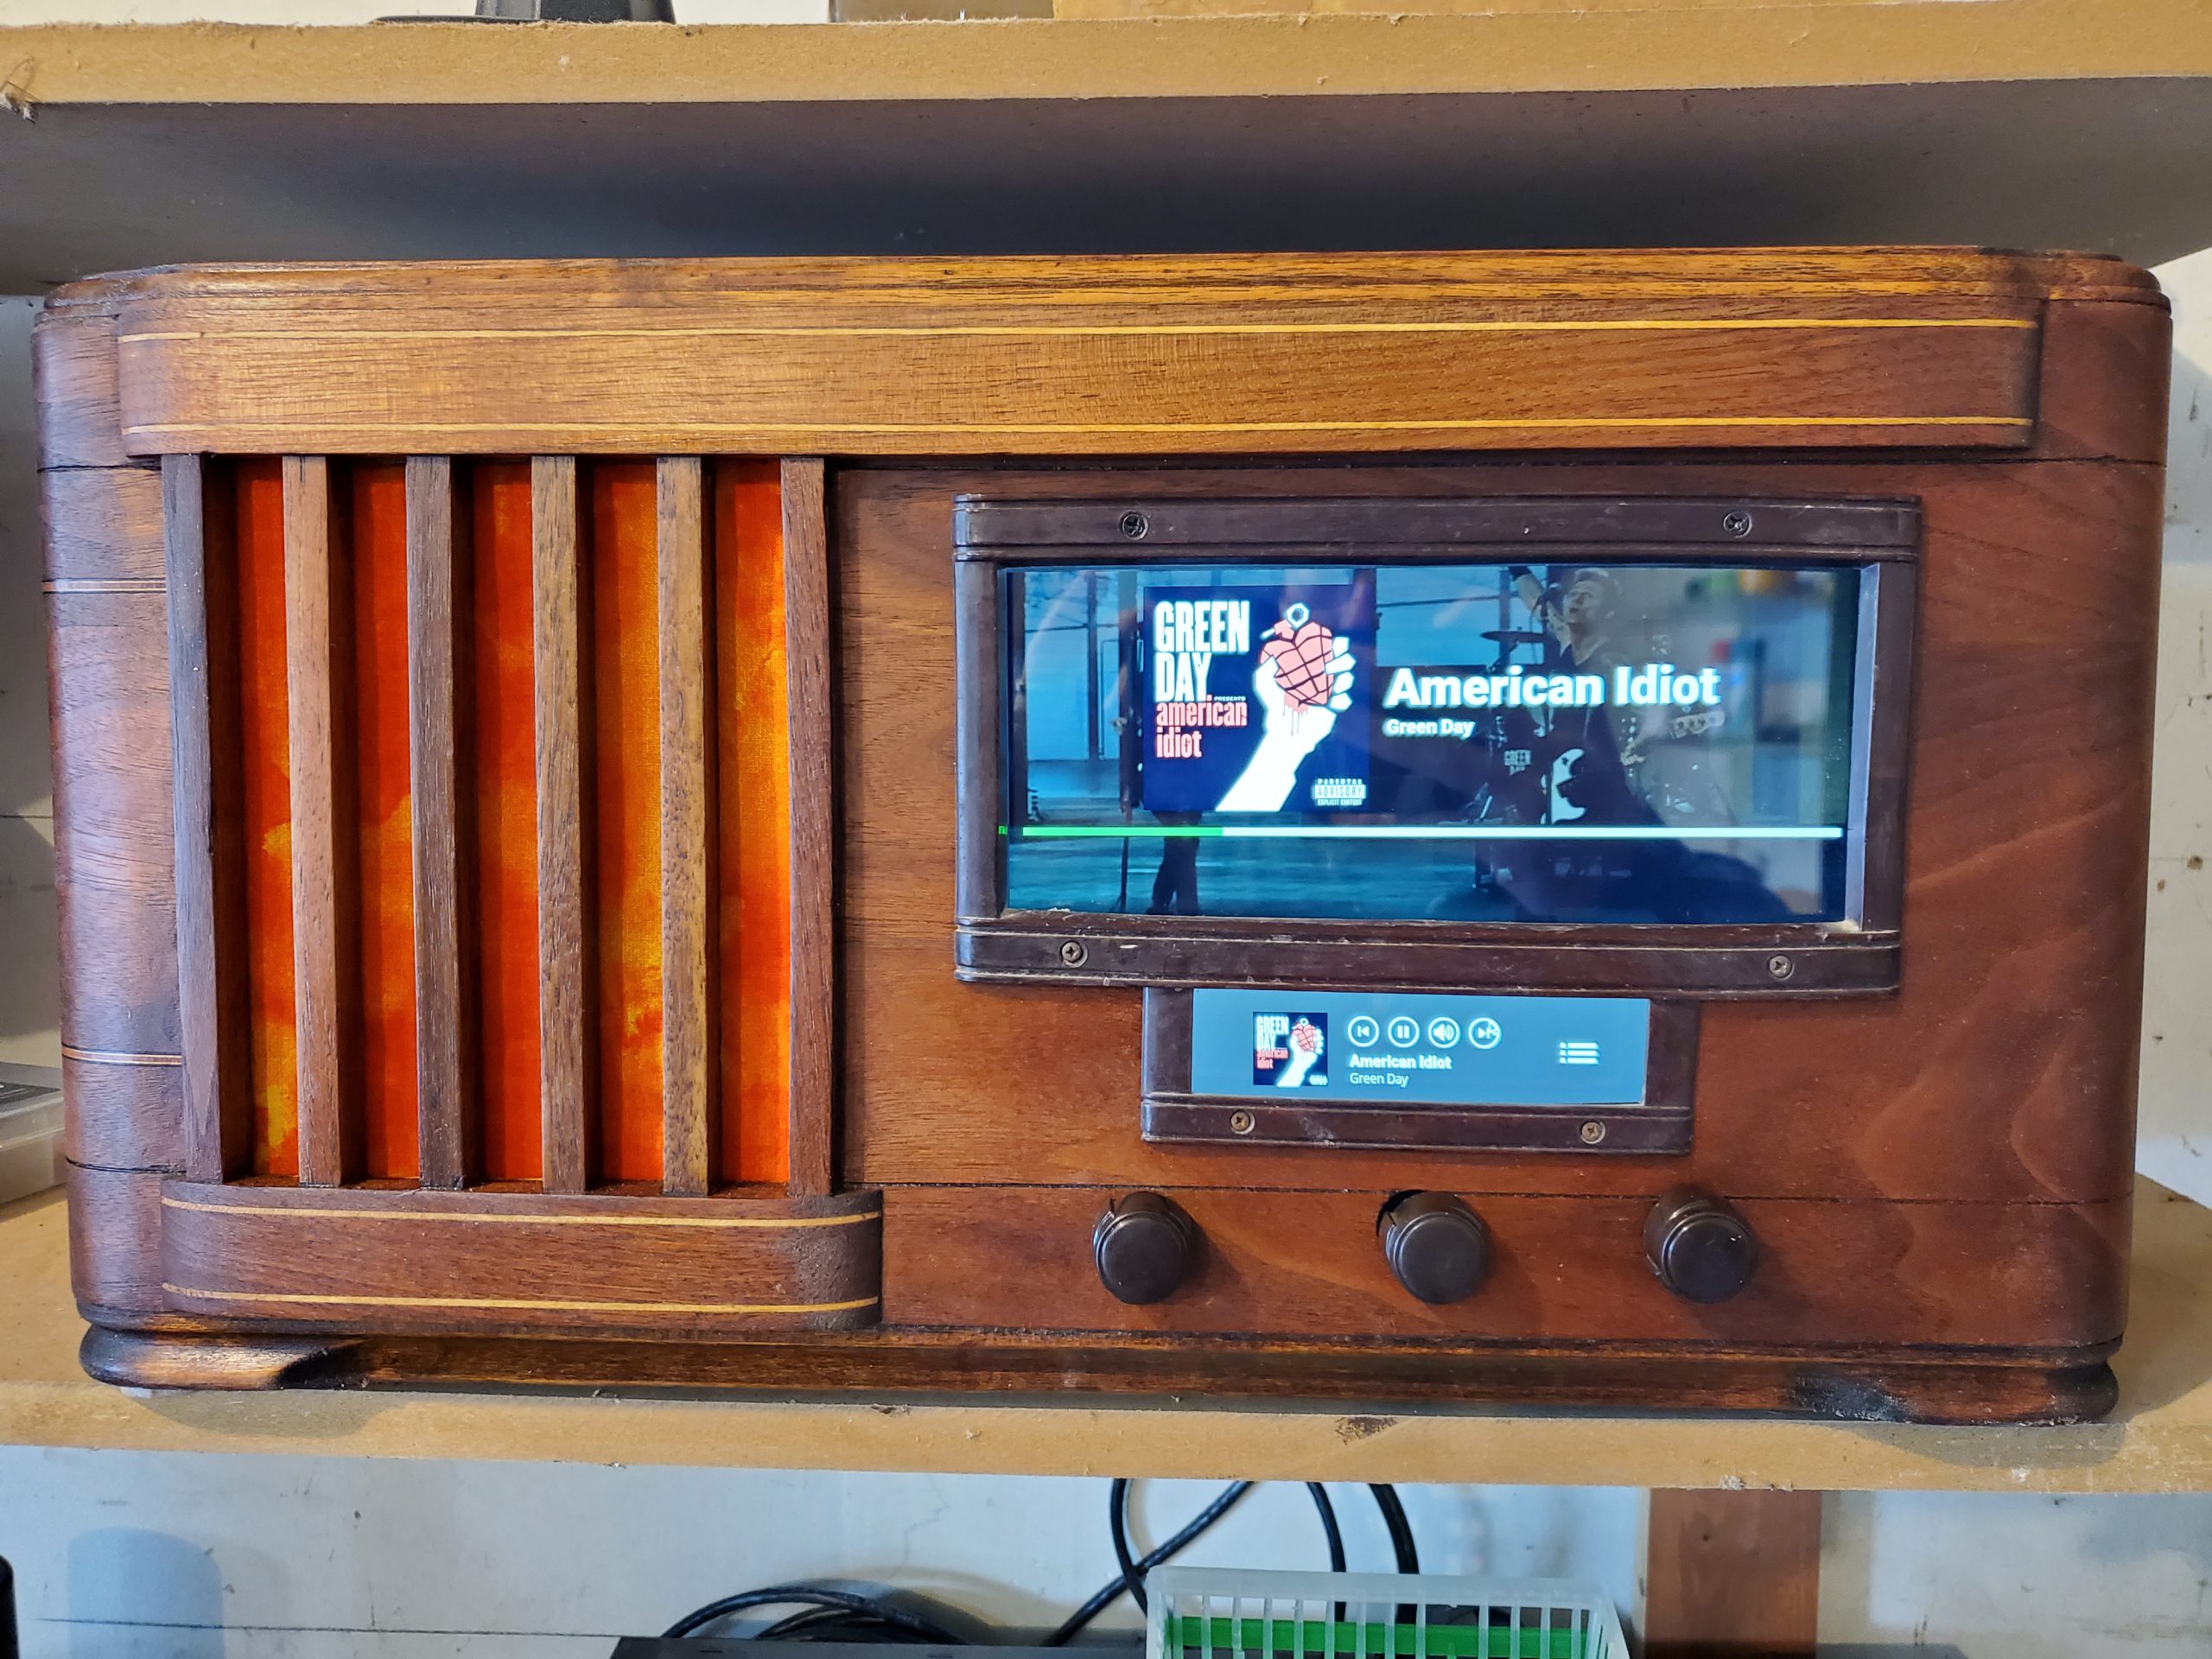
Last year I made a speaker out of a Bud Light beer case. Full article here. My idea was to take those internal components, and retrofit them into an old vintage radio.
I eventually found a unit that fit the bill on Facebook Market Place.
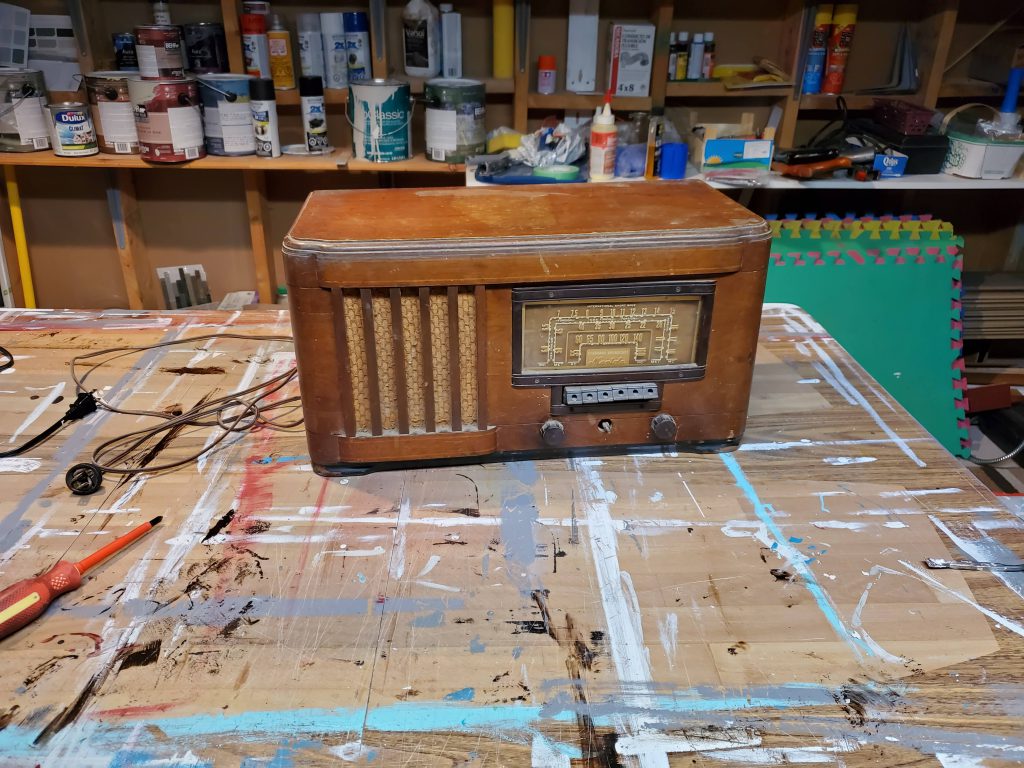
For something older than myself, it was in pretty good condition. However I had no intention of restoring the internal components or anything like that. I carefully removed them all and stored them safely away to preserve them.
I then proceed to review all the components from the Bud Light speaker and see how they would fit. I wanted to set the volume controls to match the original locations, and my skills (or lack of) removing soldiered components. Plus I wasn’t really happy with the amp & speaker combinations, so I went out and bough some new components:
- 100w Amplifier Board
- 100w Suboofer amplifier
- 4 channel headphone amplifier (to split the signal to the above 2 amps)
- Pyle 3.5 inch two way speakers
And I reused
- Power switch
- Reset button
- Subwoofer
- Touch screen
- Raspberry Pi
- Cords & other small parts/consumables
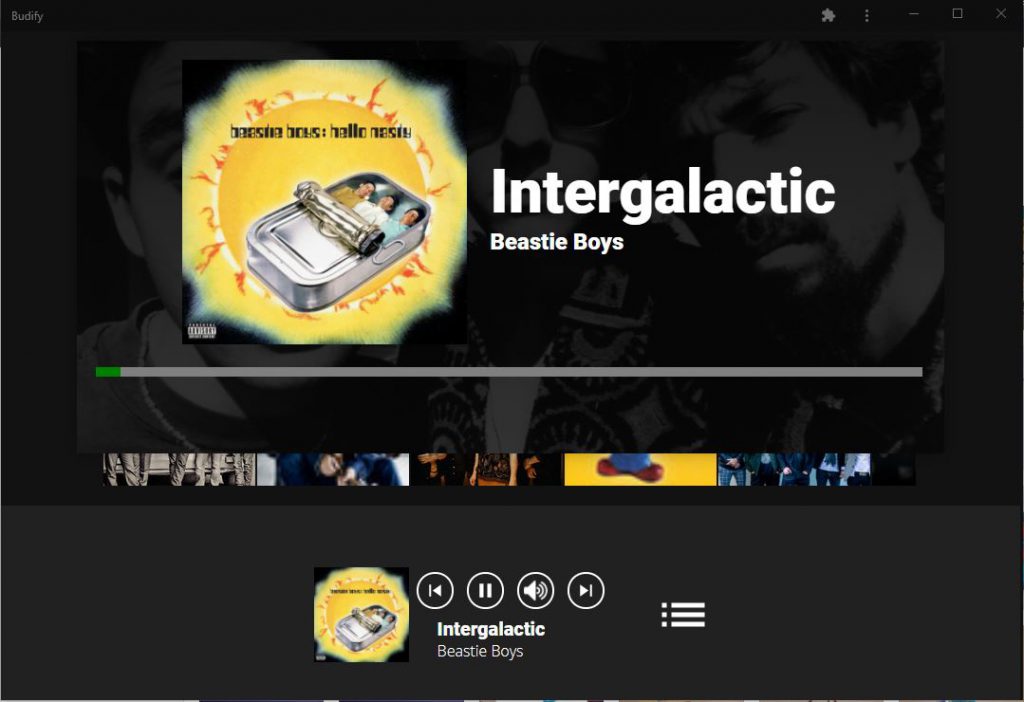
Next step was to redesign the UI to suit the unique screen size of the radio cabinet.
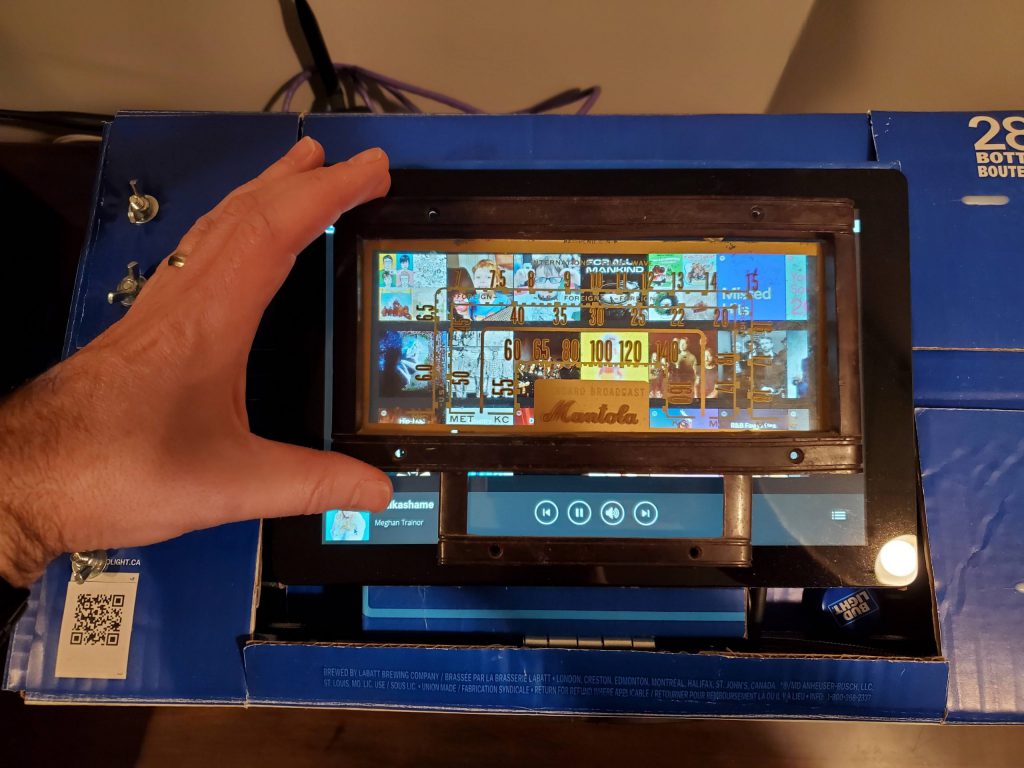
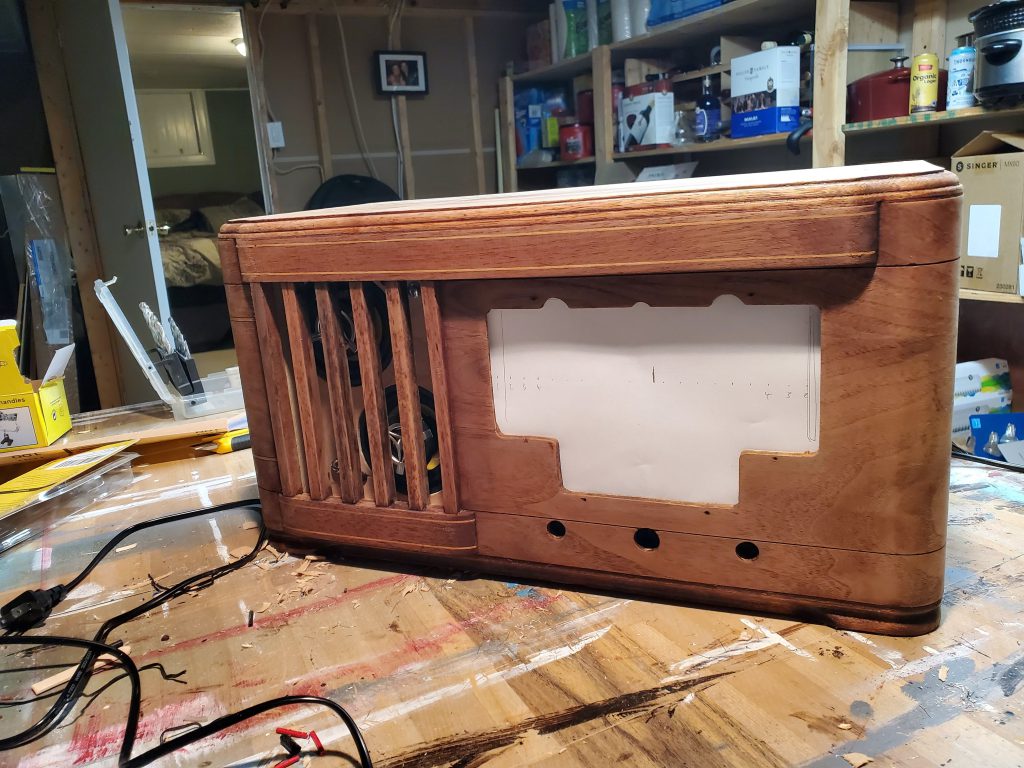
I then started to think about positioning all the compoents. I build a small box for the speakers and encolosed it. I mounted all components onto a single sheet of plywood and inserted it into the box.
I drilled some holes in the bottom of the box (only permanent changes) to secure it, along with attaching the screen itself to some mounting blocks I had glued on the inside.
I cut a new back piece out of MDF and attached the Raspberry Pi, as well as an ethernet jack, subwoofer and power plug & board.
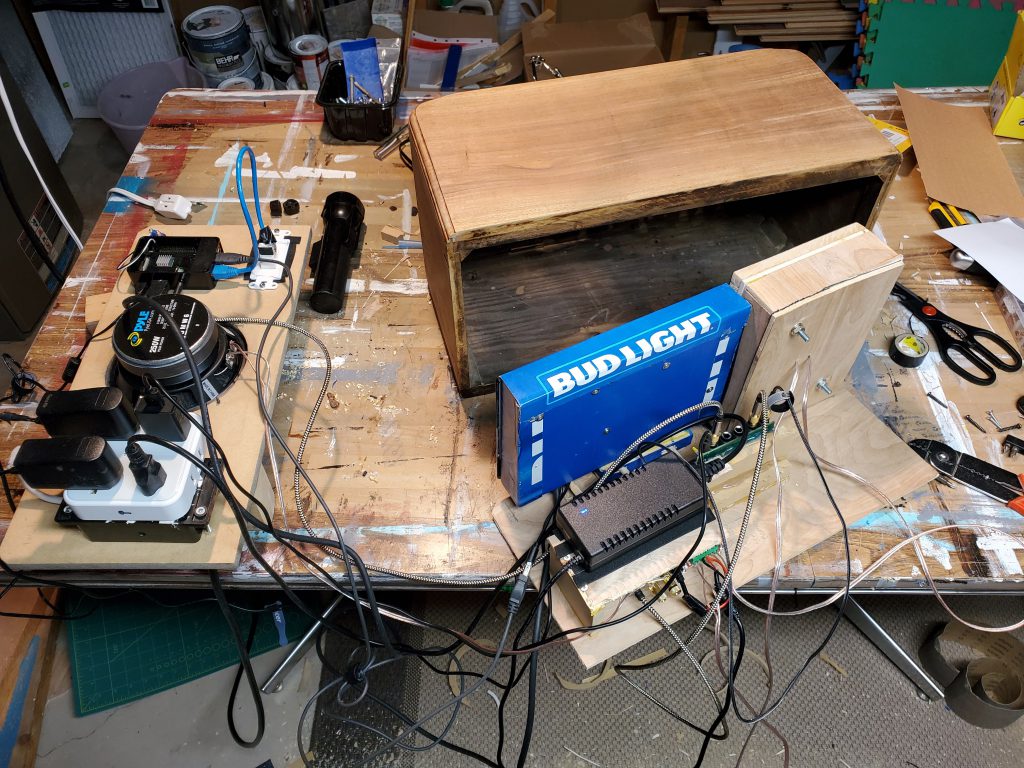
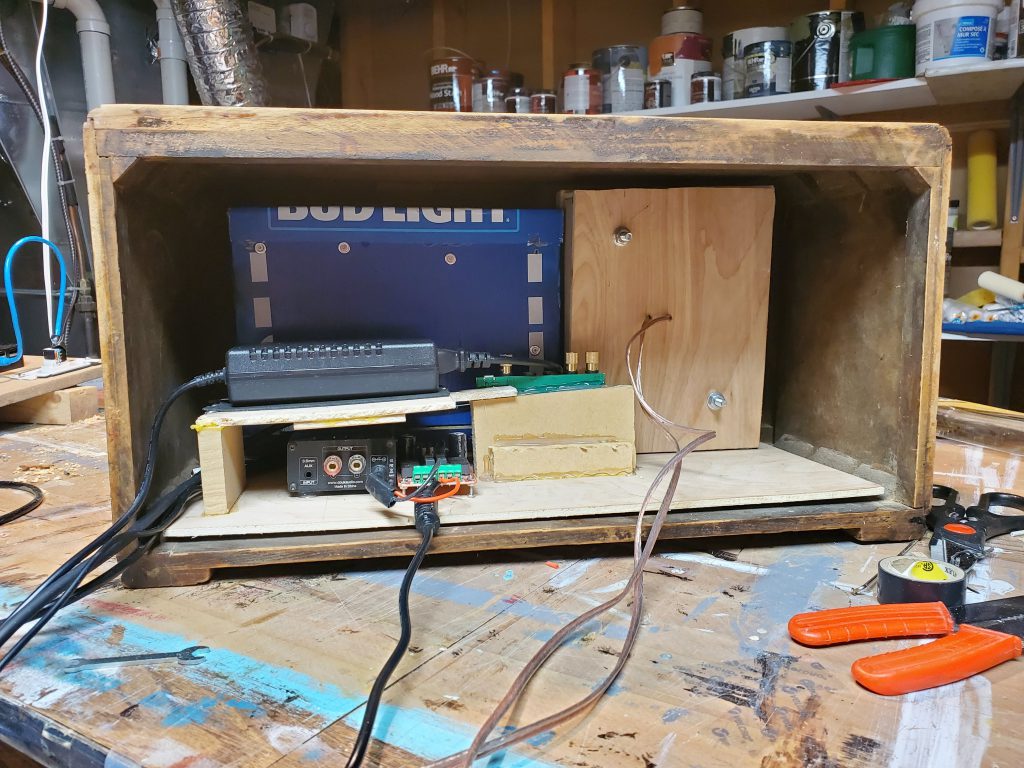
I slid the pieces into place and secure them.
I re-touched the outside of the box using some light sanding followed by Ez Strip Paint and Varnish Remover. I then applied some Danish Oil to retain the old look & preserve some rough spots while removing some water damage.
I replaced the old and dates speaker grill cloth with some lively orange fabric from Michaels.
This all sounds much easier than it was. This was 3 to 4 months work to ensure I could make this sound good while also preserving as much of the original as possible.
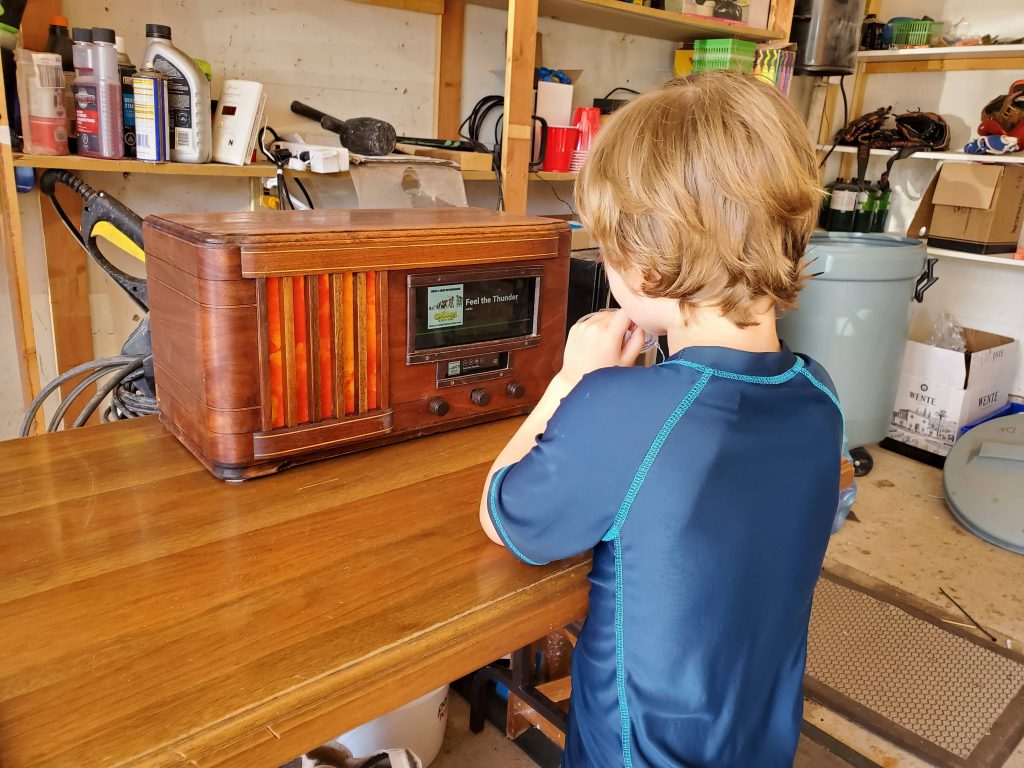
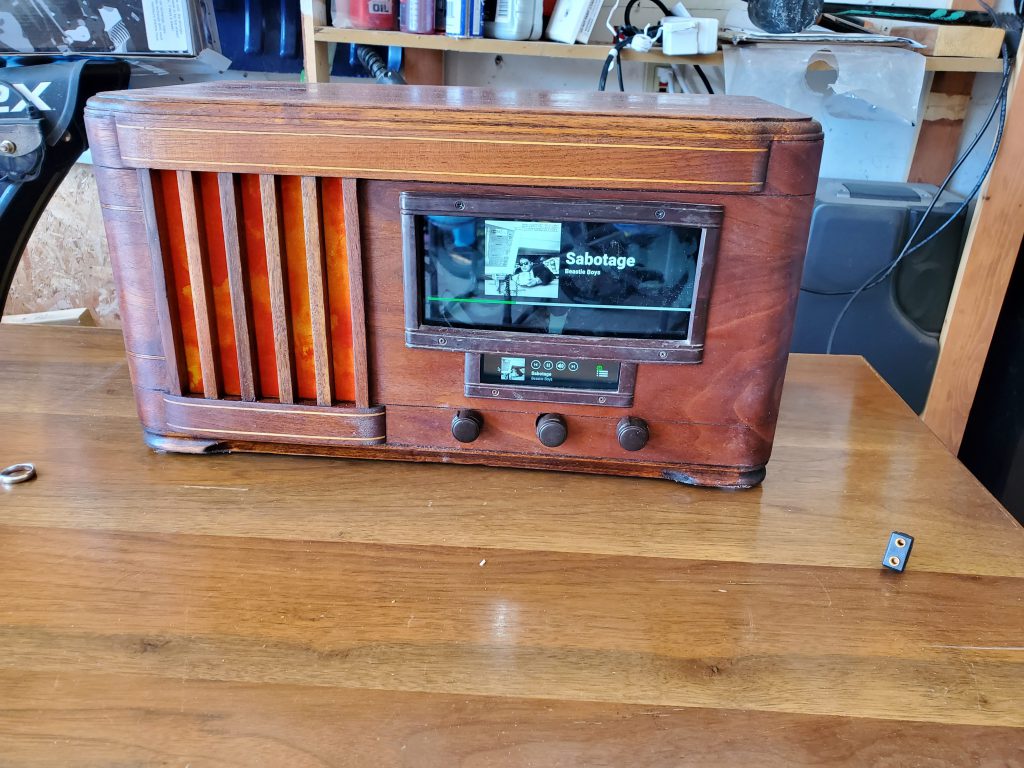

One thought on “Vintage Radio Spotify Touch Screen Retrofit”